Restoring a Lady Buxton Vintage Jewelry Box: Expert Care
Learn expert tips to clean, restore, and maintain your Lady Buxton vintage jewelry box, from velvet linings to brass hardware and leather exteriors.

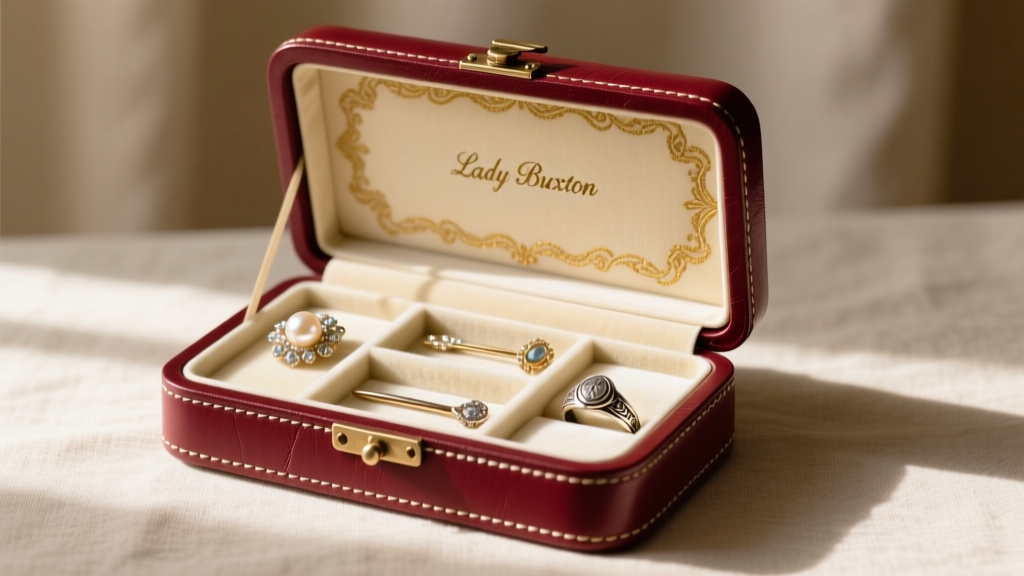
For collectors and jewelry enthusiasts, a Lady Buxton vintage jewelry box represents the pinnacle of mid-century organizational elegance. Known for their intricate compartmentalization, rich leather or vinyl exteriors, and plush velvet or satin interiors, these boxes were designed to protect heirloom pieces. However, decades of use, fluctuating humidity, and improper storage can leave these masterpieces scuffed, tarnished, and structurally compromised. Restoring a vintage Lady Buxton requires a nuanced understanding of mid-century materials and modern conservation techniques. This comprehensive guide details the exact methodologies, material grades, and cleaning agents required to bring your vintage jewelry storage back to its original glory without damaging its historical integrity.
Identifying Your Lady Buxton Era and Materials
Before applying any cleaning agents, you must accurately identify the materials used in your specific Lady Buxton model. Produced primarily between the 1950s and 1980s, these boxes typically feature a composite wood or heavy cardboard armature wrapped in top-grain leather, vinyl-clad leather, or textured bookcloth. The interiors are usually lined with rayon-based velvet, acetate satin, or flocked paper. According to guidelines from the Getty Conservation Institute, misidentifying synthetic mid-century polymers as natural fibers can lead to catastrophic melting or discoloration when exposed to alcohol-based cleaners. Always perform a spot test on an inconspicuous area, such as the bottom felt pad, before proceeding with any restoration.
Exterior Restoration: Leather, Vinyl, and Wood Veneers
The exterior of a Lady Buxton box takes the brunt of environmental damage. Leather variants often suffer from dried-out fibers, leading to micro-cracking along the hinges and corners. Vinyl variants, while more resistant to moisture, can suffer from plasticizer migration, resulting in a sticky or tacky surface.
Conditioning Top-Grain Leather
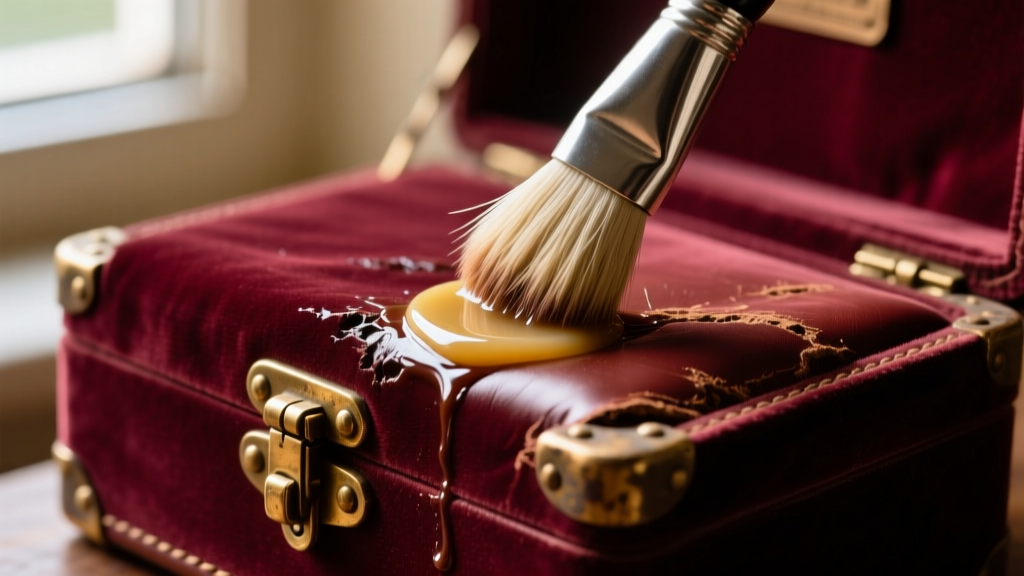
For genuine leather exteriors, avoid modern silicone-based polishes, which create an impermeable barrier that traps moisture and rots the underlying cardboard armature. Instead, use a high-quality saddle soap, such as Fiebing's, applied with a soft horsehair brush. Work the soap into a light lather using minimal distilled water. Wipe away the residue with a microfiber cloth and allow it to dry for 24 hours. Follow this with a light application of Lexol leather conditioner to restore lipid balance to the hide. The Victoria and Albert Museum recommends conditioning vintage leather no more than twice a year to prevent over-softening.
De-Stickifying Vintage Vinyl
If your vinyl Lady Buxton box feels sticky, the plasticizers are breaking down. Gently wipe the surface with a cloth lightly dampened with a 50/50 mixture of distilled water and white vinegar. Never use acetone or rubbing alcohol, as this will strip the painted faux-leather grain pattern right off the vinyl base.
Reviving the Interior: Velvet, Satin, and Flocking
The interior of a vintage jewelry box often tells the story of the pieces it once held. It is common to find dark, tarnished outlines on the velvet where sterling silver rings and necklaces were stored for decades. This is caused by silver sulfide transfer, where the tarnish from the jewelry physically rubs off onto the textile fibers.
Cleaning Velvet and Satin Linings
Never use liquid upholstery cleaners on vintage rayon velvet or acetate satin. These materials are highly susceptible to water-spotting, and excess moisture will warp the cardboard forms beneath the fabric. Instead, use a soft-bristled fiberglass scratch pen or a clean, dry suede brush to gently lift the crushed pile and dislodge surface tarnish. For deep-set dust in the ring rolls, use a vacuum cleaner with a brush attachment, but place a piece of fine nylon mesh (like pantyhose) over the nozzle to prevent the delicate vintage stitching from being sucked into the machine.
Hardware and Mirror Care: Hinges, Locks, and Glass
Lady Buxton boxes frequently incorporate brass piano hinges, decorative lock plates, and interior vanity mirrors. Over time, brass oxidizes and mirrors develop 'desilvering' (black edges) due to moisture seeping behind the glass.
| Material | Recommended Cleaning Agent | Application Tool | What to Avoid |
|---|---|---|---|
| Solid Brass Hardware | Renaissance Micro-Crystalline Wax | Cotton swabs, microfiber | Ammonia-based brass polishes |
| Steel Hinge Pins | Sewing machine oil (mineral) | Precision needle oiler | WD-40 (leaves gummy residue) |
| Vintage Glass Mirrors | Distilled water & white vinegar | Lint-free cotton pad | Commercial glass cleaners (Windex) |
| Plastic/Acrylic Mirrors | Mild dish soap & distilled water | Microfiber cloth | Paper towels (cause micro-scratches) |
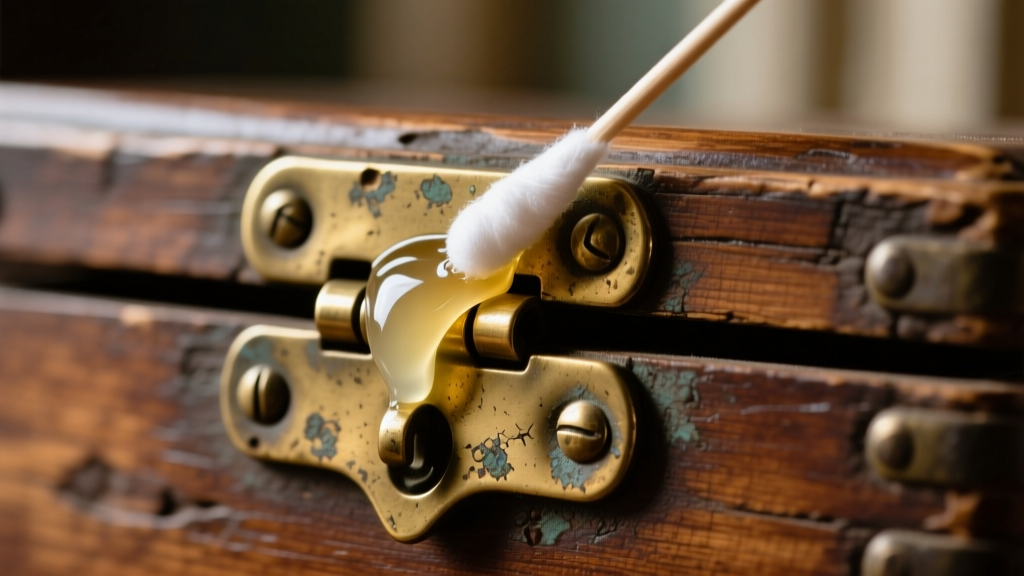
When polishing brass hardware, apply a small amount of Renaissance Wax using a cotton swab to avoid getting the wax on the surrounding leather or velvet. Buff it gently after 10 minutes. For vintage glass mirrors, spray your vinegar solution onto the cloth, never directly onto the glass, to prevent liquid from running down into the mirror's backing and accelerating desilvering.
Structural Troubleshooting: Loose Linings and Stuck Drawers
A common failure point in mid-century jewelry boxes is the separation of the interior velvet from the structural armature. This often occurs at the edges of the lid or the bottom of deep ring compartments. When reattaching vintage linings, the choice of adhesive is critical for the safety of your jewelry.
Never use cyanoacrylate (Super Glue) or hot glue. Cyanoacrylate outgasses as it cures, releasing vapors that will rapidly tarnish sterling silver and degrade pearls stored inside the box. Hot glue lacks the flexibility required for hinged areas and will melt synthetic velvet backings. Instead, use a pH-neutral, conservation-grade PVA adhesive like Jade 403, or traditional liquid hide glue. Apply a microscopic bead using a syringe, press the velvet down, and use acid-free tissue paper and gentle weights to hold it in place while it cures for 24 hours. The American Institute for Conservation emphasizes the use of reversible, non-off-gassing adhesives in all textile-to-wood or textile-to-board conservation efforts.
Preventative Maintenance for Long-Term Preservation
Once your Lady Buxton vintage jewelry box is restored, implementing a strict preventative maintenance routine will ensure it survives for another half-century. Store the box in a climate-controlled environment, ideally maintaining a relative humidity (RH) between 45% and 55%. Fluctuations in humidity cause the wooden/cardboard armature to expand and contract, which is the primary cause of velvet tearing and hinge misalignment.
To protect the jewelry inside and prevent future tarnish transfer to the velvet, line the bottom of the main compartments with Pacific Silvercloth or place 3M anti-tarnish strips in the corners of the box. Replace these strips every six months. Additionally, keep a small, rechargeable silica gel desiccant canister inside the main cavity to absorb excess ambient moisture, ensuring both your vintage storage piece and your precious gemstones remain in pristine condition.


