How to Restore and Repair an Art Nouveau Jewelry Box
Learn expert troubleshooting to restore an Art Nouveau jewelry box. Fix lifting veneer, clean spelter mounts, and replace acidic linings safely.

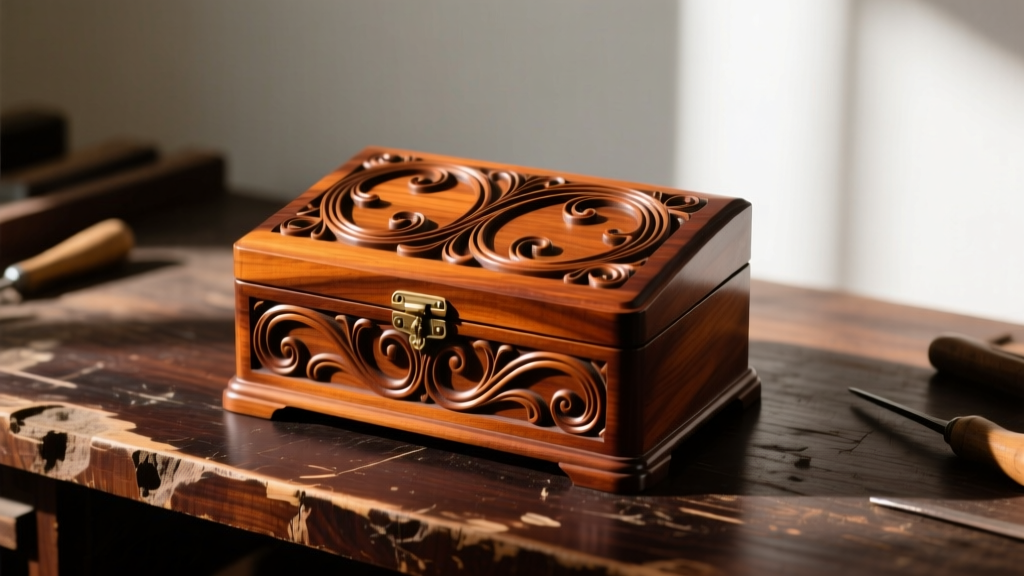
Owning an antique art nouveau jewelry box is a privilege, but maintaining one requires specialized knowledge. Produced roughly between 1890 and 1915, these storage pieces are celebrated for their organic "whiplash" curves, botanical marquetry, and intricate metal mounts. However, after more than a century of use, they frequently suffer from structural fatigue, degraded linings, and improper past repairs. As we move through 2026, modern conservation standards emphasize reversible treatments and archival-grade materials to protect both the wooden artifact and the precious metals stored within.
This troubleshooting guide addresses the most common failure modes of early 20th-century jewelry caskets, providing actionable, expert-level solutions for collectors and restorers.
Identifying Your Materials: The First Step in Troubleshooting
Before applying any solvent, adhesive, or polish, you must accurately identify the materials. Art Nouveau boxes were typically constructed from a secondary wood (like pine or poplar) and clad in premium veneers such as mahogany, walnut, oak, or exotic burl woods. The hardware and decorative mounts are usually brass, bronze, or spelter. Misidentifying a metal mount or a veneer adhesive can lead to catastrophic, irreversible damage. The Smithsonian Museum Conservation Institute strongly advises against guesswork when dealing with historic patinas and organic finishes.
Troubleshooting Lifting Veneer and Marquetry Separation
The intricate floral marquetry and burl veneers characteristic of the Art Nouveau period are highly susceptible to humidity fluctuations. When the substrate wood expands and contracts at a different rate than the thin veneer, the original adhesive fails, causing the veneer to lift, crack, or flake.
The Correct Adhesive Protocol
Never use modern PVA (white or yellow wood glue) or cyanoacrylate (super glue) on antique veneers. These modern adhesives are largely irreversible, creep over time under stress, and can stain the wood fibers. Instead, use hot hide glue with a 192 or 251 gram strength. Hide glue is the historically accurate adhesive; it remains reversible, pulls joints tight as it cures, and accepts finishes properly.
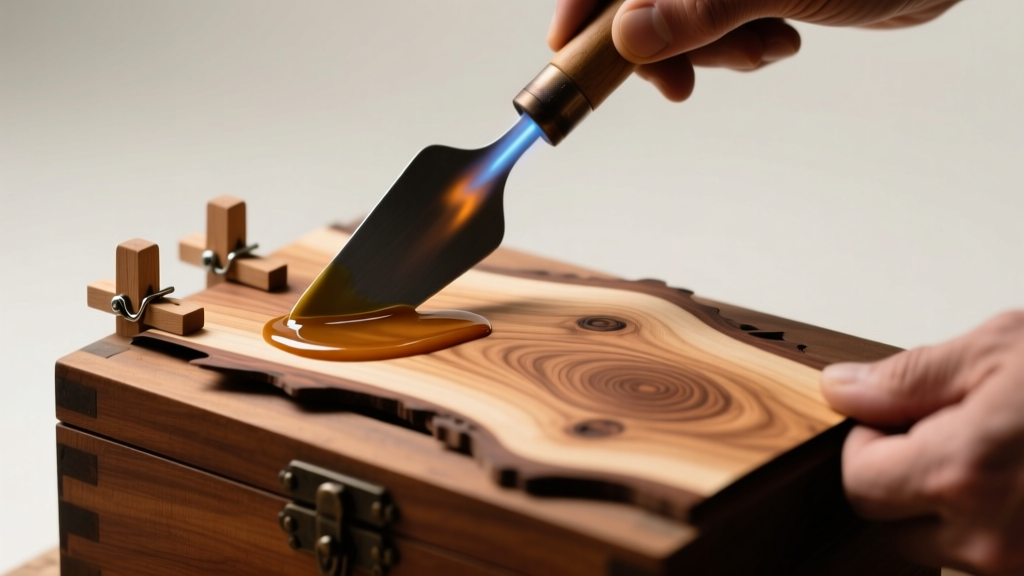
Step-by-Step Veneer Repair
- Soften the Veneer: Apply a commercial veneer softener (like Super-Soft 2) to the lifting area. Allow it to penetrate for 15 minutes to make the brittle wood pliable.
- Remove Old Adhesive: Gently scrape away degraded, crystallized hide glue from the substrate using a micro-spatula. Do not sand the substrate, as this alters the fit.
- Apply Hot Hide Glue: Heat the glue to 145°F (63°C) in a dedicated glue pot. Inject it under the veneer using a fine syringe or brush.
- Clamp and Clean: Place a piece of wax paper over the repair, followed by a flat caul block. Apply even pressure with wooden clamps. Immediately wipe away squeeze-out with a damp, warm cloth.
Solving Metal Mount Degradation: The Spelter Trap
One of the most frequent mistakes in antique box restoration is aggressively polishing decorative metal mounts. Many Art Nouveau boxes feature elaborate nymph, floral, or vine mounts that appear to be bronze but are actually spelter (a zinc alloy often referred to as "pot metal").
"Spelter was widely used as a cost-effective alternative to bronze in the late 19th and early 20th centuries. It was often finished with a chemical bronze patina or a thin layer of lacquer. Aggressive polishing strips this finish, exposing the dull, porous, grey zinc beneath."
Metal Identification and Cleaning Matrix
| Material | Identification Test | Cleaning Protocol | What to Avoid |
|---|---|---|---|
| Spelter (Zinc Alloy) | Lightweight; dull grey beneath scratches; non-magnetic. | Dust with a soft brush. Clean with mild soap and water. Seal with Renaissance Wax. | Brasso, ammonia, acids, ultrasonic cleaners. |
| Bronze (Copper/Tin) | Heavier; golden-brown or greenish patina beneath wear. | Mild solvent for grease. Apply micro-crystalline wax to stabilize patina. | Wire brushes, harsh chemical dips. |
| Brass (Copper/Zinc) | Bright yellow-gold color; often used for hinges and escutcheons. | Gentle polishing with calcium carbonate paste if bare; wax if lacquered. | Over-polishing; stripping original factory lacquer. |
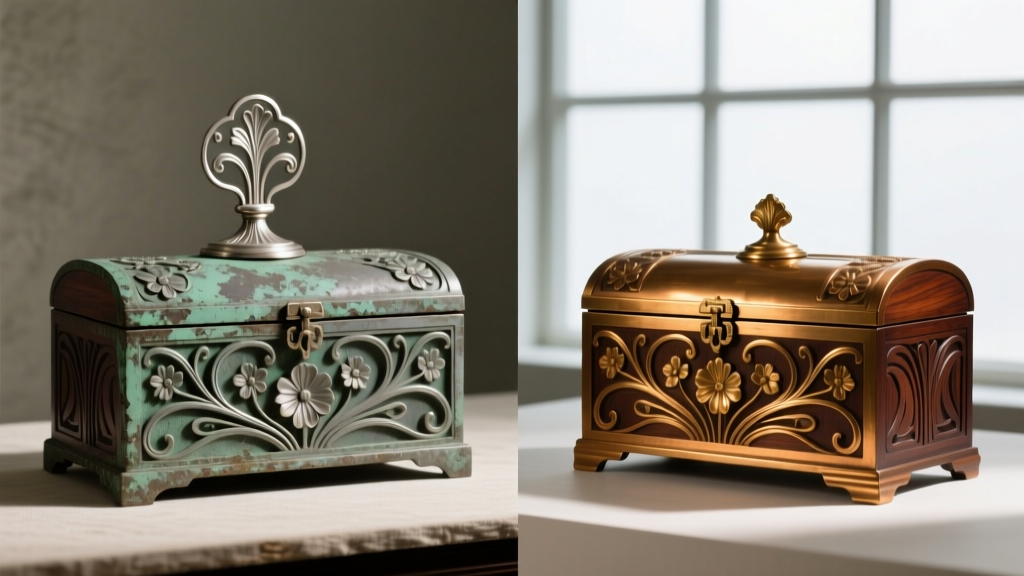
For routine maintenance of spelter and bronze mounts, the American Institute for Conservation recommends using micro-crystalline waxes (such as Renaissance Wax) to seal the metal from atmospheric moisture without altering its historic color.
Replacing Degraded Linings and Preventing Off-Gassing
If you open an antique jewelry box and find the interior silk lining is shattering into dust, or if your silver jewelry is tarnishing rapidly inside the closed box, you are dealing with acidic degradation. Early 20th-century silk and cheap velvet were often weighted with metallic salts and dyed with sulfur-based compounds. As these materials break down, they off-gass sulfuric acid and other corrosive vapors that will pit silver, degrade pearls, and corrode copper alloys.
Archival Lining Replacement
Do not simply patch over the old lining. The acidic source must be removed entirely.
- Extraction: Carefully peel away the old fabric. Use a citrus-based solvent or mineral spirits to soften the original animal glues without swelling the wood substrate.
- Sealing the Wood: Seal the bare interior wood with a 1lb cut of dewaxed shellac. This creates a barrier that prevents wood acids and old adhesive residues from migrating into the new lining.
- Selecting Archival Materials: Replace the fabric with acid-free, unbleached cotton, archival suedette, or Volara foam (a closed-cell polyethylene foam used in museum mounts). Never use modern synthetic velvets, which can trap moisture and generate static electricity.
- Adhesive Selection: Use an archival-grade adhesive like Jade PVA or 3M Scotch-Weld 4693. Apply with a foam brush, allowing it to become tacky before pressing the fabric into the recesses.
Troubleshooting Seized Hinges and Hardware
Art Nouveau boxes often utilized delicate brass butt hinges or piano hinges. Over decades, steel hinge pins rust, expand, and seize the hinge, or worse, the rust bleeds into the surrounding wood, causing black iron-gall stains.
Pin Extraction and Replacement
If a hinge is seized, do not force the lid open, as the brittle wood surrounding the hinge mortise will splinter. Apply a micro-drop of penetrating oil (like Liquid Wrench) directly to the pin knuckles, avoiding the wood. Once loosened, use a pin punch and a small hammer to drive the steel pin out from the bottom up. Replace it with a custom-cut brass or 316-grade stainless steel wire pin of the exact same gauge. This prevents future rust while maintaining the structural integrity of the hinge.
Odor Removal and Microclimate Control
Musty odors in antique boxes are usually caused by dormant mold spores or decades of absorbed environmental pollutants. Masking the odor with cedar oil or potpourri will not solve the problem and may introduce new volatile organic compounds (VOCs) that harm jewelry.
The Freezing and Charcoal Method
For active biological odors, conservators sometimes use a freezing protocol. Place the empty box in a sealed plastic bag, remove the air, and freeze it at -4°F (-20°C) for 72 hours to kill active pests or mold spores. After thawing slowly to prevent condensation, place the box in a well-ventilated area with trays of activated charcoal or silica gel cassettes. The charcoal absorbs the volatile odor molecules, while the silica gel stabilizes the relative humidity (RH) at an ideal 45-50%, preventing future veneer lifting and metal corrosion.
By approaching your art nouveau jewelry box with a conservator's mindset—prioritizing reversible adhesives, accurate material identification, and archival linings—you ensure that both the historic artifact and the precious collection it houses will survive for another century.


