Restoring Your Vintage Buxton Jewelry Box: Expert Guide
Learn how to authenticate, clean, and re-line a vintage Buxton jewelry box using archival materials to prevent tarnish and preserve heirlooms.

The Anatomy of Mid-Century Buxton Construction
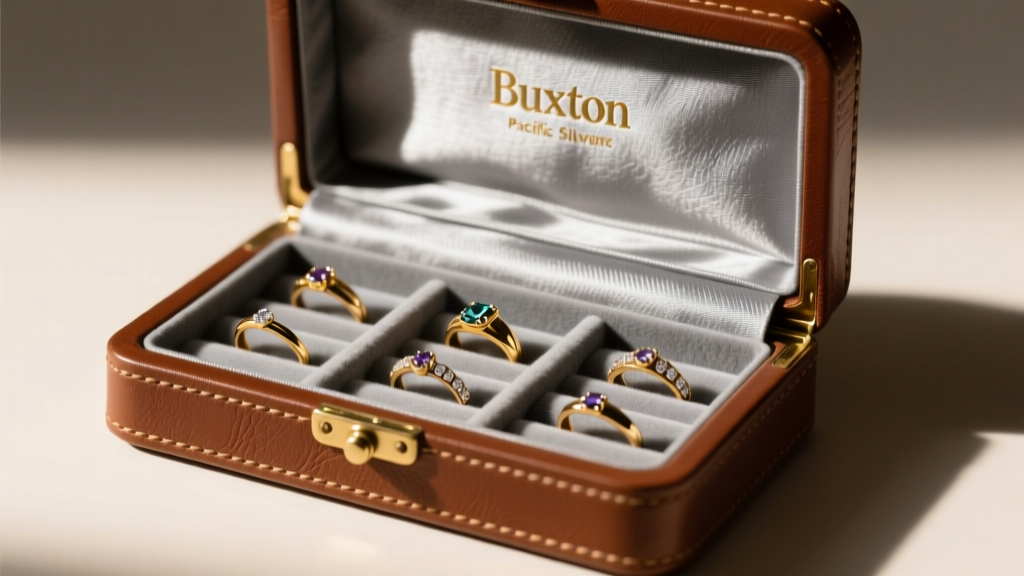
When collectors and horologists seek out mid-century storage, the vintage Buxton jewelry box remains a highly coveted artifact. Produced primarily between the 1940s and 1970s by the Buxton Manufacturing Company in Springfield, Massachusetts, these cases were engineered for durability and travel. Unlike modern mass-produced boxes made from MDF and polyurethane, authentic mid-century Buxton boxes were constructed using vulcanized fiberboard—a dense, moisture-resistant material created by treating cellulose fibers with zinc chloride. This core was then wrapped in top-grain leather, split-leather, or early vinyl derivatives, and bound with stitched or glued seams.
However, the internal architecture of these boxes presents a unique challenge for modern archival storage. The original padding often utilized early-generation polyurethane (PU) foams and latex-based adhesives. While revolutionary at the time, these materials are highly unstable. As they degrade, they release volatile organic compounds (VOCs) and sulfur-bearing gases that actively accelerate the tarnishing of sterling silver and the corrosion of copper alloys. Upgrading a vintage Buxton jewelry box requires a complete gutting of these toxic legacy materials while preserving the structural integrity of the vulcanized shell.
Authentication: Identifying Genuine Buxton Markings
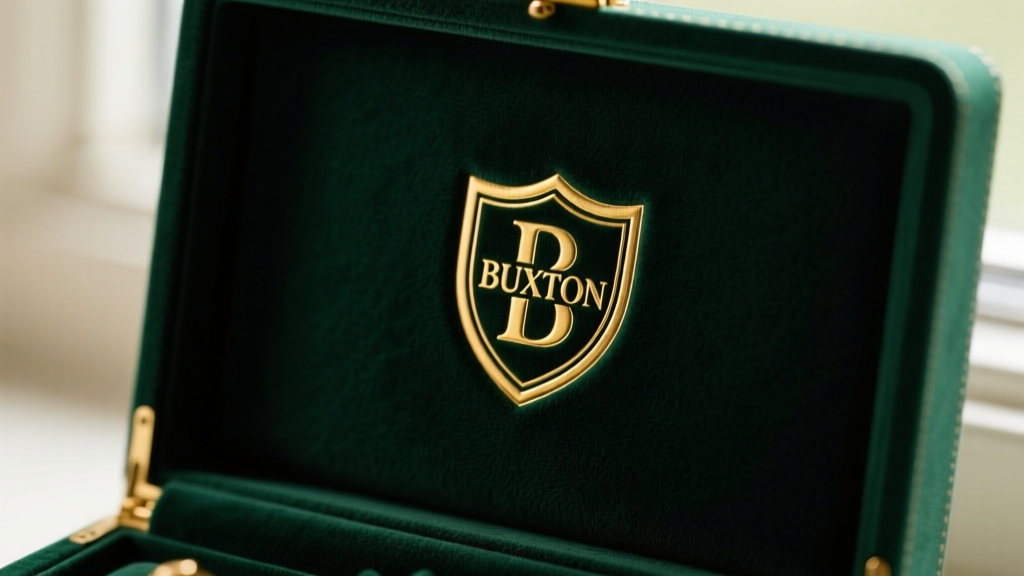
The secondary market is flooded with generic mid-century boxes misidentified as Buxton. True authentication requires examining specific hardware and stamping protocols. Genuine pieces typically feature a distinct "B" enclosed in a shield motif. This stamp is most commonly found blind-debossed into the leather on the bottom exterior, or hot-stamped in gold foil on the interior satin lining near the hinge line.
Additionally, examine the hardware. Buxton frequently utilized patented clasp mechanisms and heavy-gauge brass-plated steel piano hinges. Look for patent numbers stamped directly into the metal clasp plates (such as U.S. Patent numbers from the late 1940s). The stitching on authentic leather-wrapped models will feature heavy-duty waxed linen thread, often with a distinctive saddle-stitch at the corners, whereas later 1970s vinyl models may show signs of machine lock-stitching with nylon thread.
Technical Assessment: Common Failure Modes
Before beginning any restoration, a thorough technical assessment is required. Below is a diagnostic matrix of the most common material failures encountered in vintage Buxton boxes, along with their chemical causes and modern archival solutions.
| Material Component | Failure Mode | Chemical/Physical Cause | Archival Solution |
|---|---|---|---|
| Rayon Satin Lining | Fraying, acid migration | Low pH of early synthetic dyes and sizing agents | Replace with unbleached, acid-free cotton or Tyvek |
| PU Foam Padding | Crumbling, severe silver tarnish | Polymer degradation releasing sulfur and chloride VOCs | Replace with inert Polyethylene (PE) Volara foam |
| Brass-Plated Steel Hinges | Flaking, red oxide (rust) | Galvanic corrosion triggered by high humidity exposure | Consolidate flaking with Paraloid B-72, seal with microcrystalline wax |
| Latex Adhesives | Desiccation, off-gassing | Oxidation and cross-linking of rubber polymers over time | Mechanical removal; re-adhere using 3M 415 acid-free tape |
According to the Canadian Conservation Institute, degrading polyurethane foams can create a micro-environment with a pH as low as 3.5. When sulfur-bearing VOCs interact with sterling silver, they rapidly form silver sulfide (Ag2S), the black tarnish layer that requires abrasive polishing to remove, thereby wearing down hallmarks and engraving over time.
Step-by-Step Archival Re-Lining Process
Removing Degraded Satin and Flocking
The most delicate phase of restoring a vintage Buxton jewelry box is removing the original interior lining without delaminating the vulcanized fiberboard shell. Never use water or liquid solvents, as moisture will cause the fiberboard to swell and warp irreversibly. Instead, use a variable-temperature heat gun set precisely to 120°F (49°C) to soften the aged animal-hide or latex glues. Gently lift the satin using a flexible steel micro-spatula, working in two-inch increments.
Applying Acid-Free Volara and Pacific Silvercloth
Once the shell is bare, seal the raw fiberboard with a thin coat of Renaissance Wax to prevent any residual acidity from migrating inward. For the new padding, cut 2mm sheets of Polyethylene (PE) Volara foam. PE is completely inert and will not off-gas. To protect silver and gold pieces, line the interior compartments with Pacific Silvercloth, a specialized flannel embedded with microscopic silver particles that intercept and neutralize tarnish-causing gases before they reach your jewelry. Secure all new linings using 3M 415 double-sided tape, which is certified acid-free and photo-safe by the American Institute for Conservation.
Hardware Restoration and Hinge Realignment
The hinges on a vintage Buxton jewelry box endure immense mechanical stress. Over decades, the brass plating on steel hinges often wears thin, exposing the ferrous core to oxidation. If you encounter red rust, do not use aggressive brass polishes like Brasso, which contain ammonia and will strip the remaining plating.
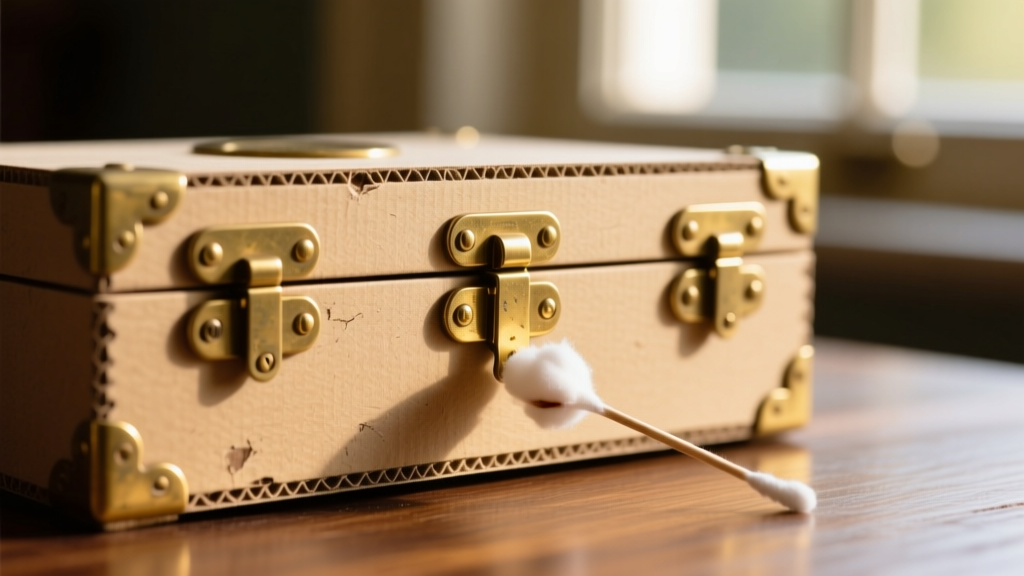
Expert Conservation Tip: Clean plated brass hardware using a mild non-ionic detergent and distilled water on a cotton swab, followed by an application of Renaissance microcrystalline wax. This halts active corrosion without abrading the historical patina or the thin brass layer.
If the lid sags or fails to close flush, the issue is usually a bent hinge pin or stripped screw holes in the fiberboard. To repair stripped holes, inject a mixture of cyanoacrylate (CA) glue and baking soda into the void. Once cured, this creates a rock-hard acrylic plug that can be re-drilled with a micro-bit to accept the original brass screws.
Sourcing and Valuation in the Current Market
As of 2026, the market for mid-century horological and jewelry storage has matured significantly. An unrestored, as-is vintage Buxton jewelry box with degraded flocking and tarnished hardware typically trades between $15 and $35 on estate platforms. However, a professionally restored example—featuring archival Volara foam, Pacific Silvercloth linings, and stabilized hardware—commands a premium, often selling in the $120 to $180 range to serious collectors and estate jewelers who require safe, non-reactive storage for high-value inventory.
Collectors should also differentiate between Buxton's rigid vanity boxes and their flexible travel rolls. The rigid boxes are far more adaptable to archival re-lining, whereas the flexible rolls often suffer from internal wire-frame rust that compromises the structural stitching. When sourcing these boxes, prioritize structural integrity over cosmetic wear. Leather scuffs can be reconditioned using Library of Congress approved leather dressings, but a crushed or water-warped vulcanized fiberboard shell is nearly impossible to repair. By applying modern conservation science to these mid-century marvels, you transform a decaying relic into a museum-grade archival vault for your most precious assets.


