How to Restore and Organize a Vintage Wooden Music Jewelry Box
Learn how to clean, restore, and organize a vintage wooden music jewelry box. Step-by-step guide to fixing mechanisms and preserving finishes.

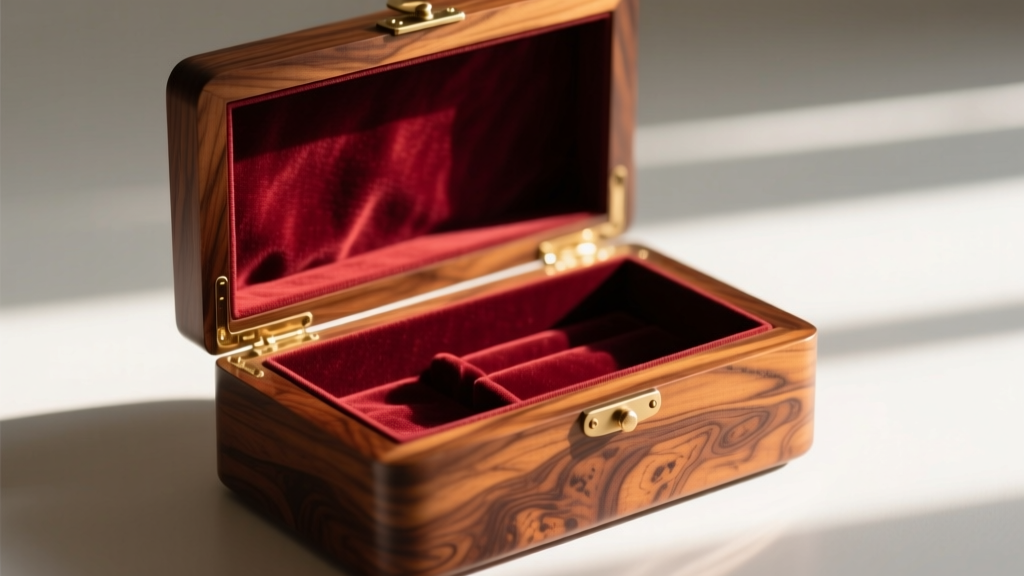
Owning a vintage wooden music jewelry box is like holding a piece of horological and woodworking history in your hands. Unlike modern, mass-produced storage solutions, antique boxes from the mid-20th century or earlier feature intricate marquetry, hand-cut dovetails, and complex mechanical movements. However, decades of use often leave these treasures with lifting veneer, clouded finishes, seized mainsprings, and degraded interior linings that can actually harm your jewelry. This comprehensive, step-by-step guide will walk you through the meticulous process of restoring the wooden exterior, servicing the delicate music mechanism, and upgrading the interior for modern, anti-tarnish jewelry organization.
Assessing the Condition of Your Antique Keepsake
Before applying any chemicals or tools, you must accurately diagnose the materials and the extent of the damage. Vintage boxes are typically constructed from a secondary wood (like pine or poplar) and covered in a delicate hardwood veneer, such as burl walnut, mahogany, or rosewood. Inspect the surface under a bright, raking light to identify any bubbling, cracking, or missing veneer chips.
Next, determine the type of finish. Most pre-1950s boxes feature a shellac or traditional French polish finish, which is alcohol-soluble and highly sensitive to moisture and harsh chemicals. Post-1950s boxes may have a nitrocellulose lacquer. You can test this by applying a drop of denatured alcohol to an inconspicuous area; if it becomes tacky, it is shellac. Finally, gently wind the music mechanism. Listen for the tempo and note any missing notes, which indicate broken teeth on the brass comb or bent pins on the cylinder.
Step-by-Step Wood Cleaning and Veneer Repair
Restoring the exterior requires patience and the right conservation-grade materials. Avoid commercial aerosol polishes, which contain silicones that penetrate the wood grain and complicate future restorations.
Step 1: Deep Cleaning the Shell
To remove decades of grime, wax buildup, and oxidized oils, use a mild solvent like naphtha or mineral spirits. Dampen a soft, lint-free cotton cloth with the solvent and gently wipe the surface in the direction of the grain. The naphtha will dissolve the dirty wax layers without softening the underlying shellac or lacquer finish. Allow the box to dry completely for at least two hours.
Step 2: Re-adhering Lifting Veneer
If you find lifting veneer, do not use modern PVA (yellow or white) wood glues, as they are irreversible and can cause the veneer to ripple. Instead, use liquid hide glue, which is historically accurate and reversible. According to experts at Popular Woodworking, you should gently lift the veneer with a thin spatula, inject the hide glue using a syringe, and apply gentle, even pressure using a caul (a flat block of wood) and a clamp. Wipe away any squeeze-out immediately with a damp, warm cloth.
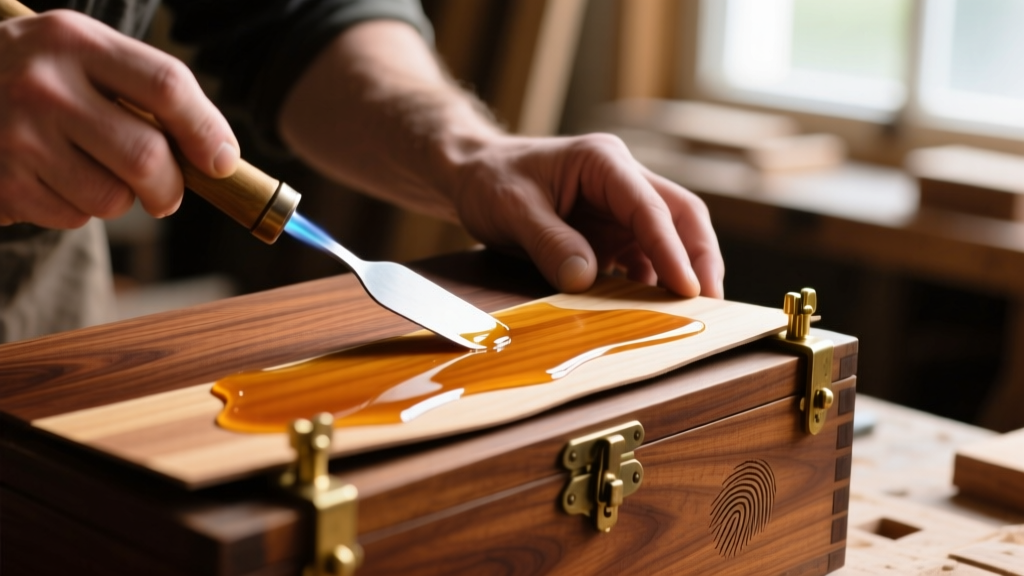
Step 3: Reviving the Finish
Once the veneer is secure and the box is clean, revive the finish using a 50/50 mixture of boiled linseed oil and turpentine, or a specialized shellac reviver. Apply it with a soft pad using circular motions, then buff it out with a clean microfiber cloth to restore a deep, lustrous sheen.
Servicing the Music Box Mechanism
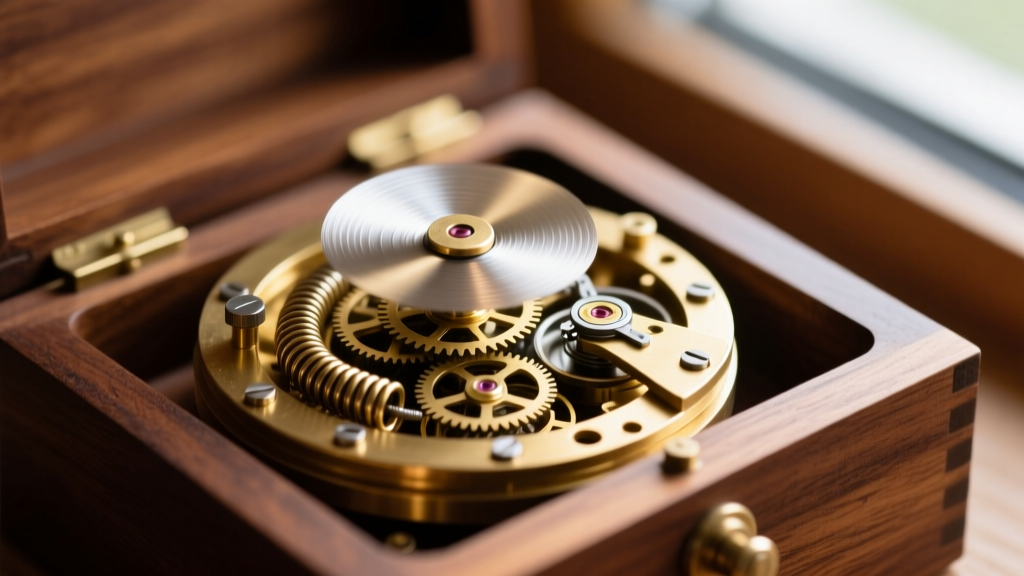
The heart of your vintage wooden music jewelry box is its mechanical movement. These are precision instruments that require specific horological maintenance. The most common mistake amateurs make is spraying WD-40 or applying heavy greases to the mechanism, which attracts dust and eventually seizes the gears.
Identifying the Movement Maker
Flip the box over and look at the brass bedplate of the mechanism. You will typically find a stamp indicating the manufacturer. The two most prominent historical makers are Reuge (Swiss) and Sankyo (Japanese). Understanding the origin helps dictate the servicing approach, as Swiss movements often feature more complex governors and interchangeable cylinders.
| Movement Maker | Origin Era | Key Characteristic | Maintenance Focus |
|---|---|---|---|
| Reuge | 1865-Present | Swiss precision, interchangeable cylinders, complex fan governors. | Requires synthetic clock oil on governor pivots; cylinder pins must remain completely dry. |
| Sankyo | 1940s-1990s | Japanese mass-production, robust cast bedplates, single-piece combs. | Mainspring barrel requires specialized lithium grease; check for stripped plastic drive gears in later models. |
| Thorens | 1883-1970s | Swiss, often found in high-end inlaid boxes, distinct damper mechanisms. | Inspect the wire damper that stops the cylinder; ensure the felt pad is not disintegrating onto the pins. |
Proper Lubrication Techniques
According to guidelines from heritage horology conservators, you should only lubricate the mainspring barrel arbor and the pivot points of the governor (the fan blade that regulates speed). Use a high-grade synthetic clock oil, such as Moebius 8000. Apply a microscopic drop using a fine oiler pin. Never oil the cylinder, the pins, or the steel comb teeth. The Reuge manufacturing standards dictate that the friction between the pins and the comb teeth must remain entirely dry to produce a clear, resonant tone. If the mechanism sounds sluggish, the issue is usually congealed, decades-old grease in the mainspring barrel, which requires a complete teardown and ultrasonic cleaning by a professional.
Upgrading the Interior Lining for Modern Storage
The original velvet or silk linings in vintage boxes are often degraded, harboring acidic compounds and sulfur that accelerate jewelry tarnishing. Upgrading the interior is crucial for preserving silver, gold, and gemstones.
Installing Anti-Tarnish Materials
Remove the old fabric carefully using a flat scraper and a mild adhesive remover. Replace it with a modern anti-tarnish flannel, such as 3M Pacific Silvercloth. This material is embedded with microscopic silver particles that act as a sacrificial anode, absorbing sulfur and airborne pollutants before they can reach your jewelry. Cut the cloth to size using sharp fabric shears and adhere it to the wooden trays using a pH-neutral, acid-free fabric glue or double-sided archival tape.
Optimizing the Layout
Vintage boxes were designed for brooches and single-strand pearls, not modern, heavy chains or stackable rings. To maximize utility:
- Ring Storage: Install high-density foam ring rolls covered in the anti-tarnish cloth. Ensure the slots are wide enough to accommodate heavy signet rings without compressing the foam permanently.
- Necklace Management: Sew small, padded snap-tabs along the interior lid or upper walls to hang chains. This prevents the dreaded "chain tangle" that occurs when necklaces are left loose in a shallow tray.
- Post Earring Protection: Use a piece of stiff, acid-free linen canvas stretched over a thin foam base, punching small holes for earring posts to prevent them from bending during travel.
Troubleshooting Common Vintage Box Failures
Even after a thorough restoration, you may encounter specific operational quirks. Here is how to troubleshoot the most frequent issues according to the American Institute for Conservation and horological experts:
- The Music Plays Too Fast or Slows Down Erratically: This is almost always an issue with the governor fan. The fan relies on air resistance to slow the gear train. If the fan blades are bent or if heavy oil has been applied to the fan pivot, it will not regulate speed correctly. Gently true the fan blades with tweezers and clean the pivot with naphtha.
- The Lid Hinges are Loose or Drooping: Vintage brass hinges often suffer from stripped screw holes. Do not simply use larger screws, as this can split the delicate veneer. Instead, fill the stripped holes with a mixture of sawdust and hide glue, let it cure, and then re-drill a pilot hole for the original brass screws.
- Persistent Musty Odor: Wood is porous and traps mildew spores. Place a small, breathable sachet of activated charcoal or dry cedar shavings inside the closed box for two weeks. Avoid using baking soda, as the alkaline dust can settle on the music mechanism and cause corrosion on the steel comb.
Restoring a vintage wooden music jewelry box is a labor of love that bridges the gap between antique preservation and modern jewelry care. By respecting the original materials, properly servicing the horological movement, and integrating modern anti-tarnish technology, you ensure that this functional heirloom will safely protect your collection and play its melody for generations to come.


