Smart Jewelry Storage Ideas: A Step-by-Step Setup Guide
Discover smart jewelry storage ideas with our step-by-step guide. Learn anti-tarnish setups, material grades, and organization frameworks to protect gems.

The Hidden Science of Jewelry Degradation
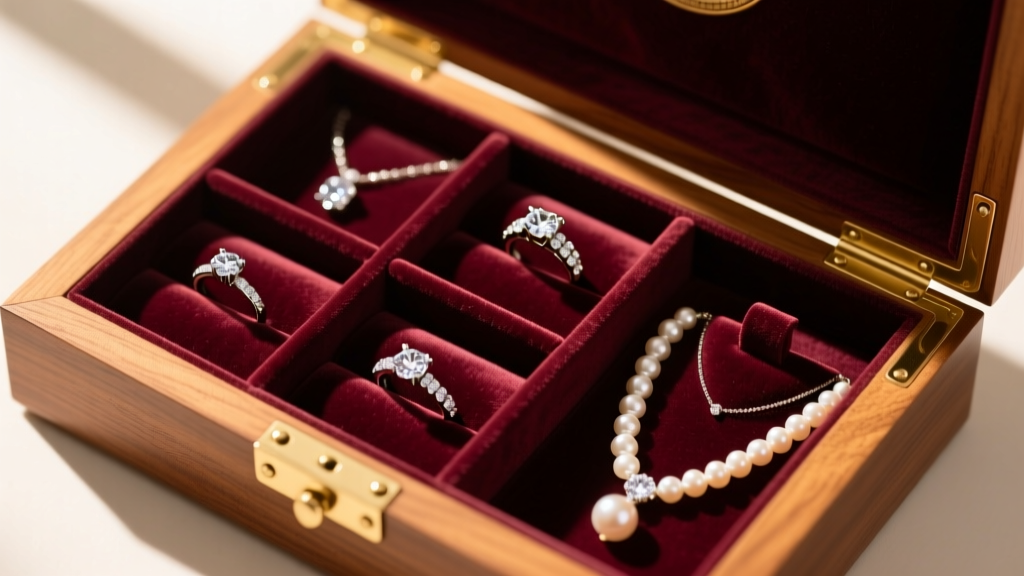
Most collectors treat jewelry storage as an afterthought, tossing pieces into a communal velvet pouch or a cluttered drawer. However, improper storage is the leading cause of gemstone micro-scratches, precious metal tarnishing, and irreversible structural damage. When exploring jewelry storage ideas, it is crucial to understand that your collection is constantly interacting with its micro-environment. Sterling silver reacts with ambient hydrogen sulfide to form silver sulfide (tarnish), while organic gems like pearls and opals require specific moisture levels to prevent "crazing" (micro-cracking). This step-by-step guide will help you engineer a custom storage ecosystem that preserves both the financial and sentimental value of your pieces.
Step 1: Audit and Categorize by the Mohs Scale
Before purchasing any organizers, you must audit your collection. The most common failure mode in jewelry storage is cross-scratching. The GIA Gem Encyclopedia emphasizes that gems must be stored according to their hardness on the Mohs scale. A diamond (Mohs 10) will easily scratch a sapphire (Mohs 9), which in turn will devastate a tanzanite (Mohs 6.5).
The Hardness Sorting Framework
- Category A (Mohs 8-10): Diamonds, rubies, sapphires. These are highly scratch-resistant but will scratch everything else. Store in rigid, individual compartments.
- Category B (Mohs 6.5-7.5): Emeralds, tourmalines, garnets. Susceptible to chipping. Require padded, individual slots with no lateral movement.
- Category C (Mohs 2.5-6): Pearls, opals, turquoise, amber. These are porous and soft. Never store these in airtight plastic, as they require ambient moisture to prevent structural dehydration.
Step 2: Select the Right Anti-Tarnish Materials
Not all anti-tarnish products are created equal. Many cheap jewelry boxes use PVC (polyvinyl chloride) plastics, which off-gas hydrochloric acid over time. This acid accelerates silver tarnishing and causes irreversible damage to organic gems. Always opt for Polyethylene (PE) or specialized treated fabrics.
| Material | Mechanism of Action | Active Lifespan | Best Application |
|---|---|---|---|
| Pacific Silvercloth | Cotton flannel embedded with microscopic silver particles that absorb H2S gas before it reaches your jewelry. | 5-7 years (until fabric turns entirely dark brown) | Wrapping silver flatware, lining large drawers, storing heirloom silver. |
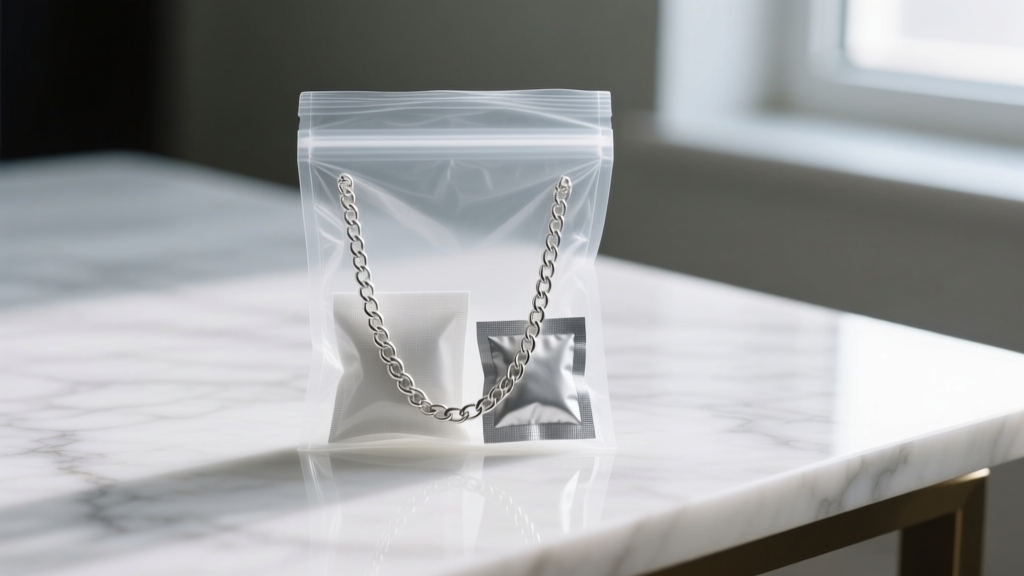
| 3M Anti-Tarnish Strips | Chemically treated paper that binds with sulfur-bearing gases in the air. | 6 months in open air; up to 2 years in sealed containers. | Sealed zip bags, closed jewelry armoires, travel cases. |
| Silica Gel Packets | Desiccant that lowers ambient relative humidity to slow oxidation. | 1-3 months (requires recharging in an oven). | Damp climates, safes, and enclosed glass display cabinets. |
| Acid-Free Tissue Paper | Prevents acidic off-gassing and provides a soft, breathable barrier. | Indefinite (replace if discolored). | Wrapping pearls, opals, and vintage costume jewelry. |
Step 3: Build Your Custom Storage Ecosystem
With your materials selected, it is time to implement physical jewelry storage ideas that match your spatial constraints and collection size. The goal is to eliminate chain tangling and minimize surface friction.
Drawer Inserts vs. Freestanding Armoires
If you are utilizing dresser drawers, avoid generic open-tray inserts. Instead, use modular, honeycomb-style dividers lined with anti-tarnish felt. For rings, ensure the roll slots have a minimum diameter of 2.25 inches; standard 1.5-inch slots will force wide-band rings to rub against the velvet, wearing down the pile and scratching the metal.
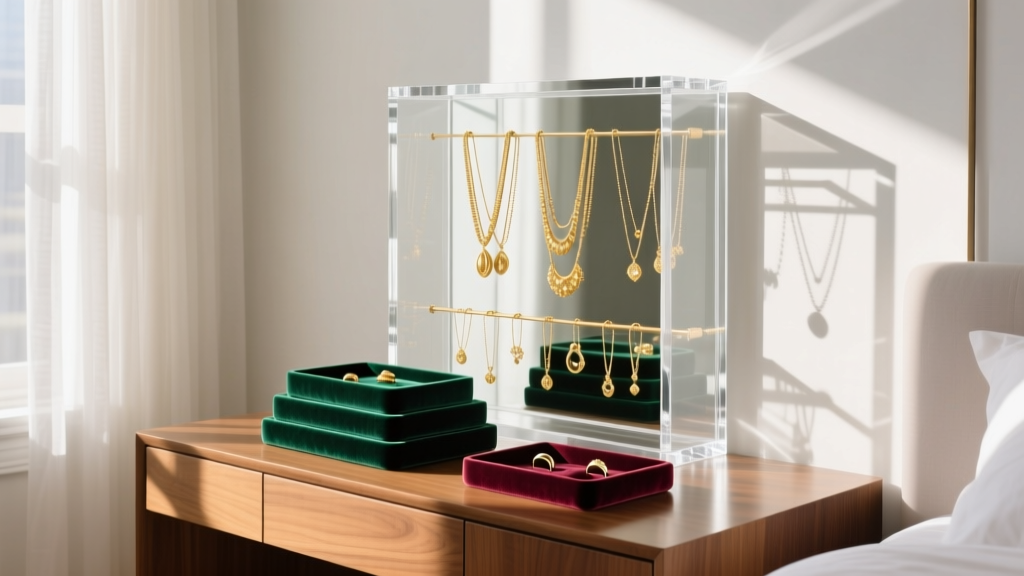
For necklaces, freestanding acrylic armoires or wall-mounted displays are superior to flat storage. However, you must calculate the drop clearance. An 18-inch necklace requires at least a 14-inch vertical drop to hang freely without resting on the bottom of the case, which causes kinking in delicate chains like serpentine or herringbone weaves. According to Tiffany & Co. Jewelry Care guidelines, hanging necklaces individually by their clasps prevents the interlocking links from catching on one another.
Step 4: Climate Control and Placement Rules
Where you place your jewelry storage is just as critical as the storage unit itself. The EPA recommends keeping indoor relative humidity between 30% and 50%. High humidity drastically accelerates the oxidation of copper alloys and sterling silver.
Expert Rule of Thumb: Never store fine jewelry in a bathroom. The rapid fluctuations in temperature and humidity from hot showers cause pearls to expand and contract, eventually leading to the deterioration of the silk threading and the nacre layer.
Furthermore, keep your storage ecosystem out of direct sunlight. Prolonged UV exposure will bleach amethyst, kunzite, and topaz, and will dry out the natural oils in emeralds, causing them to fracture along their natural inclusions.
Step 5: Establish a Maintenance and Rotation Schedule
A static storage system eventually fails if not maintained. Implement a bi-annual rotation and inspection schedule to ensure your jewelry storage ideas remain effective over the long term.
The Bi-Annual Checklist
- Replace Anti-Tarnish Agents: Swap out 3M strips every 6 to 12 months. If your Pacific Silvercloth turns completely black, it has reached its sulfur absorption limit and must be replaced (do not wash it, as this strips the embedded silver particles).
- Clean Before Storing: Never store jewelry that has been worn without wiping it down. Skin oils, lotions, and perfumes contain salts and acids that will pit metals and degrade porous gems over time. Use a lint-free microfiber cloth to wipe each piece before returning it to its designated slot.
- Inspect Prongs and Clasps: Use a 10x jeweler's loupe to check the prongs on your diamond and sapphire pieces. If a piece is sitting in storage with a bent prong, it can easily snag on neighboring fabrics or chains, resulting in a lost stone.
Conclusion
Implementing smart jewelry storage ideas is not merely about aesthetics; it is an act of preservation. By categorizing your gems by hardness, utilizing chemically active anti-tarnish materials like Pacific Silvercloth, and strictly controlling the ambient humidity, you ensure that your collection remains as brilliant as the day it was acquired. Take the time this weekend to audit your current setup, purge any PVC plastics, and build a storage ecosystem that truly respects the craftsmanship of your jewelry.


