Stitch Jewelry Box Repair: Troubleshooting Seams & Linings
Learn how to troubleshoot and repair a damaged stitch jewelry box. Fix unraveling seams, reattach velvet linings, and prevent adhesive tarnish.

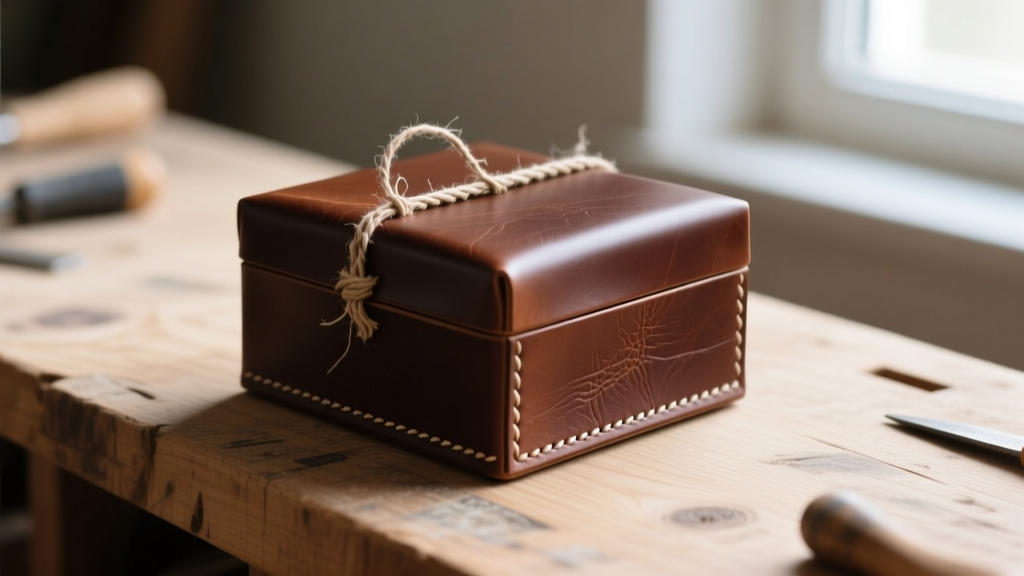
A beautifully crafted stitch jewelry box—whether it features hand-stitched leather panels, embroidered fabric exteriors, or saddle-stitched seams—is a cornerstone of any serious collection. However, the very construction that gives these boxes their artisanal charm also introduces unique structural vulnerabilities. Over time, fluctuations in humidity, material fatigue, and chemical degradation can cause stitching to unravel, interior linings to detach, and hidden adhesives to off-gas, leading to severe silver tarnish.
In this comprehensive troubleshooting guide, we dive deep into the material science and conservation techniques required to diagnose, repair, and restore a failing stitch jewelry box. By understanding the exact thread gauges, archival adhesives, and environmental controls needed, you can extend the lifespan of your storage solution and protect your precious metals and gemstones.
Diagnosing Structural Stitch Failures
The structural integrity of a stitch jewelry box relies entirely on the tensile strength and environmental resistance of its thread. When you notice fraying, snapping, or loose seams, the first step is identifying the original thread composition. Most mass-produced boxes from the early 2010s utilized low-grade cotton or basic polyester threads that lack UV and moisture resistance.
Thread Material Breakdown and Rot
If your box is stored in an environment where relative humidity (RH) frequently exceeds 65%, natural fibers like cotton and basic linen are highly susceptible to microbial degradation and dry rot. You can identify rot by gently pulling on a loose thread; if it snaps with a dull, powdery break rather than a sharp, fibrous tear, the cellulose structure has failed.
Conversely, synthetic threads like standard polyester may not rot, but they can suffer from 'tension relaxation' over time, causing the seams to pucker and gap. This gap exposes the interior MDF or cardboard core to ambient moisture, which then acts as a sponge for sulfur-rich air, accelerating tarnish inside the box.
The Lining Separation Crisis
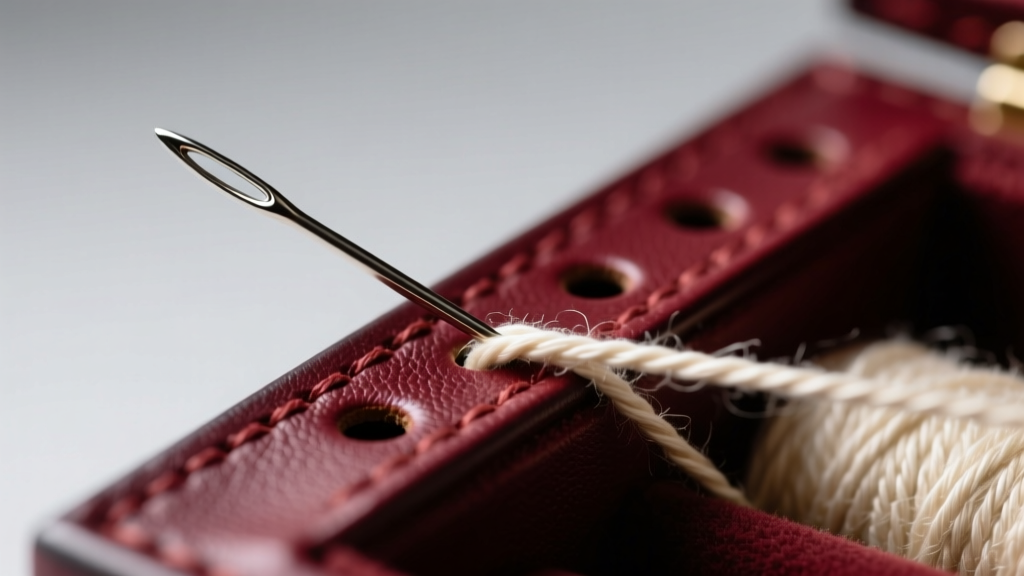
One of the most common and frustrating issues with a stitch jewelry box is the detachment of the interior velvet or suede lining from the rigid frame. This is rarely a failure of the fabric itself; rather, it is a failure of the adhesive used during manufacturing.
Many commercial manufacturers use hot melt glues or cheap cyanoacrylates (super glues) to secure the lining to the inner walls before the outer stitched shell is assembled. These adhesives crystallize and become brittle over time, especially when subjected to the thermal expansion and contraction of a bedroom environment. When the lining pulls away, it creates pockets where jewelry can become trapped, and it exposes the acidic core materials of the box.
Adhesive Selection and Tarnish Risk
When reattaching a lining, the choice of adhesive is critical. Using the wrong glue will not only fail mechanically but will actively destroy your jewelry through chemical off-gassing. Below is a comparison of common adhesives and their suitability for jewelry box restoration.
| Adhesive Type | Tarnish Risk | Flexibility | Best Use Case |
|---|---|---|---|
| Cyanoacrylate (Super Glue) | Extreme (High) | Brittle | Never use in jewelry storage |
| Standard PVA (White Glue) | Moderate | Semi-Flexible | Temporary exterior repairs |
| Acid-Free PVA (Lineco) | None (Archival) | Flexible | Reattaching velvet/suede linings |
| Wheat Starch Paste | None (Archival) | Highly Flexible | Paper and delicate fabric linings |
| Hot Melt Glue | Low to Moderate | Rigid when cold | Quick structural tacking only |
For a permanent, safe repair, conservation experts at the American Institute for Conservation recommend using a neutral-pH, acid-free PVA adhesive. This ensures that no acidic vapors are released into the micro-climate of the box, keeping your silver and pearls safe from chemical corrosion.
Tarnish and Off-Gassing in Stitched Compartments
A frequent complaint among collectors is that jewelry tarnishes faster inside a stitch jewelry box than when left out on a dresser. This counterintuitive phenomenon is usually caused by the materials hidden beneath the stitching and lining.
If the box's structural core is made from unsealed MDF (Medium-Density Fiberboard) or acidic cardboard, these materials continuously emit formaldehyde and organic acids. In a tightly stitched box with poor airflow, these gases become trapped, creating a highly corrosive micro-environment. The stitching itself, if treated with certain synthetic waxes or dyes, can also contribute to sulfur off-gassing.
Upgrading to Archival Anti-Tarnish Inserts
To solve this, you must interrupt the chemical pathway between the core material and your jewelry. If your lining is permanently damaged and requires replacement, do not simply use standard craft velvet. Standard velvet is often dyed with sulfur-based mordants. Instead, source an anti-tarnish fabric like Pacific Silvercloth or a Luster-Loc treated flannel. These fabrics are embedded with microscopic silver particles that preferentially react with hydrogen sulfide gases, neutralizing them before they can reach your jewelry.
Expert Insight: Never use rubber bands or standard elastic ties to secure items inside a stitched jewelry box. Vulcanized rubber emits high levels of sulfur and will cause severe, localized blackening of silver and gold alloys within 48 hours, regardless of the box's lining quality.
Step-by-Step Saddle Stitch Repair Guide
If the exterior seams of your leather or heavy canvas stitch jewelry box are unraveling, a simple knot will not suffice. You must replicate the original saddle stitch, which locks each stitch independently, meaning a single break will not cause the entire seam to unravel.
Tools Required for the Repair
- Thread: Tex 70 (Size 69) bonded nylon or 3-cord waxed linen (0.8mm gauge). Avoid standard sewing thread.
- Needles: John James Harness needles (Size 002 or 004), which feature a blunt tip to avoid piercing the leather/fabric.
- Stitching Awl: A diamond-point awl to reopen collapsed stitch holes.
- Beeswax: For lubricating and sealing linen thread.
The Repair Process
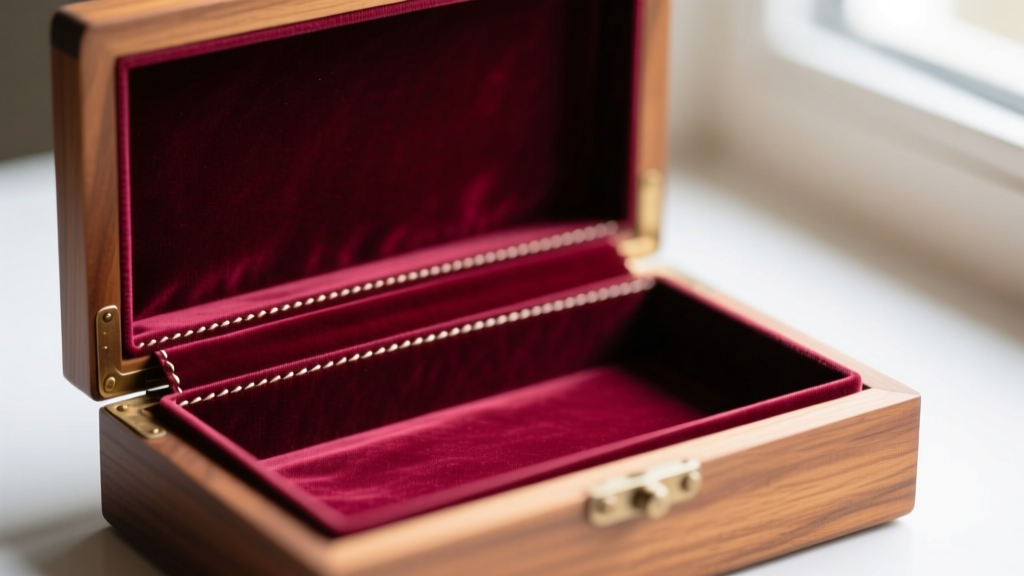
Begin by carefully removing the frayed remnants of the old thread using a seam ripper, taking care not to score the leather or fabric casing. If the original stitch holes have collapsed due to material compression, gently pass the diamond awl through them to reopen the channels.
Cut a length of your chosen thread approximately four times the length of the seam you are repairing. If using unwaxed linen, run the thread through a block of pure beeswax to reduce friction and prevent fiber fraying. Thread a harness needle onto each end of the thread.
Pass the first needle through the starting hole and pull the thread until equal lengths remain on both sides. Push the left needle through the next hole, followed by the right needle through the exact same hole, passing it over the left thread. Pull both ends firmly in opposite directions to seat the stitch. Repeat this process down the seam. According to the Leather Craft Library, maintaining consistent tension is the secret to a professional-grade repair that will withstand decades of daily use.
Preventative Maintenance for Longevity
Once your stitch jewelry box is repaired, implementing a strict maintenance routine will prevent future failures. Store the box in a climate-controlled room, aiming for a stable 45-55% RH. Avoid placing the box in direct sunlight, as UV radiation rapidly degrades both synthetic threads and the natural tannins in leather casings.
Every six months, inspect the perimeter stitching for signs of tension loss or fraying. Catching a failing stitch early allows you to secure it with a microscopic drop of archival PVA before the surrounding stitches bear the excess load and begin to fail in a cascading sequence. By treating your storage solutions with the same care as the jewelry they hold, you ensure a safe, beautiful environment for your collection for generations to come.


