Troubleshooting a Wooden Jewelry Box Vintage Find: Repair Guide
Learn how to troubleshoot and restore a wooden jewelry box vintage find. Fix stuck drawers, musty odors, and tarnished hardware with expert tips.

The Allure and Challenges of Vintage Wooden Storage
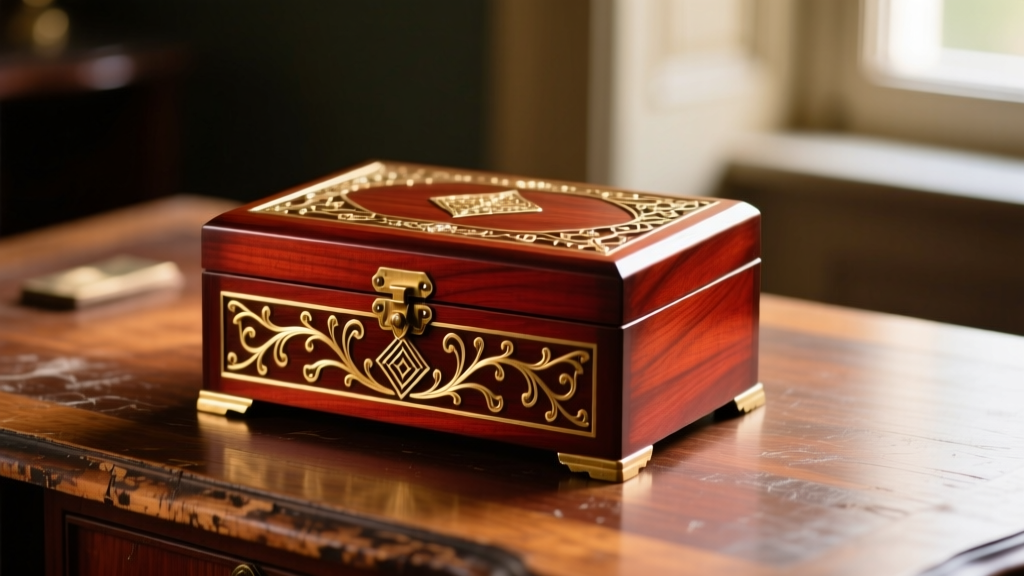
Acquiring a wooden jewelry box vintage piece is a thrilling experience for any collector or jewelry enthusiast. Whether you have uncovered an Art Deco burled walnut valet, a Mid-Century modern teak organizer, or an Edwardian mahogany casket, these antique storage solutions offer unmatched craftsmanship and aesthetic warmth. However, decades of fluctuating temperatures, humidity shifts, and general wear inevitably take their toll. Wood is a hygroscopic material, meaning it continuously absorbs and releases moisture from its environment, leading to mechanical and structural challenges over time.
Restoring and maintaining a wooden jewelry box vintage find requires a methodical, conservation-minded approach. Using harsh modern chemicals or improper repair techniques can permanently devalue the piece and damage the precious metals and gemstones stored within. This comprehensive troubleshooting guide will walk you through diagnosing and resolving the most common issues found in antique wooden jewelry storage, utilizing professional conservation techniques and specific material recommendations.
Troubleshooting Common Mechanical Failures
Stuck or Swollen Drawers
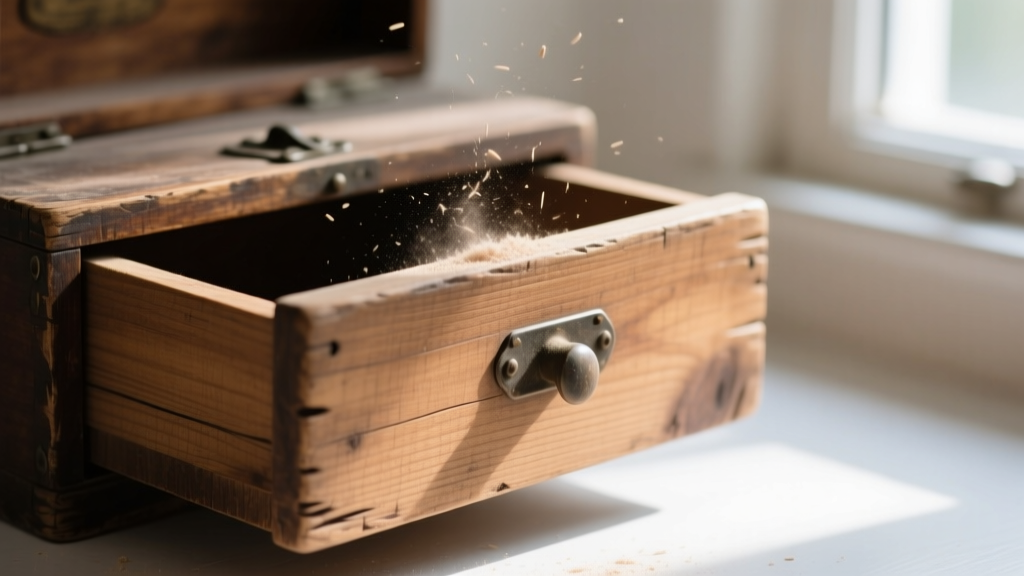
The most frequent complaint with vintage wooden storage is drawers that refuse to open or close smoothly. This is almost always caused by wood swelling due to high ambient humidity. Never force a stuck drawer, as the delicate dovetail or finger joints can easily snap under pressure.
- Environmental Acclimation: Move the box to a climate-controlled room with a relative humidity (RH) of 40-50% for 48 hours. Often, the wood will naturally contract, freeing the drawer.
- Targeted Sanding: If the drawer remains stuck, remove it and inspect the unvarnished bottom edges and side runners. Using 220-grit aluminum oxide sandpaper, gently remove a fraction of a millimeter from the swollen areas. Follow up with 320-grit for a glass-smooth finish.
- Lubrication and Sealing: Avoid silicone sprays or WD-40, which can migrate into the wood and ruin the finish. Instead, rub a thin layer of microcrystalline wax (such as Renaissance Wax) or pure beeswax along the runners to reduce friction and seal the raw wood against future moisture ingress.
Loose Hinges and Stripped Screws
Heavy lids, particularly those with integrated mirrors or intricate marquetry, place immense stress on small brass hinges. Over time, the tiny wood screws strip out their holes, leaving the lid misaligned or completely detached.
Do not simply force a larger screw into the original hole, as this will split the aged timber. For a professional, conservation-grade repair, mix a two-part clear epoxy with fine sanding dust from an inconspicuous area of the box. Pack this mixture tightly into the stripped screw hole and allow it to cure for 24 hours. Once hardened, use a precision drill bit to create a new pilot hole that perfectly matches the original screw's gauge. This method, recommended by the American Institute for Conservation, provides a bond stronger than the original wood without altering the box's external appearance.
Combating Environmental Damage
Eliminating Musty Odors and Mold
A musty, earthy smell in a wooden jewelry box vintage piece is usually indicative of trapped moisture, mildew, or the breakdown of old animal-based glues. Masking the odor with perfumes or essential oils is a critical mistake; the moisture and volatile organic compounds (VOCs) can accelerate the tarnishing of silver and degrade porous gemstones like pearls and opals.
Expert Warning: Never use bleach, ammonia, or commercial odor-neutralizing sprays inside an antique wooden box. These chemicals will strip the interior shellac or lacquer finish and leave behind residues that actively corrode precious metals.
To safely extract odors, place small, breathable muslin pouches filled with activated charcoal or zeolite minerals inside the closed compartments. Zeolite is particularly effective as it traps both moisture and odor-causing gas molecules at a microscopic level. Leave the pouches inside the sealed box for two to four weeks, replacing them halfway through. For active mold spores, lightly wipe the bare interior wood with a cloth barely dampened with naphtha, which evaporates quickly without raising the wood grain.
Treating Wood Cracks and Veneer Lift
Antique boxes often feature exquisite veneers—thin slices of decorative wood like burl walnut or rosewood glued over a cheaper substrate. When the original hide glue dries out and crystallizes, the veneer can lift, crack, or flake away.
To re-adhere lifting veneer, avoid modern PVA (polyvinyl acetate) wood glues, which are irreversible and can cause the veneer to warp as they cure. Instead, use liquid hide glue or a conservation-grade acrylic resin like Paraloid B-72. Using a blunt syringe, carefully inject the adhesive under the lifted veneer. Place a piece of wax paper over the repair, followed by a cork-backed caul, and apply gentle, even pressure with a small clamp for 12 hours. The cork prevents the clamp from denting the delicate wood surface.
Restoring Interior Linings and Hardware
Replacing Deteriorated Velvet and Felt
The original linings in many vintage boxes—often made from cheap felt, dyed velvet, or acidic paper—deteriorate over time, becoming brittle, discolored, and highly acidic. This acidity is a primary culprit behind rapid silver tarnish and the degradation of costume jewelry plating.
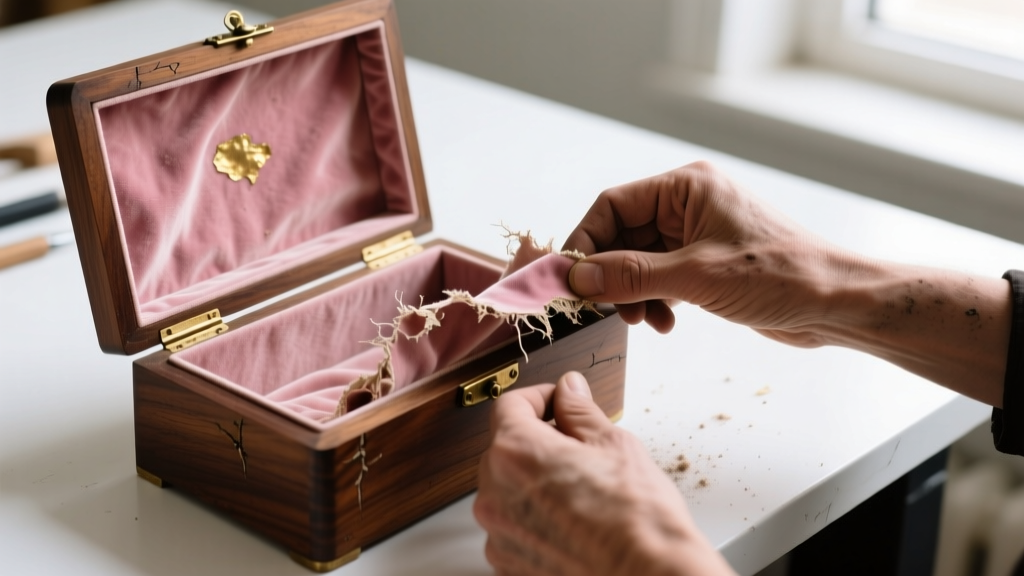
Carefully peel away the old lining. To remove the residual adhesive without damaging the wooden substrate, apply a citrus-based solvent like d-Limonene. Allow it to sit for five minutes to soften the glue, then gently scrape it away with a plastic putty knife. For the replacement, utilize modern, archivally safe materials. Pacific Silvercloth or acid-free suedette are excellent choices. These materials are impregnated with fine silver particles or zinc compounds that actively intercept hydrogen sulfide gas in the air, preventing tarnish from forming on your jewelry.
Polishing Tarnished Brass and Copper Hardware
Exterior hardware, including escutcheons, hinges, and clasps, is frequently made of solid brass or copper. Over decades, these metals develop a dark patina. While some collectors appreciate this aged look, heavy tarnish can transfer to fabrics and skin.
Avoid abrasive commercial polishes like Brasso, which contain harsh ammonia and micro-abrasives that will strip the protective lacquer and scratch the surrounding wood finish. Instead, use a mild, non-abrasive cream polish applied with a microfiber cloth. Once the desired level of shine is achieved, seal the hardware with a thin coat of Renaissance Wax to slow down future oxidation. For intricate, hard-to-reach crevices, use a soft-bristled makeup brush dipped in a small amount of naphtha to lift dirt without scratching the metal.
Preventative Maintenance for Long-Term Preservation
According to the Smithsonian Museum Conservation Institute, the longevity of wooden artifacts relies heavily on environmental stability. To protect your restored wooden jewelry box vintage piece, keep it out of direct sunlight, as UV radiation will bleach the wood and cause the finish to alligator and craze. Maintain a stable room temperature between 65°F and 75°F (18°C - 24°C) and utilize a room humidifier or dehumidifier to keep the RH strictly between 40% and 50%. Finally, inspect the box bi-annually, reapplying microcrystalline wax to the exterior surfaces every 18 to 24 months to nourish the finish and provide a barrier against dust and fingerprints.
Quick Reference Troubleshooting Chart
| Problem | Primary Cause | Expert Solution | Recommended Materials |
|---|---|---|---|
| Stuck Drawers | Wood swelling from high humidity | Sand unvarnished runners; apply wax | 220/320-grit sandpaper, Renaissance Wax |
| Stripped Hinge Screws | Mechanical stress and age | Fill hole with epoxy/dust mix; re-drill | Clear epoxy, fine sanding dust, precision drill |
| Musty Interior Odors | Trapped moisture, mildew, old glues | Absorb odors passively; wipe with solvent | Zeolite minerals, activated charcoal, naphtha |
| Lifting Veneer | Crystallization of original hide glue | Inject reversible adhesive; clamp with caul | Liquid hide glue, wax paper, cork-backed caul |
| Rapid Silver Tarnish | Acidic, deteriorated interior linings | Remove old lining; install anti-tarnish fabric | d-Limonene solvent, Pacific Silvercloth |
Final Thoughts on Antique Preservation
Troubleshooting a wooden jewelry box vintage find is a rewarding endeavor that bridges the gap between historical preservation and practical utility. By understanding the material science behind wood movement, adhesive chemistry, and metal oxidation, you can rescue these beautiful artifacts from the brink of ruin. Always prioritize reversible, conservation-approved methods over quick fixes, ensuring that your vintage storage solution remains both a safe haven for your jewelry collection and a cherished heirloom for generations to come. For further reading on caring for antique wooden objects, consult the comprehensive guidelines provided by the Winterthur Museum conservation department.


