How to Restore a Vintage Brass Jewelry Box: A Step-by-Step Guide
Learn how to safely clean, restore, and seal a vintage brass jewelry box without damaging its antique patina or interior lining.

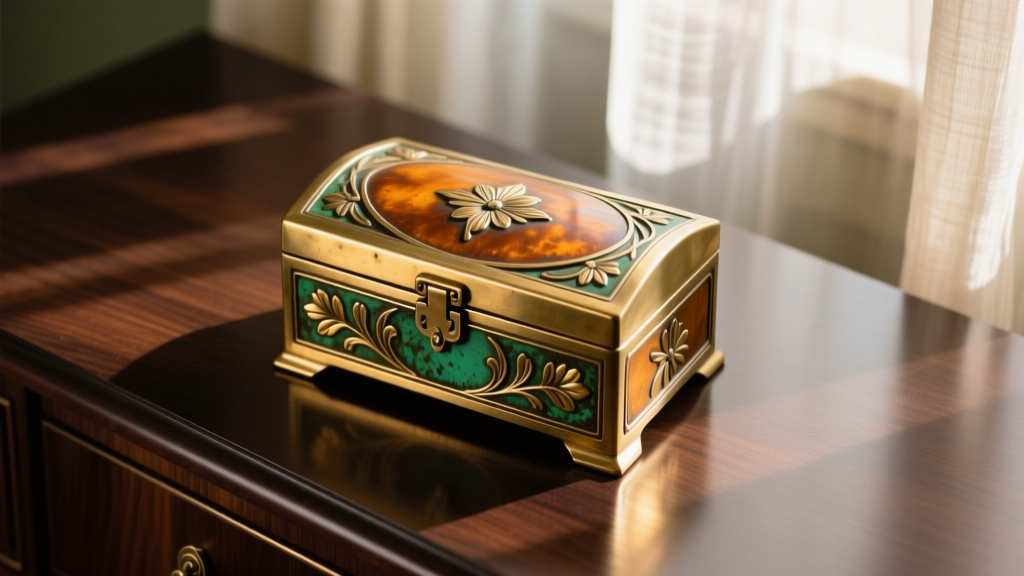
The Anatomy of a Vintage Brass Jewelry Box
Owning a vintage brass jewelry box is a nod to the masterful metallurgy of the past. Unlike modern, mass-produced aluminum or plastic alternatives, antique brass is a robust alloy primarily composed of copper (typically 60% to 70%) and zinc (30% to 40%). This specific ratio, often referred to as cartridge or architectural brass, was chosen for its malleability, allowing artisans to cast intricate repousse patterns, engrave floral motifs, and forge heavy-duty hinges. However, the high copper content is precisely what makes these pieces prone to oxidation, tarnishing, and the development of a dark patina over decades of use.
Restoring a vintage brass jewelry box is not merely about making it shine; it is a careful balancing act between removing corrosive grime and preserving the historical character of the piece. Stripping a 19th-century box down to bare, bright brass can actually diminish its antique value and aesthetic warmth. This comprehensive, step-by-step guide will walk you through the professional conservation techniques used to clean, lubricate, and protect your vintage brass casket, ensuring it remains a safe haven for your jewelry collection for generations to come.
Step 1: Assess the Finish (Lacquered vs. Unlacquered)
Before applying any cleaners, you must determine the current state of the brass. In the mid-20th century, many manufacturers began applying a thin layer of clear lacquer to brass items to prevent tarnishing.
- Lacquered Brass: If the box has a lacquer coating that is peeling, flaking, or clouded, you cannot simply polish it. Polishing will only smear the deteriorating lacquer. You must first strip the old lacquer using a gentle solvent like acetone or a specialized paint stripper, then proceed with bare brass cleaning, and finally re-lacquer or wax the piece.
- Unlacquered (Raw) Brass: If the metal feels raw, shows a natural gradient of dark patina in the crevices and lighter wear marks on the high points, it is unlacquered. This is the ideal scenario for conservation, as you can work directly with the metal's natural oxidation layer.
According to the Canadian Conservation Institute, identifying the presence of historic coatings is paramount before introducing any aqueous or chemical cleaning agents to antique metals.
Step 2: Disassembly and Interior Protection
Water and liquid polishes are the enemies of vintage interior linings, which are often made from delicate silk, velvet, or felt. Moisture can cause the wooden substrate beneath the lining to swell, leading to warping, and can promote mold growth in the fabric.
If the hardware (hinges, clasps, corner brackets) is removable via visible screws, carefully detach them using a properly sized jeweler's screwdriver to avoid stripping the vintage screw heads. If the hardware is pinned or soldered, do not attempt to force it off. Instead, mask the surrounding wood and interior fabric using low-tack painter's tape and line the interior rim with plastic wrap to create a moisture barrier during the cleaning process.
Step 3: The Cleaning Protocol
When cleaning vintage brass, the goal is to remove copper sulfide (the dark, black tarnish) and copper oxide (the reddish-brown dullness) without scratching the relatively soft metal. Brass ranks around 3 to 4 on the Mohs hardness scale, making it highly susceptible to micro-scratches from harsh abrasives.
Method A: Preserving the Patina (Light Cleaning)
If you wish to keep the dark, antique look but remove surface dirt and finger oils, avoid commercial polishes entirely. Mix a few drops of pH-neutral dish soap (like Dawn) into warm distilled water. Dampen a microfiber cloth—do not soak it—and gently wipe the surface. Dry immediately with a separate clean cloth. This removes grease without disturbing the oxidized crevices that give the box its visual depth.
Method B: Brightening the Brass (Moderate Tarnish Removal)
If the brass is heavily corroded and you want to reveal the golden undertones, use a mild, non-scratching chemical reaction rather than physical abrasion. Create a paste using equal parts lemon juice and baking soda. The citric acid gently dissolves the copper oxide, while the baking soda neutralizes the reaction and provides a microscopic, non-scratching buffing action. Apply the paste with a soft cloth, working in small circular sections. Let it sit for no more than 5 minutes, then wipe away with a damp cloth and dry thoroughly.
Commercial Polish Comparison
If you opt for a commercial polish, choose wisely. The Smithsonian Museum Conservation Institute warns against using highly abrasive pastes on historic metals. Below is a breakdown of common cleaners and their effects on vintage brass:
| Cleaning Agent | Abrasiveness (RDA/Grit) | Best Use Case | Risk to Vintage Brass |
|---|---|---|---|
| Lemon Juice + Baking Soda | Very Low (Chemical) | Overall gentle brightening | Low; must be fully rinsed to prevent acid etching |
| Wright's Brass Polish | Low (Fine liquid) | Removing moderate tarnish safely | Low; leaves a slight protective anti-tarnish residue |
| Brasso Metal Polish | High (Coarse) | Severe corrosion on modern brass | High; will strip antique patina and leave micro-scratches |
| Bar Keepers Friend | Very High (Feldspar) | Heavy-duty cookware | Severe; will permanently ruin the finish of a vintage box |
Step 4: Hinge and Clasp Restoration
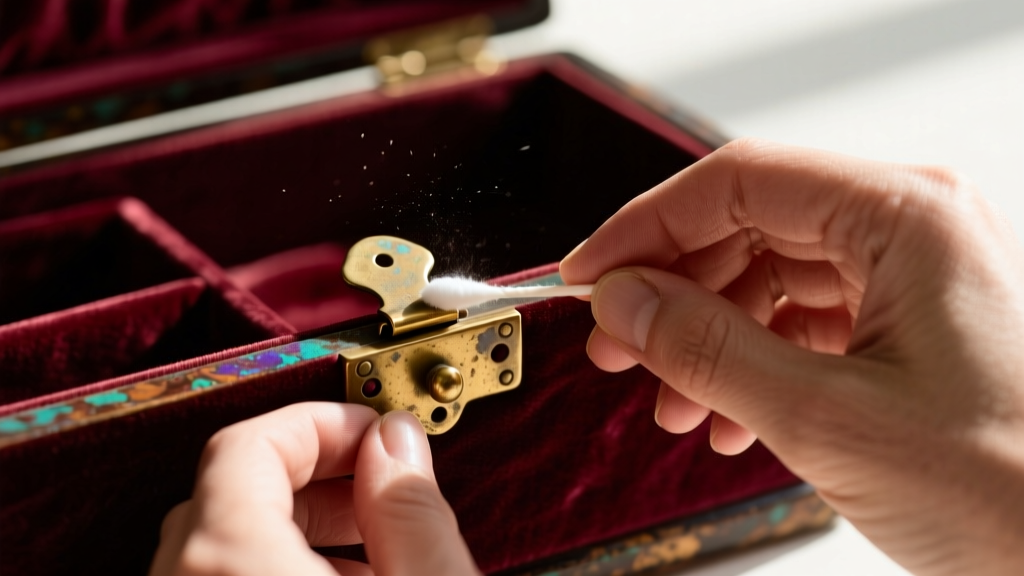
The mechanical parts of a vintage brass jewelry box—specifically the hinges and the locking clasp—often suffer from stiffness, squeaking, or seizing due to decades of dust accumulation and dried-out lubricants.
Never use standard WD-40 on antique jewelry boxes. WD-40 is primarily a solvent and water displacer, not a long-term lubricant. It will attract dust, turn into a gummy sludge over time, and its chemical composition can degrade the delicate interior fabrics and wood glues.
Instead, use a PTFE (Teflon) dry lubricant or a specialized micro-mechanical oil like sewing machine oil. Apply a single drop directly to the hinge pin using a needle-point oiler. Open and close the lid a dozen times to work the lubricant into the joint. Wipe away any excess immediately to prevent it from migrating onto the brass surface or the interior lining. For friction clasps that have become loose, a very gentle tap with a rawhide mallet can tighten the brass catch without marring the metal.
Step 5: Sealing with Microcrystalline Wax
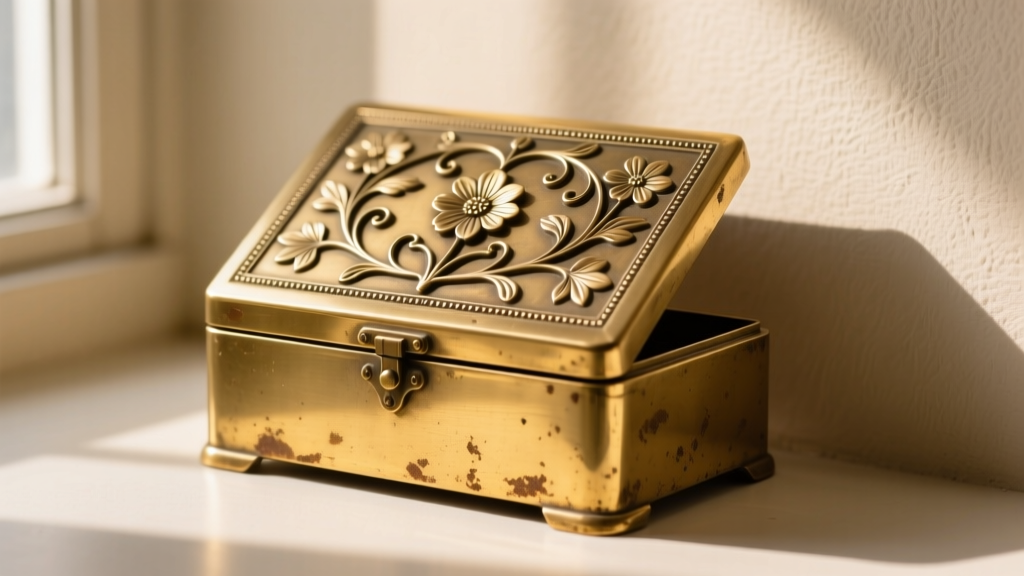
Once the brass is cleaned to your desired level and the hardware is lubricated, the metal is entirely exposed to oxygen and humidity, which will immediately begin the tarnishing process anew. To halt this, you must seal the surface.
The gold standard in museum conservation is Renaissance Wax, a microcrystalline wax originally developed by the British Museum. Unlike carnauba or beeswax, which can contain acidic components that might react with copper over time, microcrystalline wax is completely pH-neutral, highly stable, and moisture-resistant.
Pro-Tip for Wax Application: Apply the wax in a paper-thin layer using a clean, lint-free cotton cloth. Allow it to 'flash' (dry to a haze) for exactly 15 to 20 minutes. Buffing it too soon will result in a sticky, streaky finish; waiting too long makes it difficult to remove. Buff vigorously with a horsehair brush or a clean microfiber towel to achieve a soft, satin luster that mimics the glow of centuries of careful handling.
Interior Lining: Protecting Your Jewelry from Off-Gassing
The exterior restoration is only half the battle. The interior of a vintage brass jewelry box must be a safe environment for your jewelry. Older boxes were often lined with materials that, as they degrade, release volatile organic compounds (VOCs) and sulfur gases. These gases accelerate the tarnishing of silver and can cause localized corrosion on gold alloys and pearls.
If your vintage box features a heavily degraded, crumbling velvet or a stained silk lining, it is actively harming your jewelry. Carefully lift the old fabric. You will likely find a layer of cotton batting or acidic cardboard beneath. Remove this and replace it with acid-free, unbuffered archival tissue paper or a modern, tarnish-resistant Pacific Silvercloth. When re-gluing the new lining, use only a pH-neutral, reversible adhesive like wheat starch paste or a conservation-grade PVA (polyvinyl acetate) to ensure the repair does not introduce new acidic off-gassing into the enclosed space.
Final Thoughts on Maintenance
A restored vintage brass jewelry box requires minimal ongoing maintenance. Keep the box out of direct sunlight and away from high-humidity environments like bathrooms. Dust it weekly with a soft brush, and reapply a thin coat of microcrystalline wax every 12 to 18 months to maintain the protective barrier. By respecting the metallurgy and history of the piece, you ensure that your vintage brass casket remains both a stunning display object and a chemically safe vault for your most treasured adornments.


