How to Solder Copper Jewelry: A Step-by-Step Master Guide
Learn how to solder copper jewelry with our expert step-by-step guide. Master flux, torch control, and pick soldering for flawless joints.

The Metallurgy of Copper Soldering: Why It Demands Precision
Learning how to solder copper jewelry requires a fundamental shift in how you approach heat management. Unlike silver or gold, copper possesses an exceptionally high thermal conductivity (approximately 401 W/m·K). This means copper acts as a massive heat sink, rapidly pulling thermal energy away from your focal joint and dissipating it across the entire piece. If your torch lacks the necessary British Thermal Unit (BTU) output, or if your technique is overly localized, the solder will simply ball up and refuse to flow.
Furthermore, copper oxidizes aggressively when exposed to high temperatures, forming a thick layer of cupric oxide (black scale) that physically blocks solder from bonding to the base metal. Mastering this process is not just about melting alloy; it is about orchestrating a precise chemical and thermal environment. In this comprehensive guide, we break down the exact tools, alloys, and techniques required to achieve seamless, structurally sound solder joints on copper jewelry.
Essential Tools and Material Specifications
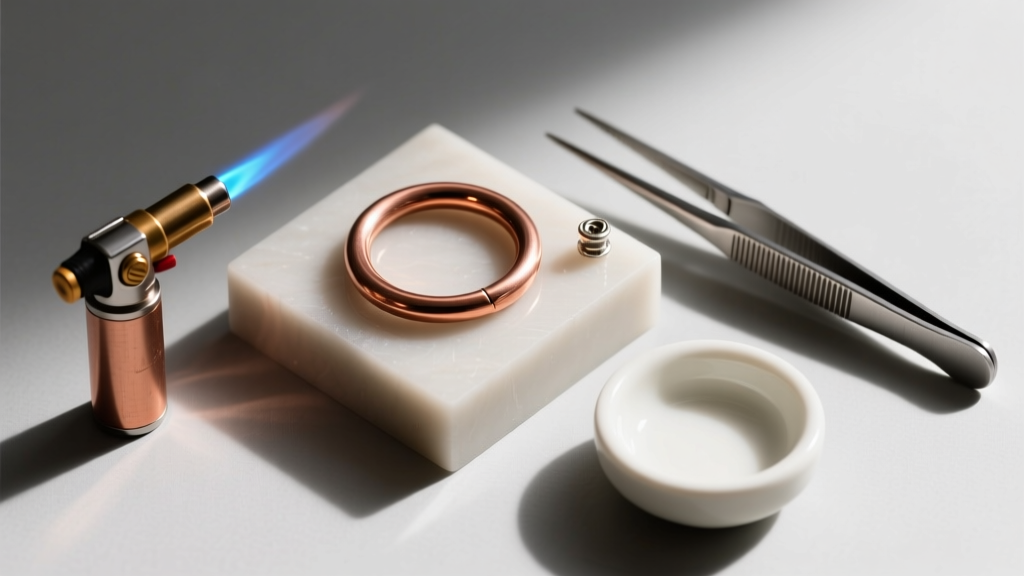
Before striking your torch, you must assemble a toolkit capable of overcoming copper's thermal and chemical hurdles. Standard jewelry soldering kits often fall short for heavy copper work.
| Category | Recommended Specification | Purpose & Expert Insight |
|---|---|---|
| Torch | Blazer Big Shot or Proxxon Micro-Torch | Delivers a high-BTU, concentrated 2,500°F flame necessary to overcome copper's heat-sinking properties. |
| Solder Alloy | Rio Grande Copper-Color Silver Solder (Easy/Medium) | Melts at 1325°F–1390°F. Contains silver for structural integrity but is formulated to match copper's patina. |
| Flux | Stay-Silv Black Flux or Harris White Flux | Borax-based fluxes that remain active at higher temperatures, dissolving heavy cupric oxide scale. |
| Pickle Solution | Sparex #2 (Sodium Bisulfate) at 140°F | Warm acid bath that strips post-solder oxidation without etching the copper base metal. |
| Surface | Honeycomb Ceramic Soldering Board | Reflects heat back into the workpiece, aiding in achieving the critical mass temperature for copper. |
Step 1: Surface Preparation and Flux Application
Solder will not flow over dirt, oils, or pre-existing oxidation. Copper, in particular, develops a microscopic layer of tarnish almost immediately after polishing.
1. Mechanical Cleaning: Use a fiberglass scratch brush or 600-grit wet/dry sandpaper to brighten the exact areas where the joint will occur. Do not touch the metal with your bare fingers after sanding; the oils from your skin will act as a resist.
2. Chemical Fluxing: Dip the piece in a warm pickle pot first to ensure it is chemically clean. Then, apply your flux.
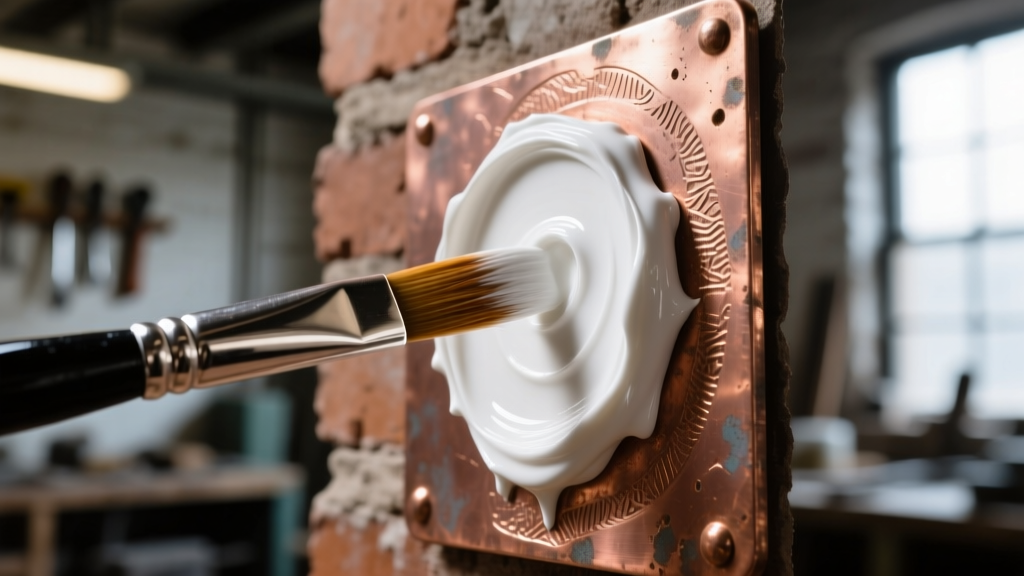
Use a dedicated flux brush to paint a generous, even layer of Stay-Silv or borax flux over the joint and the surrounding 1/4 inch of the metal. The flux should look like a thick coat of white paint. As the torch heats the metal, the flux will bubble, dry, and eventually melt into a clear, glassy barrier that prevents oxygen from reaching the copper surface.
Step 2: Positioning and Choosing the Right Solder
When figuring out how to solder copper jewelry, selecting the correct alloy is a common stumbling block. True copper solder (often a copper-phosphorus blend used in HVAC plumbing) is brittle and lacks the tensile strength required for fine jewelry. Instead, professional jewelers rely on color-matched silver solders.
Understanding Solder Grades for Copper
- Hard Solder (1425°F+): Best for the first joint in a multi-step assembly. It requires significant heat, which can be difficult to manage on thin copper gauges (24g+).
- Medium Solder (1390°F): The workhorse grade. Ideal for setting bezels, closing heavy jump rings, and attaching bails to copper pendants.
- Easy Solder (1325°F): Reserved for final, delicate repairs or adding small findings to large, heat-sinking copper cuffs where you want to avoid re-melting previous joints.
Place a small, precisely cut pallion (chip) of solder directly adjacent to the joint. Do not place it on top of the seam; capillary action will pull the molten solder into the gap once the base metal reaches the flow temperature.
Step 3: Torch Control and the "Sweep" Technique
This is where the battle against copper's thermal conductivity is won or lost. The most critical rule in soldering copper is to never heat the solder directly. You must heat the base metal until it is hot enough to melt the solder upon contact.
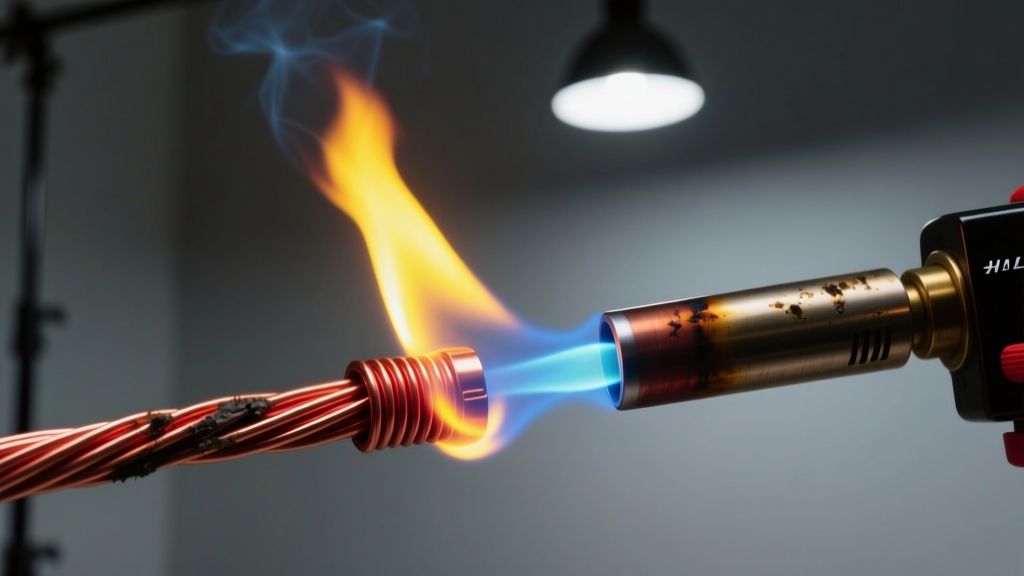
The Heating Sequence:
- Dry the Flux: Hold the torch 4 inches away and use a wide, sweeping motion to gently dry the flux. If you heat too quickly, the water in the flux will boil and blow your solder chip off the block.
- Heat the Mass: Once the flux turns glassy, bring the flame closer. Sweep the inner blue cone of the flame across the entire copper component, not just the joint. For a large copper bangle, you must heat the entire circumference to prevent the cold metal from stealing heat from the joint.
- Watch the Metal, Not the Flame: Dim the lights in your studio. Watch for the copper to transition from a bright orange to a dull, dark cherry red (approximately 1200°F–1300°F).
- Flash the Joint: The moment the copper reaches the critical cherry-red phase, flick the tip of the blue flame directly onto the solder pallion for a fraction of a second. The solder will instantly flash-melt and be pulled into the seam via capillary action.
Step 4: Pickling, Quenching, and Finishing
Once the solder flashes, immediately remove the heat. Allow the piece to cool on the ceramic block until the red glow fades completely. Quenching red-hot copper in water can cause thermal shock, warping thin sheets or cracking cast elements.
Using copper or plastic tweezers (never steel, which can cause galvanic contamination in the acid bath), transfer the piece to a warm pickle pot (140°F) maintained with Sparex #2 or a 10% citric acid solution. The acid will dissolve the glassy flux and strip the black cupric oxide scale, revealing the bright, clean copper and the color-matched solder seam. Rinse thoroughly in water with baking soda to neutralize the acid before moving to final polishing or patina application (such as Liver of Sulfur).
Troubleshooting Common Copper Soldering Failures
Even experienced metalsmiths encounter issues when adapting to copper. Consult this diagnostic framework if your joints are failing.
1. The Solder Balls Up and Refuses to Flow
The Cause: You are heating the solder chip, not the copper base metal. The solder reaches its melting point before the copper reaches its flow temperature, causing the alloy to surface-tension into a sphere and oxidize.
The Fix: Pick the solder ball off with tweezers, re-sand the joint, re-flux, and apply heat broadly to the copper mass. Only flash the joint when the copper is glowing dull red.
2. The Flux Turns Black and Crusty
The Cause: The flux has burned out. This happens if you exceed the active temperature range of your specific flux (common with standard white flux on heavy copper pieces) or if you take too long to reach the soldering temperature.
The Fix: Quench, pickle, and start over. For heavy copper work, switch to a high-temperature black flux like Stay-Silv Black Flux, which remains active and protective at much higher thermal thresholds.
3. Pitting or Holes in the Solder Seam
The Cause: A poor mechanical fit. Solder is not a gap-filler; it relies on capillary action. If the copper walls do not touch flush against one another, the solder will pull away from the center as it cools, leaving microscopic voids.
The Fix: File and sand your mating surfaces perfectly flat. Use binding wire or a third-hand tool to apply slight physical pressure to the joint during heating.
Final Thoughts on Copper Mastery
Learning how to solder copper jewelry is a rite of passage that will fundamentally improve your overall torch control. Because copper demands rapid, confident heat management and meticulous surface preparation, mastering this base metal will make soldering silver, brass, and gold feel remarkably forgiving. Invest in a high-BTU micro-torch, respect the oxidation process, and always let the base metal do the work of pulling the solder into the joint.


