Master Soldering Copper Jewelry: Troubleshooting Pitting and Balling
Master the art of soldering copper jewelry with our expert troubleshooting guide. Fix pitting, balling, and cold joints with precise heat and flux tips.

The Metallurgical Reality of Soldering Copper
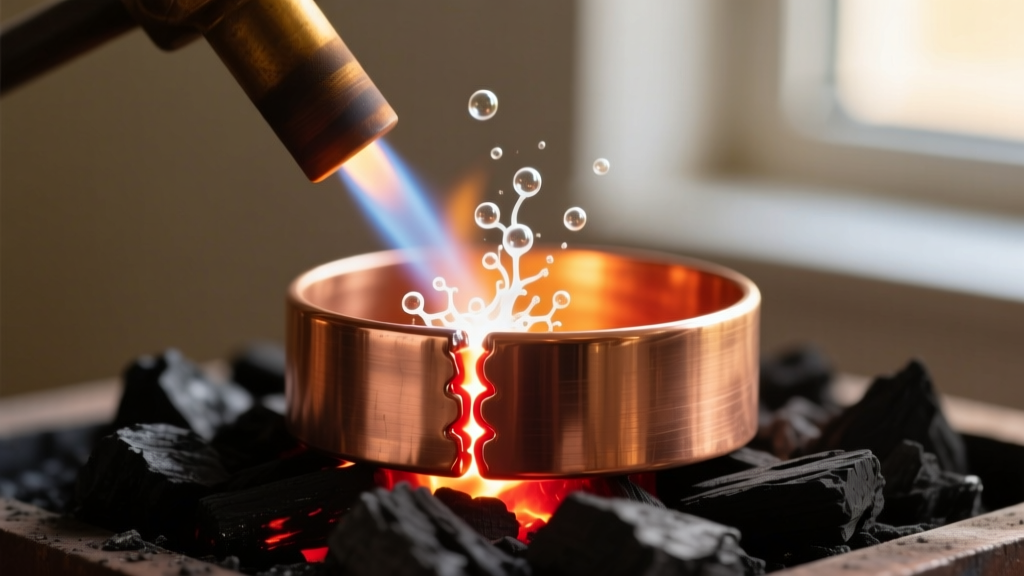
When jewelers transition from sterling silver or gold to copper, they are often blindsided by the metal's behavior under the torch. While copper's thermal conductivity (401 W/m·K) is slightly lower than pure silver, its aggressive oxidation rate at high temperatures makes soldering copper jewelry a unique challenge. As copper reaches annealing temperatures, it rapidly forms cupric oxide (CuO) and cuprous oxide (Cu2O) on the surface. This thick, dark fire scale acts as an impenetrable barrier to capillary action, causing solder to ball up, pit, or simply refuse to flow.
Troubleshooting these issues requires abandoning the 'one-size-fits-all' silversmithing approach. You must manage both the thermal mass of the piece and the chemical environment of the seam. Below, we break down the exact failure modes encountered when soldering copper and provide actionable, metallurgically sound solutions.
Flux and Solder Selection: Building the Right Chemistry
The most common point of failure when soldering copper jewelry is using an inadequate flux or the wrong solder alloy. Standard white flux (borax-based) often exhausts itself before the dense copper mass reaches the solder's flow point.
Choosing the Right Flux
For heavy copper components, a black flux (a mixture of boric acid and potassium fluoride) is mandatory. Black flux forms a glassy, protective shield that lasts longer at high temperatures and actively dissolves stubborn copper oxides. For an extra layer of protection, apply a boric acid and denatured alcohol dip to the entire piece before applying paste flux to the seam to prevent secondary scale formation.
Solder Alloys: Phosphorus-Copper vs. Silver-Bearing
| Solder Type | Composition | Flow Temp (°F) | Best Use Case | Ductility |
|---|---|---|---|---|
| Phos-Copper (e.g., Sil-Fos) | 93% Cu, 6% Ag, 1% P | 1,325 - 1,450 | Castings, heavy wire, structural | Low (Brittle) |
| Silver-Bearing (e.g., Stay-Silv 5) | 95% Cu, 5% Ag | 1,325 - 1,470 | Rings, bracelets, bezels | High (Flexible) |
| High-Silver Copper (e.g., Stay-Silv 15) | 85% Cu, 15% Ag | 1,225 - 1,495 | Step-soldering, complex joints | Very High |
Note: Phosphorus-copper solders are 'self-fluxing' on pure copper due to the phosphorus acting as a deoxidizer. However, they are highly brittle and will snap if used on rings or bracelets subjected to bending. Always use silver-bearing copper solders with a dedicated black flux for wearable jewelry.
Troubleshooting Core Soldering Defects
Defect 1: Solder Balling (Refusal to Flow)
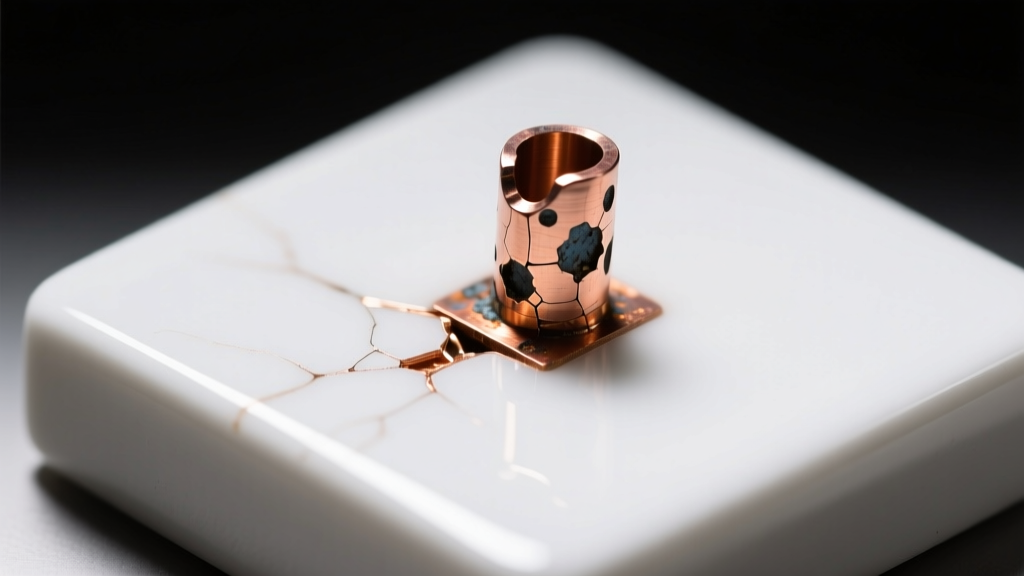
The Cause: Surface tension is overpowering capillary action. This happens when the solder melts before the base copper reaches the necessary flow temperature, or when the seam is coated in un-dissolved cupric oxide.
The Fix: Stop heating the solder directly. Copper acts as a massive heat sink. Use a broad, bushy flame to heat the surrounding metal, allowing the heat to travel to the seam via conduction. The solder should only melt when it touches the flux-coated, cherry-red copper seam. If the solder balls up, quench the piece, re-pickle, mechanically abrade the seam with a fiberglass brush to remove the oxide layer, and re-flux.
Defect 2: Pitting and Porosity
The Cause: Pitting in soldering copper jewelry is almost always caused by overheating or using an oxidizing flame. An oxidizing flame (excess oxygen, sharp blue cone) forces oxygen into the molten solder pool, creating gas pockets that freeze into pits. Additionally, overheating can vaporize trace elements in the solder alloy.
The Fix: Adjust your torch to a neutral or slightly carburizing (reducing) flame. The feather of the flame should envelope the copper piece, stripping away ambient oxygen. Keep the torch moving in a circular motion to distribute heat evenly and pull the flame away the exact millisecond the solder flashes and flows.
Defect 3: The Cold Joint
The Cause: The solder flowed, but the base metal wasn't hot enough to allow deep capillary penetration. The joint looks smooth but lacks structural integrity and will snap under stress.
The Fix: Pre-heat the entire piece on a charcoal block (which reflects heat back into the metal) until the flux turns clear and glassy (approx. 800°F to 1,000°F) before focusing your flame on the specific seam. For thick gauge copper (14g or lower), consider using dual torches or a larger acetylene/air tip (like a Smith #4 or #5) to overcome the thermal mass.
Advanced Heat Control and Surface Prep
Proper preparation accounts for 80% of success when soldering copper. The seam must be perfectly flush. Unlike silver, copper does not 'pull' tight under surface tension when heated. If there is a gap larger than 0.003 inches, the solder will sink into the void, leaving a pitted, weak joint.
- Filing: Use a #4 cut hand file to create perfectly flat mating surfaces. Do not use sandpaper, as embedded grit will contaminate the joint and cause inclusions.
- Binding: Use titanium or stainless steel binding wire, but ensure it is not touching the solder seam. Copper's high thermal conductivity means binding wire will act as a heat sink, pulling heat away from your joint.
- Block Choice: Avoid ceramic honeycomb boards for large copper pieces; they absorb too much heat. Use a natural charcoal block or a graphite soldering block to reflect infrared heat back into the copper.
The Pickle Trap: Avoiding Galvanic Disasters
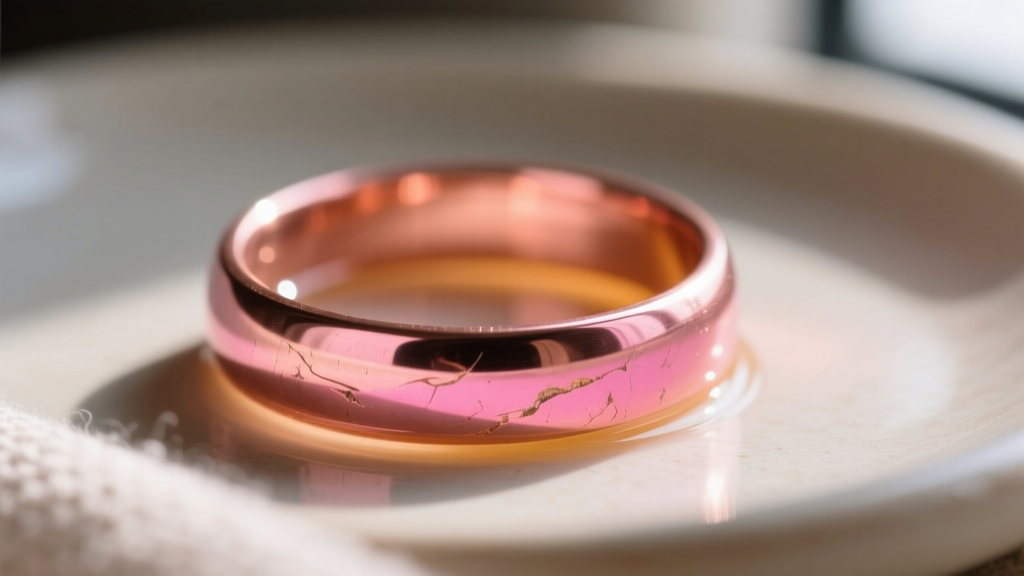
A critical, often overlooked phase of soldering copper jewelry is the cleanup. When you quench hot copper into a standard sodium bisulfate pickle (like Sparex), the acid strips the oxidized surface, leaving a bright, salmon-pink finish. However, this is where many jewelers ruin their work.
The Galvanic Rule: Never use steel tweezers in a hot pickle pot containing copper. The acid acts as an electrolyte. If steel touches the copper in the hot bath, a galvanic reaction occurs. The dissolved copper ions in the acid will instantly plate onto the steel tweezers, while the acid aggressively etches the copper jewelry, leaving a rough, pitted surface.
The Solution: Exclusively use copper, titanium, or high-heat plastic tweezers when handling copper jewelry in the pickle. For an eco-friendly and highly effective alternative to Sparex, use a saturated citric acid bath heated to 140°F. Citric acid is gentler on the copper's surface and significantly reduces the risk of accidental depletion plating.
Final Thoughts on Copper Mastery
Mastering the art of soldering copper jewelry requires respecting the metal's aggressive relationship with oxygen and its high thermal conductivity. By upgrading to a black fluoride flux, selecting ductile silver-bearing copper solders, and strictly managing your flame chemistry, you can achieve seamless, structurally sound joints. For further reading on advanced metallurgical techniques and torch setups, consult the extensive archives at Ganoksin or the technical soldering guides provided by Rio Grande. Approach copper not as a cheap alternative to silver, but as a dynamic, living metal that rewards precise, informed technique.


