Troubleshooting Lab Grown Diamond Jewelry: Cloudiness & Care
Discover expert troubleshooting for lab grown diamond jewelry. Learn how to fix cloudiness, secure loose settings, and verify certification details.

The Reality of Lab Grown Diamond Jewelry Maintenance
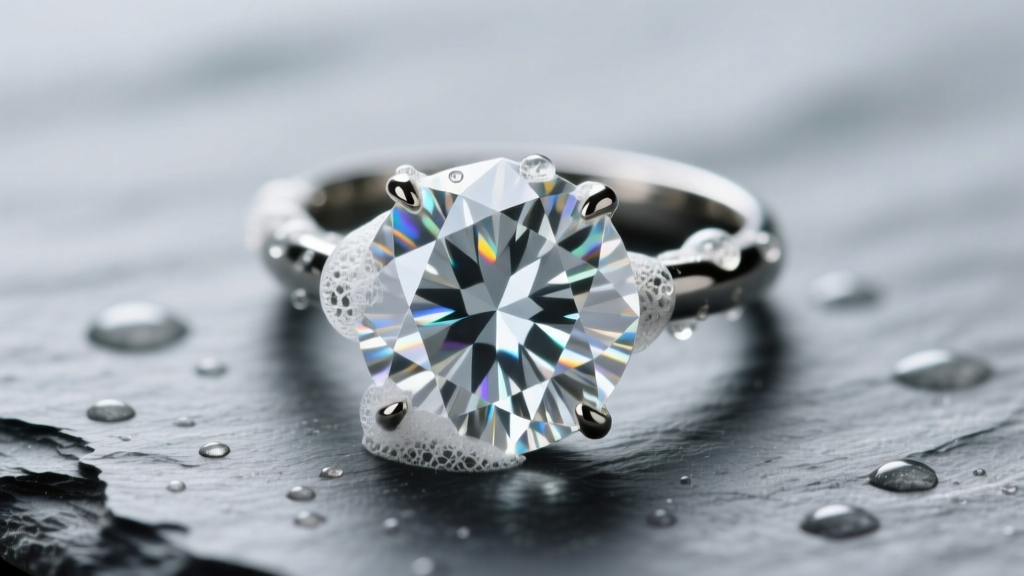
As lab grown diamond jewelry captures the majority of the bridal and fine jewelry market in 2026, a new wave of consumer troubleshooting queries has emerged. While lab-grown stones possess the exact same physical, chemical, and optical properties as mined diamonds, the jewelry they are set in—and the specific growth-related characteristics of the stones themselves—require specialized care. Whether you are dealing with a sudden loss of brilliance, a loose prong, or a missing girdle inscription, diagnosing the root cause is critical. This guide provides expert-level troubleshooting frameworks for the most common issues plaguing lab-created diamond pieces.
Diagnosing the "Cloudy" Lab Diamond Phenomenon
The most frequent complaint among owners of lab grown diamond jewelry is a sudden, milky cloudiness that obscures the stone's fire and scintillation. Before panicking and assuming the stone is defective, you must differentiate between environmental buildup and structural strain.
Environmental Buildup vs. Structural Strain
Over 90% of cloudiness cases are environmental. Diamonds are lipophilic, meaning they attract and hold oils. Sebum, lotions, and hard water minerals create a microscopic film over the pavilion facets, blocking light return. However, in rare cases involving lower-tier CVD (Chemical Vapor Deposition) stones, rapid growth processes can result in silicon inclusions or graphitic clouds that mimic surface dirt. HPHT (High Pressure High Temperature) stones, conversely, may contain metallic flux inclusions that can cause a hazy appearance if heavily concentrated.
The Ammonia Soak Test
To isolate the variable, perform a controlled deep clean. Avoid commercial jewelry dips, which often contain harsh thiourea compounds that can damage porous alloy settings. Instead, use this gemologist-approved ratio:
- Mix 1 part clear household ammonia with 6 parts distilled (not tap) water.
- Submerge the jewelry for exactly 20 minutes at room temperature.
- Gently agitate with a soft-bristled baby toothbrush, focusing on the pavilion (underside) of the stone.
- Rinse with distilled water and dry with a lint-free microfiber cloth.
If the stone remains cloudy after this process, the issue is internal. You will need to consult a gemologist to assess whether the stone suffers from CVD strain or if it was subjected to post-growth fracture filling—a practice that is heavily penalized by top-tier grading labs but occasionally slips through secondary markets.
Troubleshooting Prong and Setting Failures
Because lab grown diamonds often cost significantly less than their mined counterparts, some manufacturers offset their margins by utilizing lower-quality casting alloys or rushed manufacturing techniques. This leads to a higher incidence of setting failures, particularly in mass-market lab diamond jewelry.
Identifying Casting Porosity
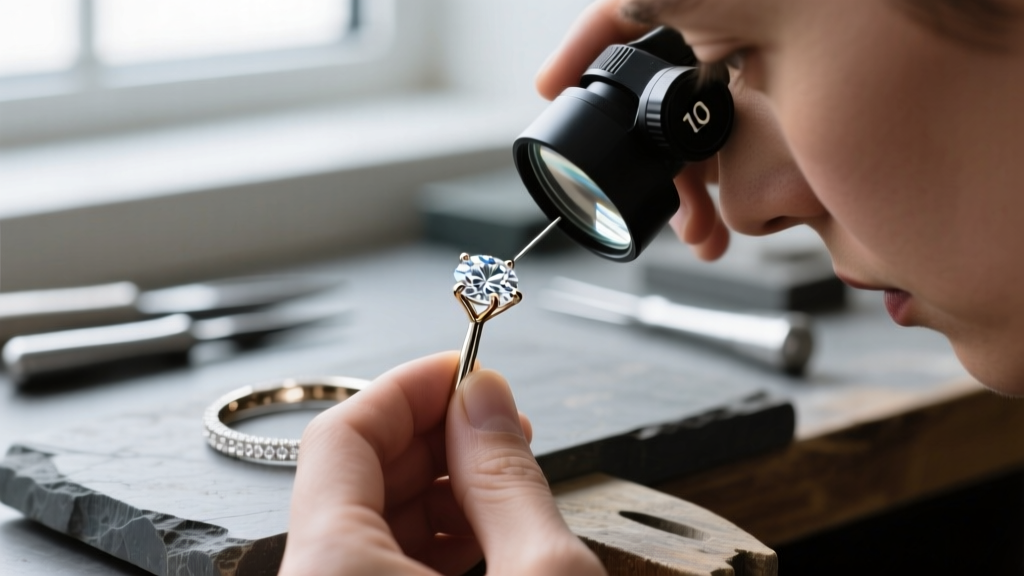
Porosity occurs when gas bubbles are trapped in the molten metal during the casting process. In 10k or poorly alloyed 14k gold settings, porosity weakens the prong structure, leading to micro-fractures that eventually snap. If you notice a prong looking "pitted" or feeling rough to the snag of a cotton swab, the metal is compromised. Do not attempt to push the prong back over the diamond yourself; the weakened metal will likely snap entirely. Take it to a jeweler for a prong retip using laser welding, which applies minimal heat and protects the lab diamond from thermal shock.
| Metal Type | Common Failure Mode | Troubleshooting Action |
|---|---|---|
| 14k White Gold | Prong wear & rhodium depletion | Re-plate annually; laser weld worn prong tips. |
| 18k Yellow Gold | Prong bending due to softness | Have a jeweler tighten and burnish prongs every 6 months. |
| Platinum (950) | Prong displacement (metal moves, doesn't wear) | Burnish and push metal back; highly durable long-term. |
| 10k Gold (Budget) | Casting porosity & sudden snapping | Replace entire head/setting; do not attempt to solder. |
Resolving Certification and Laser Inscription Discrepancies
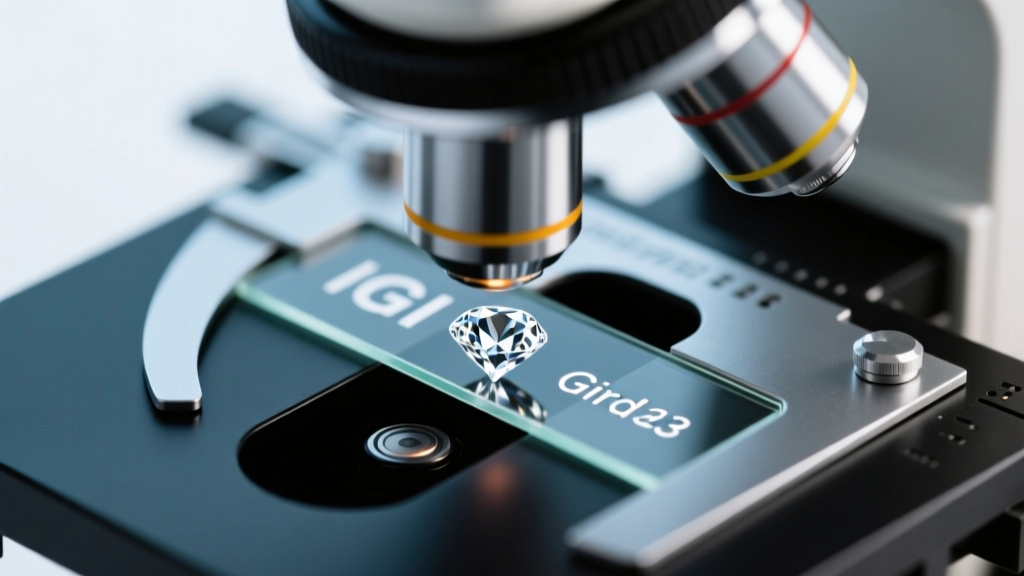
Verifying the authenticity and origin of your stone is a crucial part of troubleshooting lab grown diamond jewelry, especially if you are insuring the piece or preparing it for an upgrade. The Gemological Institute of America (GIA) and the International Gemological Institute (IGI) both mandate laser inscriptions on the girdle of lab-grown stones, but discrepancies can occur.
What to Do When the Inscription is Missing or Mismatched
Under a standard 10x jeweler's loupe, laser inscriptions can be difficult to read due to facet reflections. To properly troubleshoot a missing or mismatched inscription:
- Upgrade your magnification: Use a 30x triplet loupe or a digital gemological microscope. The "LG" or "LABORATORY GROWN" prefix is often microscopic and easily missed at lower magnifications.
- Check the grading report metadata: Some older IGI reports (pre-2023) may have inscribed only the report number without the "LG" prefix due to transitional industry standards. Cross-reference the exact carat weight and inclusion plot on your certificate with the stone under magnification.
- Beware of the "Bait and Switch": If the inclusion plot on your GIA or IGI certificate does not match the internal characteristics of the stone in your setting, you may have been sold a simulant (like cubic zirconia) or a different, lower-grade lab diamond. Seek an independent appraisal immediately.
The Ultrasonic Cleaner Trap: When to Avoid It
Ultrasonic cleaners use high-frequency sound waves to create microscopic cavitation bubbles that blast dirt from crevices. While generally safe for high-clarity mined diamonds, they pose specific risks to certain types of lab grown diamond jewelry.
HPHT Metallic Flux and CVD Fractures
According to guidelines from Jewelers of America, ultrasonic cleaners should be avoided if your stone has surface-reaching fractures. While reputable lab-grown diamonds are rarely fracture-filled, stones purchased from unverified secondary markets or deep-discount liquidators might be. The ultrasonic vibrations can shatter a stone with severe internal strain or dislodge glass-like fracture fillers, permanently ruining the diamond's clarity. Furthermore, heavily included HPHT stones with metallic flux inclusions can occasionally react to the intense localized heat generated by ultrasonic cavitation, leading to internal cracking.
Expert Rule of Thumb: If your lab grown diamond is graded SI2 or I1, or if you purchased it from a non-certified vendor, bypass the ultrasonic cleaner entirely. Stick to the ammonia soak and a soft brush to guarantee the structural integrity of the stone.
Step-by-Step Recovery Action Plan
If your lab grown diamond jewelry is underperforming, follow this diagnostic checklist to restore its brilliance and security:
- Step 1: Perform the 1:6 ammonia soak to rule out lipophilic grime and hard water scaling.
- Step 2: Inspect the pavilion and girdle under 30x magnification for surface-reaching fractures or chipping.
- Step 3: Run a cotton swab over the prongs; if it snags, the metal is porous or worn and requires professional laser welding.
- Step 4: Verify the girdle inscription against your digital IGI or GIA certificate to ensure chain-of-custody integrity.
- Step 5: Establish a 6-month maintenance schedule with a local bench jeweler who has verified experience working with both CVD and HPHT lab diamonds.
By understanding the unique gemological and metallurgical nuances of lab-created stones, you can effectively troubleshoot common issues and ensure your jewelry remains as brilliant and secure as the day it was unboxed.


