Beginner's Guide to Gold Jewelry Making: Tools & Tips
Learn the essentials of gold jewelry making with our beginner-friendly guide. Discover bench setup, alloy basics, and must-have tools for fabrication.

Introduction to the Goldsmith's Bench
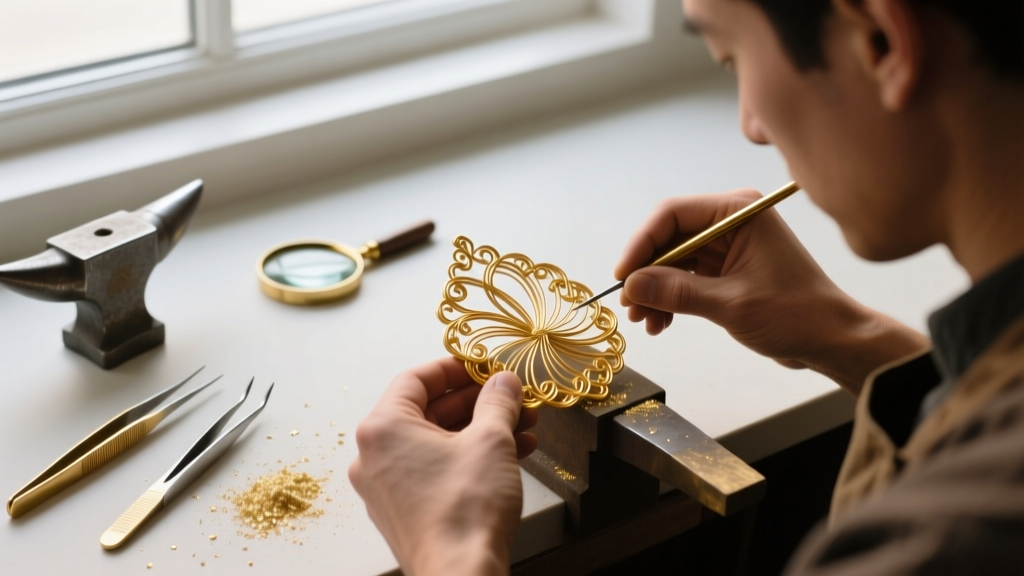
Welcome to the definitive primer on gold jewelry making. Transitioning from a hobbyist to a capable goldsmith requires more than just artistic vision; it demands a rigorous understanding of metallurgy, precise bench mechanics, and strict safety protocols. Unlike silver or copper, gold is a noble metal with unique thermal properties, specific work-hardening behaviors, and a high material cost that leaves little room for error. In this guide, we will break down the exact tools, alloy compositions, and fabrication techniques you need to set up a professional-grade bench and craft your first 14k gold band from scratch.
The Metallurgy of Gold Alloys
Pure 24-karat gold is exceptionally malleable and possesses a melting point of 1,064°C (1,947°F). While beautiful, its softness (roughly 25 on the Vickers Hardness scale) makes it entirely unsuitable for structural jewelry components like prongs, ring shanks, or clasps. Therefore, gold jewelry making almost exclusively relies on alloyed gold. By introducing metals like copper, silver, zinc, and palladium, we alter the melting point, color, and tensile strength of the material.
| Karat | Gold Content | Primary Alloy Metals | Melting Point (Approx) | Vickers Hardness (HV) | Best Use Case |
|---|---|---|---|---|---|
| 24k | 99.9% | None | 1,064°C | 25 HV | Cast ingots, non-structural accents |
| 22k | 91.6% | Copper, Silver | 980°C | 60 HV | Heavy bezels, traditional ethnic jewelry |
| 18k | 75.0% | Copper, Silver, Palladium | 900°C | 120 HV | High-end engagement rings, fine settings |
| 14k | 58.5% | Copper, Silver, Zinc | 850°C | 135 HV | Everyday wear bands, durable clasps |
Pro Tip: When working with white gold, be aware that nickel-based alloys (common in older or cheaper stock) can cause severe contact dermatitis. Always opt for palladium-based white gold alloys for hypoallergenic, premium jewelry, though note that palladium significantly raises the melting point and requires higher torch temperatures.
Essential Tools for Fabrication
A well-organized bench is the hallmark of a master jeweler. For gold jewelry making, your initial investment should focus on precision hand tools and reliable thermal equipment. According to industry suppliers like Rio Grande, a beginner should prioritize the following core items:
Sawing and Filing
The jeweler's saw is your primary cutting tool. Invest in an adjustable saw frame (like the Knew Concepts 5-inch model) to accommodate various blade lengths. For 1mm to 1.5mm gold sheet, use 2/0 or 3/0 Swiss-pattern saw blades. Critical technique: Always lubricate your blade with beeswax or specialized cutting wax. Gold is soft and gummy; without lubrication, the metal debris will clog the teeth and snap the blade. Remember that a jeweler's saw cuts on the pull stroke (downward), not the push stroke.
Soldering and Thermal Control
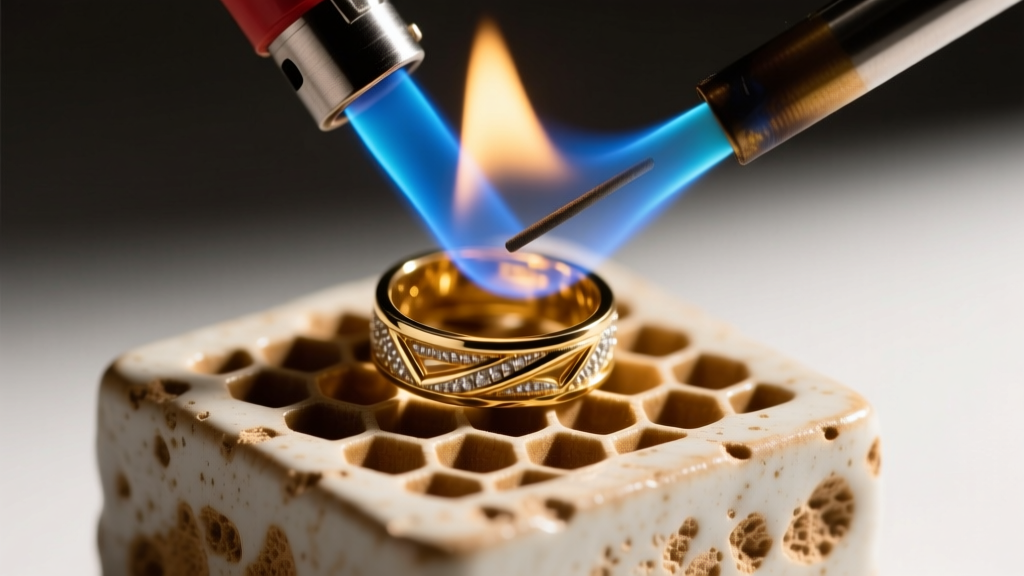
Gold's high thermal conductivity means heat dissipates rapidly. A standard butane micro-torch is sufficient for small jump rings, but for ring shanks and structural seams, you need a specialized air-gas torch (like the Smith Acetylene/Air Little Torch). You will also need a honeycomb ceramic soldering board, which reflects heat back onto the workpiece, and a selection of fluoride-based fluxes (such as Handy Flux) to prevent oxidation during heating.
Step-by-Step: Crafting Your First 14k Gold Band
Let's apply these concepts to fabricate a simple, size 7, flat-band ring using 1.5mm x 4mm 14k yellow gold wire.
- Calculation and Sawing: Calculate the required length using the formula: (Diameter + Wire Thickness) × π. For a size 7 (17.3mm inner diameter), add 1.5mm wire thickness to get 18.8mm. Multiply by 3.14 to get roughly 59mm. Mark your gold wire with a scribe and saw it to length using a 2/0 blade, cutting just outside your line to leave room for filing.
- Filing the Seam: Use a #2 cut hand file to square off the ends of the wire. The mating surfaces must be perfectly flush. If light passes through the seam when you press the ends together, the solder will not bridge the gap via capillary action.
- Bending: Anneal the wire if it has become work-hardened. Using a rawhide mallet and a steel ring mandrel, gently tap the wire into a 'D' shape, bringing the filed ends together. Ensure there is absolutely no tension or spring-back in the metal.
- Fluxing and Soldering: Coat the ring in flux. Place a small pallion of Hard 14k gold solder (melting point ~788°C) directly over the seam. Heat the entire ring evenly with a bushy, slightly reducing flame to bring the metal up to temperature. Once the flux turns glassy and the gold glows dull red, focus the inner blue cone of the flame directly on the solder. It will instantly flash and flow into the seam.
- The Pickle and Quench: Drop the hot ring into a warm pickle pot (a mild acid solution of sodium bisulfate) to dissolve the flux and oxidation. CRITICAL RULE: Never use steel tweezers in the pickle. The galvanic reaction will instantly copper-plate your gold jewelry. Always use copper, brass, or wooden tongs.
Crucial Safety and Ventilation Protocols
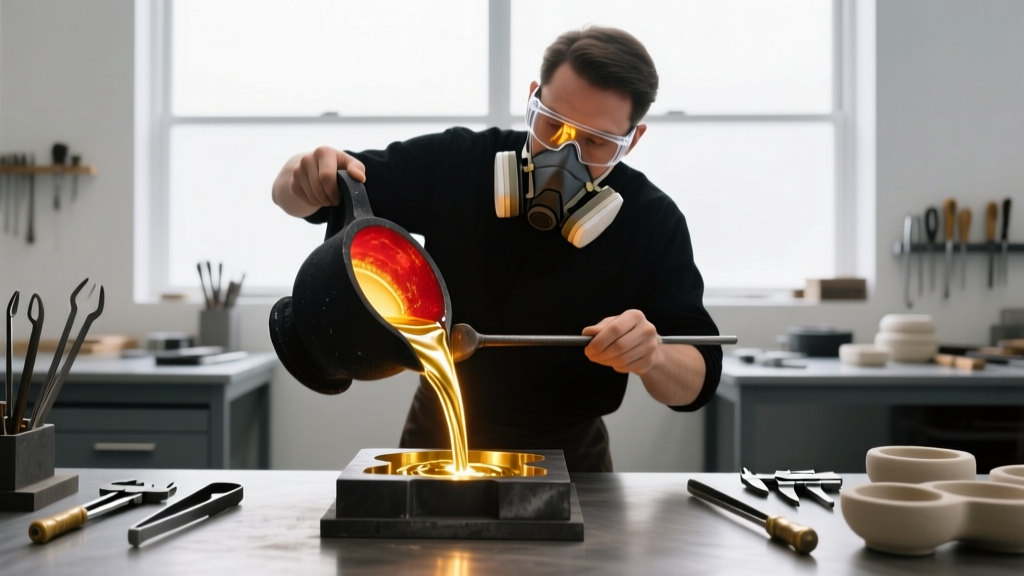
Gold jewelry making introduces several occupational hazards that beginners often overlook. Polishing gold generates fine metallic dust, while soldering releases fluoride fumes from the flux. According to safety guidelines discussed extensively on the Ganoksin jewelry forum, proper ventilation is non-negotiable.
- Respiratory Protection: Always wear an N95 or P100 respirator when operating a flex shaft for sanding and polishing. Gold dust, combined with abrasive compounds like Tripoli or silica-based polishing rouges, can cause severe long-term lung damage.
- Pickle Pot Safety: Sodium bisulfate is mildly corrosive. Keep baking soda nearby to neutralize spills. Never lean directly over a hot pickle pot to inhale the steam.
- Eye Protection: Gold solder can occasionally spit or pop when the flux boils off. Always wear ANSI-rated safety glasses with side shields when soldering or using the flex shaft.
Sourcing Ethical Gold in 2026
As the jewelry industry evolves, the provenance of your materials matters as much as your craftsmanship. The environmental impact of traditional gold mining is staggering, requiring the displacement of tons of earth and the use of toxic chemicals like cyanide and mercury. As a modern goldsmith, you have a responsibility to source responsibly.
Look for suppliers who offer Fairmined Gold or 100% Recycled Gold. Recycled gold undergoes a refining process that restores it to pure 24k before it is re-alloyed, meaning there is zero degradation in quality or workability compared to newly mined gold. By choosing ethical suppliers, you not only protect the environment but also provide a compelling, value-added narrative to your future clients. Mastering gold jewelry making is a lifelong journey of refining both your technical skills and your professional ethics.


