How to Re Gold Plating Jewelry: Fix Peeling and Fading Pieces
Discover how to re gold plating jewelry with our expert troubleshooting guide. Fix peeling, fading, and blistering with precise micron and voltage tips.

The Anatomy of Fading: Why Gold Plating Fails
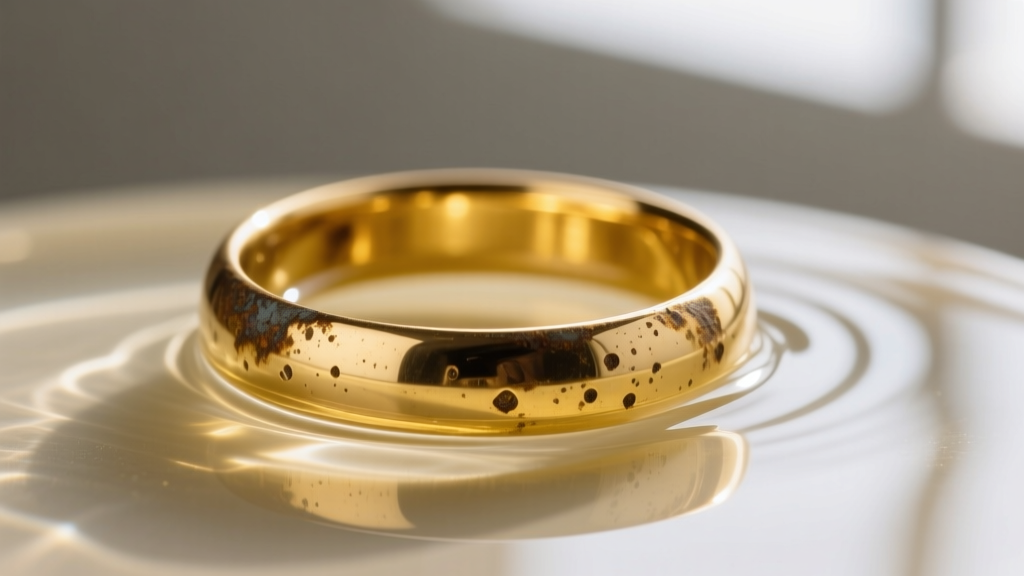
Gold plating is an electrochemical process that deposits a microscopic layer of gold onto a base metal. When you decide to re gold plating jewelry, you are essentially fighting against three primary failure modes: friction, chemical degradation, and atomic migration. Understanding these mechanisms is the first step in troubleshooting a ruined piece.
The longevity of gold plating is measured in microns (µm). Flash plating, commonly found on cheap fashion jewelry, is a mere 0.17 to 0.5 microns thick. Standard plating ranges from 1.0 to 2.5 microns, while heavy gold electroplate (often seen on high-end vermeil) sits between 2.5 and 5.0 microns. When a piece fades, it means the base metal—usually brass, copper, or sterling silver—has worn through the gold layer due to mechanical abrasion or sweat-induced corrosion.
According to the Gemological Institute of America (GIA), sterling silver is particularly problematic as a base metal because silver atoms are highly mobile. Without a barrier layer, silver atoms will migrate into the gold plating, causing a dull, grayish discoloration that no amount of polishing can fix. This requires a complete strip and re-plate with a proper strike layer.
Troubleshooting Common Plating Disasters
Before you can successfully re gold plating jewelry, you must diagnose why the previous plating failed. Blindly plating over a compromised surface will only trap contaminants and accelerate peeling. Use the troubleshooting matrix below to identify your specific issue.
| Defect | Root Cause | Professional Solution |
|---|---|---|
| Blistering & Peeling | Inadequate electrocleaning; oils or oxides trapped between the base metal and gold layer. | Strip completely via reverse electrolysis. Ultrasonic clean in a heated alkaline solution, followed by an acid dip to activate the surface. |
| Dark Bleed-Through | Atomic migration (silver base) or plating thickness below 1.0 micron on porous brass. | Apply a 0.5-micron palladium or nickel strike layer before the final gold bath. Increase final gold thickness to at least 2.5 microns. |
| Chalking / Cloudiness | High current density during plating or a contaminated, depleted gold bath. | Lower the rectifier voltage (typically 1.5V - 2.5V for acid gold baths). Filter the solution and replenish gold salts. |
| Spotting / Watermarks | Improper rinsing or hard water minerals drying on the surface post-plating. | Rinse immediately in distilled or deionized water. Use a hot water dip (140°F) to flash-dry the piece and prevent spotting. |
The Re-Gold Plating Process: Step-by-Step
Successfully executing a re-plate requires meticulous surface preparation. Skipping a single step will result in catastrophic adhesion failure. Here is the professional workflow utilized by master jewelers.
1. Stripping and Polishing
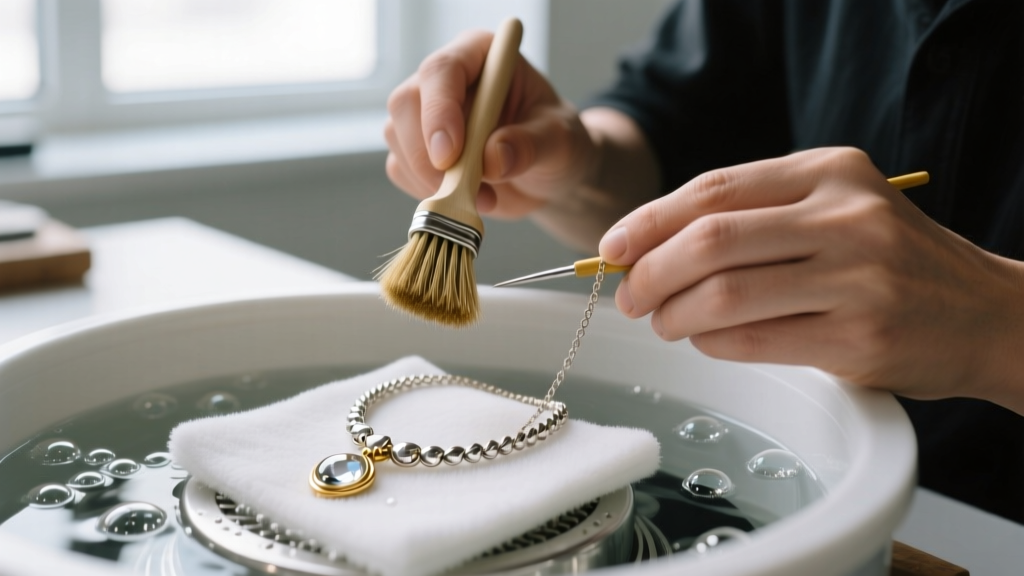
You cannot plate over old, flaking gold. The piece must be stripped down to bare metal using a chemical stripper or reverse electrolysis. Once bare, the metal is polished to a high shine using a rouge compound. Any scratches left in the base metal will be magnified by the reflective gold layer.
2. Ultrasonic and Electrocleaning
The jewelry is placed in an ultrasonic cleaner with a specialized degreasing solution to remove polishing compounds. Next, it undergoes electrocleaning, where the piece is connected to an anode or cathode in a heated alkaline bath, using electrical current to literally rip microscopic dirt from the metal's pores.
3. The Strike Layer
If the base metal is sterling silver or stainless steel, a "strike" layer is mandatory. As noted by jewelry supply experts at Rio Grande, a thin palladium or nickel strike acts as a physical barrier, preventing base metal atoms from migrating into the gold and ruining the color.
4. The Gold Bath
The piece is submerged in the gold plating solution (often a potassium gold cyanide bath for professionals, or a non-cyanide acid bath for safer commercial use). A rectifier supplies a precise, low-voltage DC current. The longer the piece remains in the bath, the thicker the gold deposit, measured in real-time using a micrometer or calculated via Faraday's Law of Electrolysis.
Cost vs. Value: Should You Re-Plate?
Not every piece of jewelry is a candidate for re gold plating jewelry. The decision comes down to a cost-benefit analysis based on the piece's complexity, material, and sentimental or monetary value.
- Simple Bands and Pendants (No Stones): Expect to pay between $35 and $60. The process is straightforward, requiring minimal masking and prep time.
- Intricate Filigree or Chains: $60 to $90. Chains require careful untangling and sometimes specialized tumbling to ensure the plating solution reaches every inner link.
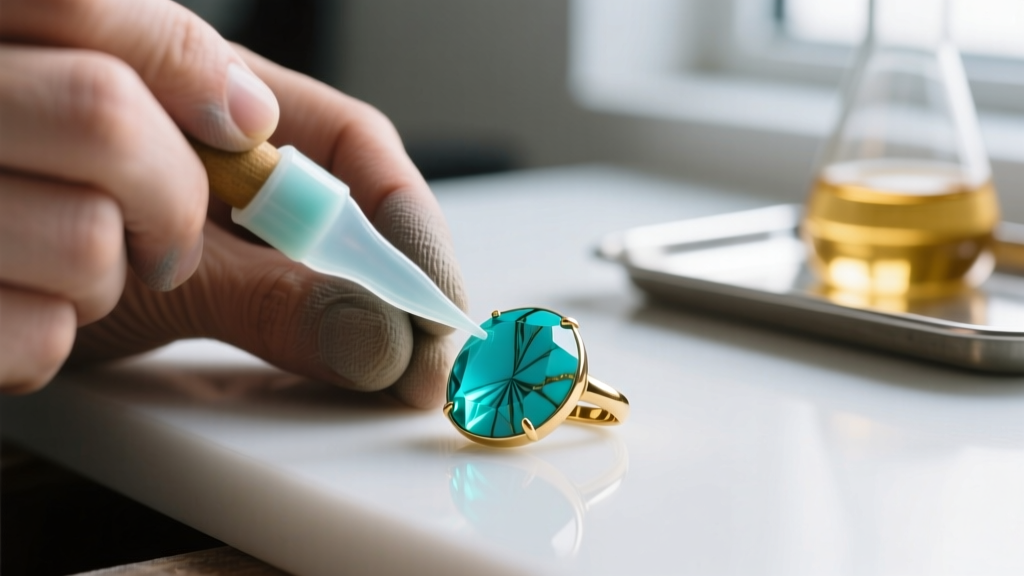
- Stone-Set Jewelry: $85 to $150+. Soft or porous stones (like turquoise, opal, pearl, or emerald) cannot be submerged in harsh electrocleaning chemicals or hot plating baths. Jewelers must painstakingly apply a clear silicone masking paste to protect each stone, significantly increasing labor costs.
Expert Insight: Never attempt to re-plate gold-filled jewelry. Gold-filled items consist of a thick mechanical layer of gold bonded to brass via heat and pressure. Sanding or stripping a gold-filled piece to re-plate it will destroy the underlying brass core and ruin the item entirely. Only electroplated items should be re-plated.
DIY Plating Kits vs. Professional Jewelers
The market is flooded with DIY gold plating kits claiming to restore jewelry at home. While these kits can be fun for craft projects, they are fundamentally different from professional setups.
DIY kits typically use "brush plating" or small, unheated non-cyanide acid baths. The gold concentration in these solutions is incredibly low, often yielding a flash plate of less than 0.2 microns. Furthermore, DIY kits rarely include the necessary palladium strike solutions required for silver base metals. If you use a DIY kit on a silver ring, it will likely turn gray and blotchy within weeks due to atomic migration.
Professional jewelers use heated, highly concentrated baths with precise rectifiers that control voltage down to the tenth of a volt. They also possess the hazardous material handling certifications required to safely dispose of heavy metal solutions. For any heirloom, daily-wear, or high-value piece, professional re-plating is the only viable troubleshooting solution.
Post-Plating Care to Maximize Longevity
Once your jewelry has been successfully re-plated, implementing a strict care protocol will dictate how long the new surface survives. The goal is to minimize mechanical friction and chemical exposure.
- The 2.5-Micron Rule: For rings and bracelets (high-friction zones), always request a minimum of 2.5 microns of gold thickness. For earrings and pendants (low-friction zones), 1.0 to 1.5 microns is sufficient.
- Chemical Avoidance: Chlorine is the ultimate enemy of gold alloys. It attacks the copper and silver mixed into 14k and 18k gold plating, causing rapid stress corrosion cracking. Never wear plated jewelry in swimming pools or while using household bleach.
- Proper Storage: Store re-plated pieces individually in anti-tarnish cloth pouches. Tossing multiple plated rings into a single drawer will cause micro-scratches that wear through the gold layer in a matter of months.
- Cleaning Protocol: Clean your jewelry using only warm water, a drop of mild dish soap, and an ultra-soft baby toothbrush. Never use ultrasonic cleaners or silver dip chemicals on gold-plated items, as the high-frequency vibrations and harsh acids can delaminate the gold from the base metal.
By understanding the electrochemistry behind the finish and adhering to strict preparation and care protocols, you can successfully salvage faded pieces and keep your favorite accessories looking pristine for years to come.


