How to Verify the 14k Mark on Jewelry: Step-by-Step Guide
Learn how to authenticate a 14k mark on jewelry with our step-by-step guide. Discover hallmark variations, at-home tests, and professional verification.
Understanding the 14k Mark on Jewelry
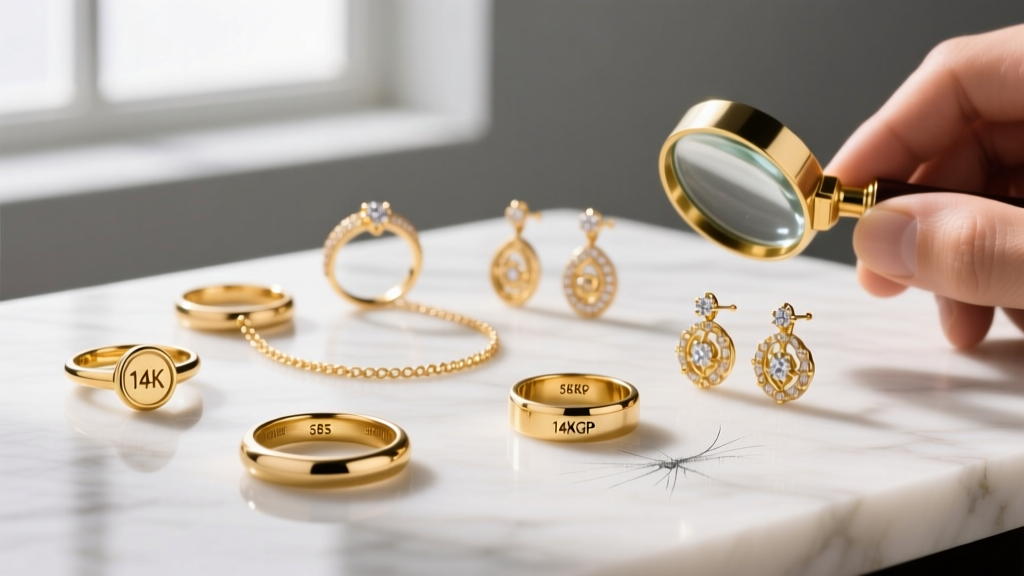
Finding a 14k mark on jewelry is the most common indicator of solid gold in the United States, representing an alloy that is exactly 58.3% pure gold (14 parts gold to 10 parts alloy metals). Because 24k pure gold is too soft for daily wear, 14k gold offers the perfect balance of rich color, structural durability, and relative affordability. However, a stamped mark is not a guarantee of authenticity. Counterfeiters frequently stamp base metals or gold-plated brass with "14k" to deceive buyers.
Whether you are evaluating a vintage estate piece, a thrift store find, or an online purchase, verifying the hallmark requires a systematic approach. This step-by-step guide will teach you how to read, test, and authenticate the 14k mark on jewelry using both at-home methods and professional gemological standards.
Step 1: Locate and Read the Hallmark
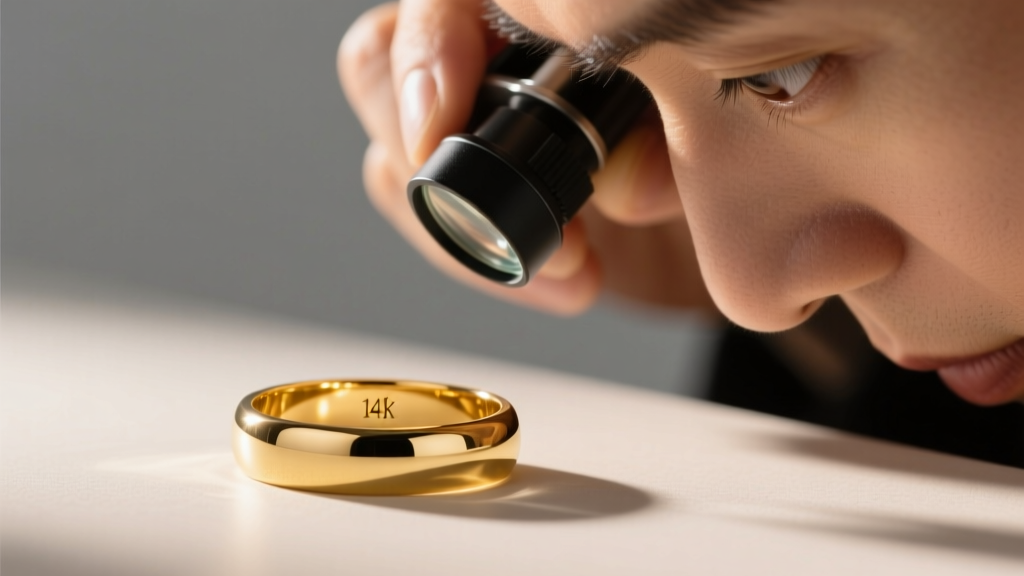
The first step in authentication is locating the stamp. Manufacturers typically place hallmarks in discreet areas to preserve the aesthetic of the piece. Use a 10x or 30x jeweler's loupe to inspect the following areas:
- Rings: The inner shank (band), usually near the sizing solder joint.
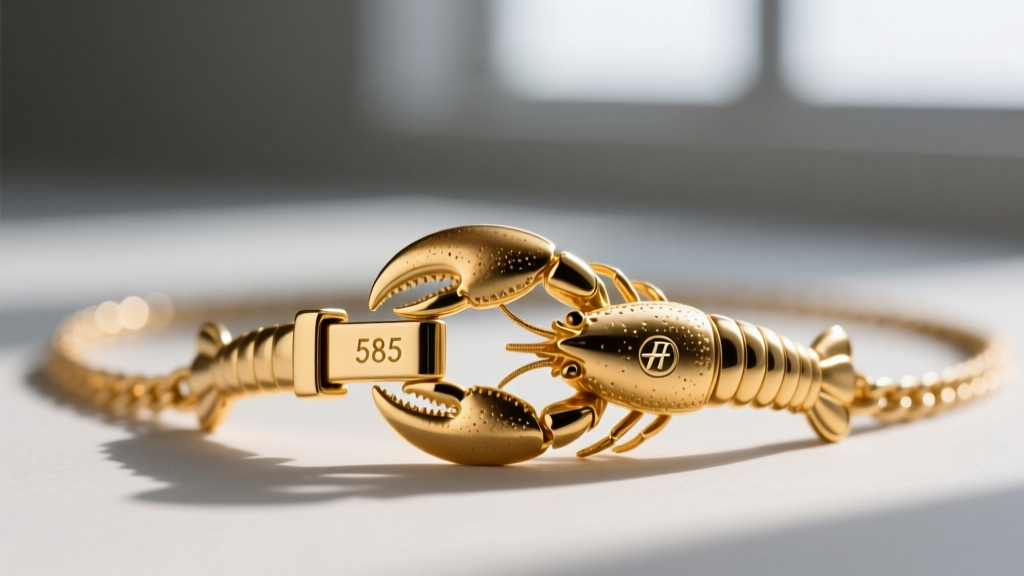
- Necklaces & Bracelets: The flat tab of the lobster clasp, the jump ring, or a small metal tag near the clasp.
- Earrings: The earring post, the back of a friction clutch, or the inner curve of a hoop.
Recognizing Global 14k Variations
The 14k mark on jewelry is not always written as "14k". Depending on the country of origin and the era of manufacture, you may encounter different numerical or letter designations. According to the Gemological Institute of America (GIA), international hallmarking laws vary, meaning a genuine 14k piece might bear one of the following stamps:
- 14k or 14K: The standard US and UK designation.
- 585: The European millesimal fineness mark (58.5% gold, slightly rounded up from 58.3% for manufacturing tolerance).
- 583: An older European or Soviet-era stamp representing exactly 58.3% gold.
Step 2: Differentiate Solid Gold from Plated and Filled Marks
A major pitfall for novice buyers is assuming that any mark containing the letters "14k" guarantees a solid gold composition. Manufacturers of gold-filled and gold-plated jewelry are legally permitted to use the 14k designation, provided it is accompanied by qualifiers that indicate the manufacturing process.
Below is a critical reference table to help you decode the exact meaning of the stamp you are looking at:
| Stamp Variation | Meaning | Gold Purity / Content | Material Type |
|---|---|---|---|
| 14k, 14K, 585 | Solid 14 Karat Gold | 58.3% - 58.5% Pure | Solid Gold Alloy |
| 14k GF | Gold Filled | Minimum 5% by weight | Brass Core, Gold Bonded |
| 1/20 14k | Gold Filled Ratio | 5% (1/20th) by weight | Brass Core, Gold Bonded |
| 14k HGE | Heavy Gold Electroplate | Less than 0.5% | Base Metal, Plated |
| 14k EP, 14k GP | Electroplated / Gold Plated | Microscopic Trace | Base Metal, Plated |
The FTC Trademark Rule: According to the Federal Trade Commission (FTC) Jewelry Guides, any karat quality mark stamped on jewelry in the United States must be accompanied by a registered manufacturer's trademark. If you see a "14k" stamp with absolutely no trademark or maker's mark nearby, treat the piece with high suspicion.
Step 3: Perform At-Home Verification Tests
If the piece is stamped simply "14k" or "585" alongside a trademark, you must verify that the metal beneath the stamp matches the hallmark. Start with these non-destructive at-home tests.
The Neodymium Magnet Test
Gold is diamagnetic, meaning it is slightly repelled by magnetic fields but will never stick to a magnet. To perform this test correctly, you cannot use a standard refrigerator magnet. You must use an N52-grade neodymium rare-earth magnet. Hold the magnet near the chain or band. If the jewelry snaps to the magnet or shows noticeable magnetic drag, the core is ferrous (iron, steel, or nickel), and the 14k mark is fake. Note: This test will not detect non-magnetic base metals like copper, brass, or aluminum.
The Unglazed Ceramic Streak Test
Find a piece of unglazed porcelain or ceramic tile (the rough, unglazed bottom of a standard coffee mug works well). Gently drag a discreet, unpolished edge of the jewelry across the ceramic. Real 14k gold is softer than ceramic and will leave a distinct golden-yellow streak. If the piece leaves a black, grey, or dark green streak, you are dealing with pyrite (fool's gold) or a base metal alloy. Be warned: this test is mildly destructive and will scratch the jewelry.
Step 4: Advanced Chemical and Electronic Testing
When at-home tests are inconclusive, or when you are dealing with high-value items like heavy Cuban link chains or solid bangles, you must move to advanced testing methods to verify the 14k mark on jewelry.
The Acid Test (Schwerter's Solution)
Acid testing remains the industry standard for quick, low-cost verification. You will need a black testing stone and a bottle of 14k gold testing acid (typically a mixture of nitric and hydrochloric acids).
- Rub the jewelry firmly on the stone to leave a metallic streak.
- Apply a single drop of 14k testing acid directly onto the streak.
- Observe the reaction: If the streak remains bright and unchanged, the metal is 14k or higher. If the streak turns milky, it is likely silver or white gold under-plated. If the streak dissolves rapidly or turns dark green, the item is base metal, and the 14k stamp is counterfeit.
Safety Warning: Testing acids are highly corrosive. Always wear nitrile gloves and safety goggles, and work in a well-ventilated area.
Electronic Gold Testers
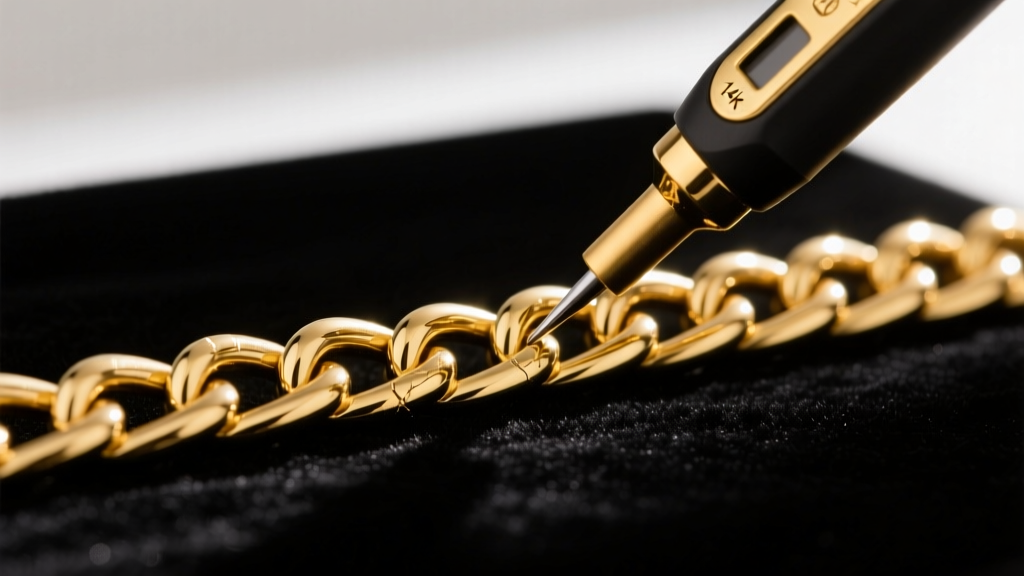
For a non-destructive alternative to acid, electronic gold testers measure the electrical conductivity and electrochemical resistance of the metal. Devices like the Kee Gold Tester or the Tri Electronics GT Express use a specialized testing gel and a sensor probe to read the exact karatage. These devices can easily differentiate between 10k, 14k, 18k, and gold-plated items, making them invaluable for estate buyers and pawnbrokers.
Step 5: Professional XRF Spectrometry
If you are purchasing a high-ticket item and require absolute, legally binding certainty regarding the 14k mark on jewelry, take the piece to a certified gemologist or a reputable scrap metal refinery. Professionals use X-Ray Fluorescence (XRF) spectrometers.
An XRF gun bombards the jewelry with X-rays and measures the fluorescent X-rays emitted back by the atoms. This provides a precise, non-destructive elemental breakdown of the alloy. An XRF test will not only confirm if the piece is exactly 58.3% gold, but it will also identify the exact alloy metals used (copper, silver, zinc, or nickel), which can help date the piece or identify its country of origin based on historical alloy recipes.
Summary Checklist for Verifying 14k Gold
- Locate the Stamp: Use a 10x loupe to find "14k", "14K", "585", or "583".
- Check for Qualifiers: Ensure there are no hidden "GF", "HGE", or "EP" letters.
- Verify the Trademark: Look for a maker's mark to satisfy FTC guidelines.
- Perform the Magnet Test: Rule out ferrous base metals with an N52 magnet.
- Use Acid or Electronics: Confirm the 58.3% purity via chemical or electrical testing.
By following this systematic approach, you can confidently authenticate the 14k mark on jewelry, protecting yourself from sophisticated counterfeits and ensuring you are paying a fair price for genuine gold.


