How To Clean Sterling Jewelry At Home: A Trend-Aware Guide
Discover how to clean sterling jewelry at home without ruining modern matte, brushed, or oxidized finishes with our trend-aware care guide.

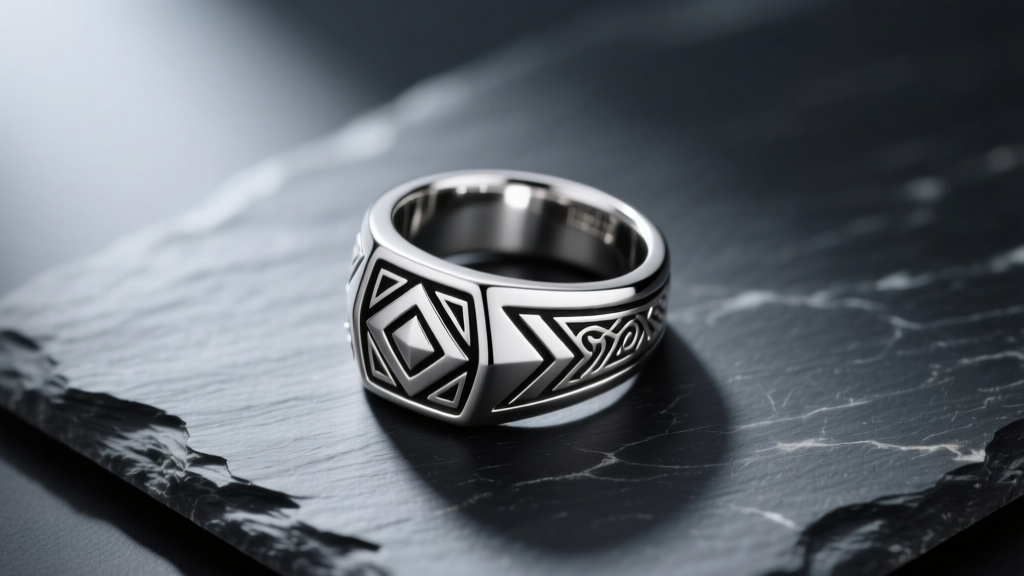
In the contemporary jewelry landscape, silver is no longer just a canvas for high-polish, mirror-like reflections. As we navigate the style shifts of 2026, sterling silver has embraced a diverse array of surface treatments—from industrial brushed textures and organic matte finishes to deliberate neo-gothic oxidation. While this evolution in design is visually stunning, it has created a massive blind spot in consumer care. The traditional advice on how to clean sterling jewelry at home is largely outdated, often recommending harsh chemical dips or abrasive pastes that can instantly ruin the nuanced finishes dominating today's market.
Tarnish, chemically known as silver sulfide (Ag2S), is a natural reaction between silver and sulfur compounds in the air. However, the method you use to remove it must be strictly dictated by the jewelry's surface architecture. According to the Gemological Institute of America (GIA), improper cleaning is one of the leading causes of irreversible damage to artisan silver pieces. This guide bridges the gap between metallurgical science and modern style trends, providing finish-specific protocols to maintain your collection's integrity.
The Shift in Silver Aesthetics: Why One-Size-Fits-All is Dead
For decades, the gold standard of silver care was achieving a flawless, reflective shine. Today, trend forecasters and artisan jewelers are actively rejecting the 'perfect shine' in favor of tactile, light-absorbing surfaces. Matte finishes diffuse light to highlight architectural silhouettes, while brushed silver introduces a directional grain that mimics raw industrial materials. Meanwhile, oxidized silver—treated with liver of sulfur to create deep black crevices—remains a staple in heritage and avant-garde streetwear aesthetics.
If you apply a standard liquid silver dip to a brushed bangle, you will strip the surface tension and leave a flat, dead-grey patina. If you use a polishing wheel or abrasive paste on an oxidized ring, you will erase the deliberate contrast that gives the piece its depth. Understanding your jewelry's finish is the mandatory first step before you mix any cleaning solutions.
Identifying Your Silver's Finish: A Diagnostic Matrix
Before attempting any home remedies, categorize your jewelry using the matrix below. This ensures your cleaning method aligns with the designer's original intent.
| Finish Type | Visual & Tactile Traits | Current Trend Status | Safe Cleaning Method | Methods to Avoid |
|---|---|---|---|---|
| Mirror Polish | Highly reflective, smooth, glass-like surface. | Minimalist, Quiet Luxury | Mild soap, microfiber, silver polishing cloth. | Paper towels (cause micro-scratches). |
| Brushed / Satin | Visible directional lines, low glare, slightly textured. | Industrial, Brutalist | Soft bristle brush, directional wiping only. | Circular rubbing, silver dips, pastes. |
| Matte / Sandblasted | Chalky, non-reflective, velvety texture. | Organic, Earthy, Avant-Garde | Ultrasonic (brief), specialized matte erasers. | Polishing cloths, baking soda pastes. |
| Oxidized / Blackened | Dark grey/black recesses with polished high points. | Neo-Gothic, Artisan Heritage | Dry polishing cloth on high-points only. | ALL liquid cleaners, foil/baking soda baths. |
How to Clean Sterling Jewelry at Home: Finish-Specific Protocols
Now that you have identified your finish, follow these targeted protocols. These methods prioritize the preservation of the metal's surface topography while safely removing silver sulfide.
Protocol 1: The High-Polish & Mirror Finish
For classic polished 925 sterling silver, the goal is to remove tarnish without introducing micro-scratches that will dull the reflection over time. Avoid commercial silver pastes, which often contain harsh silica abrasives.
- The Solution: Mix a few drops of phosphate-free dish soap (like Dawn) into a bowl of lukewarm distilled water. Tap water contains chlorine and minerals that can accelerate future tarnishing.
- The Tool: Use an ultra-soft baby toothbrush or a dedicated, clean makeup brush.
- The Technique: Gently agitate the jewelry in the solution for 3 minutes. Use the brush to lightly sweep out crevices or chain links. Rinse thoroughly in distilled water and dry immediately with a lint-free microfiber cloth. Finish by buffing with a treated silver cloth (such as a Sunshine Cloth) to lay down a microscopic anti-tarnish barrier.
Protocol 2: Brushed & Matte Silver
Brushed silver is created by running abrasive pads (typically 400 to 600 grit) across the metal in a single direction. Matte finishes are achieved via sandblasting or chemical etching. Both are highly susceptible to being 'polished out' by friction.
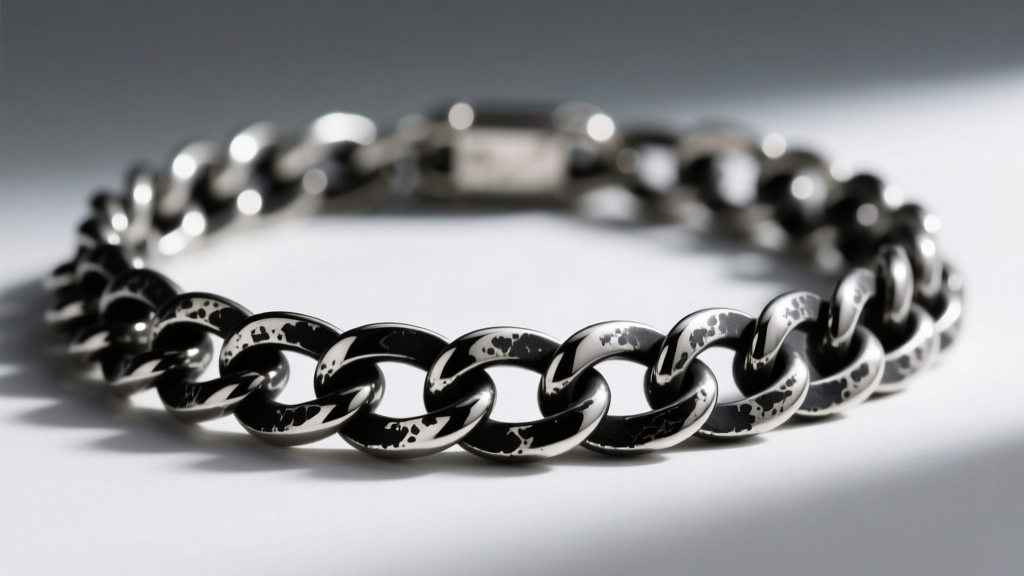
- The Solution: Never use liquid silver dips (like Tarn-X), as the thiourea chemicals will react with the textured surface and turn it a permanent, chalky grey.
- The Tool: A specialized jeweler's matte finishing pad or a clean, soft pencil eraser for spot treatments.
- The Technique: For light tarnish on brushed silver, wipe only in the direction of the grain using a barely damp microfiber cloth. If the matte finish has accumulated skin oils and dirt in its pores, use a brief (30-second) ultrasonic bath with distilled water and a drop of mild soap. Do not exceed 30 seconds, as prolonged ultrasonic vibration can alter delicate sandblasted textures.
Protocol 3: Deliberately Oxidized & Blackened Silver
Oxidation is not tarnish; it is a controlled chemical patina applied by the jeweler using liver of sulfur (potassium polysulfide) to create contrast. Cleaning this requires a surgical approach to avoid stripping the dark recesses.
- The Solution: No liquids. No soaps. No chemical baths.
- The Tool: A high-quality, non-impregnated polishing cloth (like a Selvyt cloth) or a very gentle silver polishing cloth used with extreme precision.
- The Technique: Wrap the cloth tightly around your index finger. Gently rub only the raised, high-polish areas of the jewelry. Never press the cloth into the grooves or filigree work. If the piece is heavily soiled with oils, use a dry, soft-bristled brush to sweep out the recesses without applying any friction to the blackened patina.
The Kitchen Chemistry Trap: Debunking the Foil and Baking Soda Hack
If you search for home cleaning remedies, you will inevitably encounter the 'aluminum foil, baking soda, and boiling water' hack. While this method relies on a valid electrochemical ion exchange (where the aluminum sacrifices itself to convert silver sulfide back into pure silver), it is a disaster for modern jewelry trends.
According to conservation guidelines from the Victoria and Albert Museum (V&A), this boiling bath is entirely indiscriminate. It will instantly strip intentional oxidation, leaving you with a flat, uniformly grey piece of jewelry. Furthermore, the high alkalinity of the baking soda solution can pit matte finishes and permanently cloud porous gemstones (like turquoise, opal, or lapis lazuli) that are frequently set in artisan silver pieces. Reserve this method only for heavily tarnished, solid, high-polish silver flatware—never for contemporary jewelry.
Trend Forecast: Anti-Tarnish Storage as a Style Statement
In 2026, the conversation around silver care has shifted from reactive cleaning to proactive storage. Because sulfur compounds are the primary culprit behind Ag2S formation, creating a sulfur-free microclimate for your jewelry is the ultimate maintenance hack.
- Pacific Silvercloth: This material is embedded with microscopic silver particles that intercept and absorb sulfur gases before they reach your jewelry. Lining your storage drawers or wrapping individual cuffs in Pacific cloth is highly recommended for matte and oxidized pieces that are difficult to clean.
- Activated Charcoal & Silica Gel: For airtight acrylic or glass display cases (popular for showcasing brutalist silver collections), place a small sachet of activated charcoal and silica gel. The charcoal adsorbs airborne sulfur, while the silica gel drops the relative humidity below the 50% threshold required for rapid tarnish acceleration.
- 3M Anti-Tarnish Strips: These inexpensive, chemically treated strips absorb corrosive gases in enclosed spaces. Replace them every six months to maintain an active defense shield around your collection.
Summary Checklist for the Modern Silver Collector
Maintaining a curated silver collection requires moving past outdated, aggressive cleaning habits. By respecting the specific finish of each piece, you preserve both the metallurgical integrity and the designer's aesthetic vision. Remember these core tenets:
- Identify first: Never apply a cleaner until you have confirmed whether the piece is polished, brushed, matte, or oxidized.
- Ditch the dips: Liquid chemical dips are too aggressive for 90% of modern silver finishes.
- Embrace dry methods: For textured and oxidized silver, mechanical friction (cloths and soft brushes) is vastly superior to chemical baths.
- Control the environment: Invest in anti-tarnish storage solutions to drastically reduce the frequency of cleaning required.
By aligning your maintenance routine with current style trends and material science, your sterling silver pieces will continue to make a striking statement for decades to come.


