How to Clean & Restore Sterling Silver Snowflake Jewelry
Learn how to safely clean and restore intricate sterling silver snowflake jewelry. Step-by-step tarnish removal tips for delicate crevices and points.

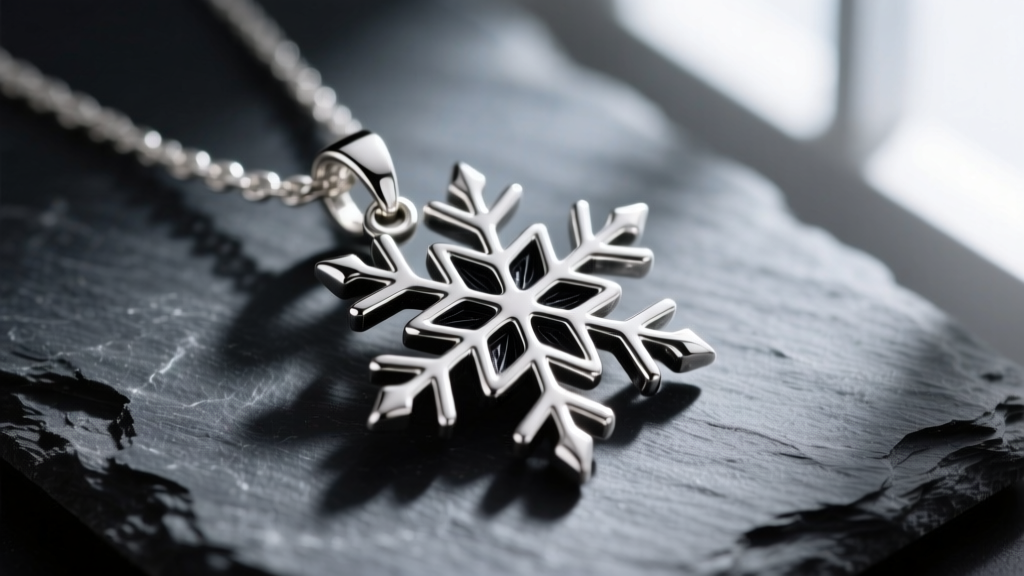
Snowflake motifs are among the most intricate and challenging designs in silversmithing. With their six-fold radial symmetry, sharp dendritic arms, and deep recessed crevices, sterling silver snowflake jewelry requires a highly specialized approach to cleaning and maintenance. Standard silver polishing methods that work perfectly on smooth domes or simple chains can easily snap delicate points, strip intentional patinas, or leave behind abrasive compounds trapped in microscopic filigree.
Whether you own a vintage die-struck snowflake brooch or a modern cast pendant, understanding the metallurgy and geometry of your piece is the first step toward safe restoration. This comprehensive guide details the exact techniques, tools, and chemical principles required to clean sterling silver snowflake jewelry without compromising its structural integrity or artistic contrast.
Understanding the Anatomy and Vulnerabilities of Snowflake Designs
Before applying any cleaning solution, it is critical to understand how sterling silver snowflake jewelry is manufactured and finished. Most high-quality snowflake pieces are cast using the lost-wax method or die-struck from 925 sterling silver sheets.
The Hardness Factor and Point Fragility
Standard 925 sterling silver (92.5% silver, 7.5% copper) has a Vickers hardness of approximately 125 HV. While this provides enough durability for everyday wear, the extreme thinness of the dendritic arms on a snowflake design creates structural weak points. Applying lateral pressure with a stiff polishing cloth or a metal pick can easily bend or snap these arms. Furthermore, cast pieces may contain microscopic porosity from the casting process, making them even more susceptible to stress fractures during aggressive mechanical polishing.
The Role of Intentional Oxidation (Patina)
To make the intricate geometry of a snowflake pop, jewelers frequently use oxidized silver techniques. By exposing the piece to liver of sulfur (potassium sulfide), the recessed crevices are darkened to a deep charcoal or black, while the raised high-points are polished bright. This contrast is essential for the visual legibility of the snowflake motif. According to the Gemological Institute of America (GIA), aggressive chemical dips will strip this intentional oxidation in seconds, leaving the piece flat, white, and visually muted.
The 5-Step Safe Cleaning Method for Intricate Snowflakes
To remove everyday oils, cosmetic buildup, and light environmental tarnish without destroying the patina or breaking delicate points, follow this meticulous five-step protocol.
Step 1: Dry Debris Removal
Never introduce water or chemicals to a piece with loose particulate matter; this creates an abrasive paste. Use an extra-soft goat-hair jewelry brush or a clean, dry makeup brush to gently sweep out dust, skin cells, and lint from the central nexus and the angles between the six primary arms. Brush in the direction of the metal grain, moving from the center outward to the tips.
Step 2: The Mild Surfactant Bath
Prepare a lukewarm bath using distilled water and a few drops of pH-neutral, phosphate-free dish soap (such as Dawn). Avoid hot water, which can accelerate oxidation on the copper alloy. Submerge the sterling silver snowflake jewelry for exactly 3 to 5 minutes to loosen sebum and lotion buildup. Do not exceed this time, as prolonged soaking can weaken any adhesive used for accent gemstones.
Step 3: Targeted Crevices Cleaning
This is the most critical step for snowflake designs. Remove the piece from the bath and place it on a microfiber mat.
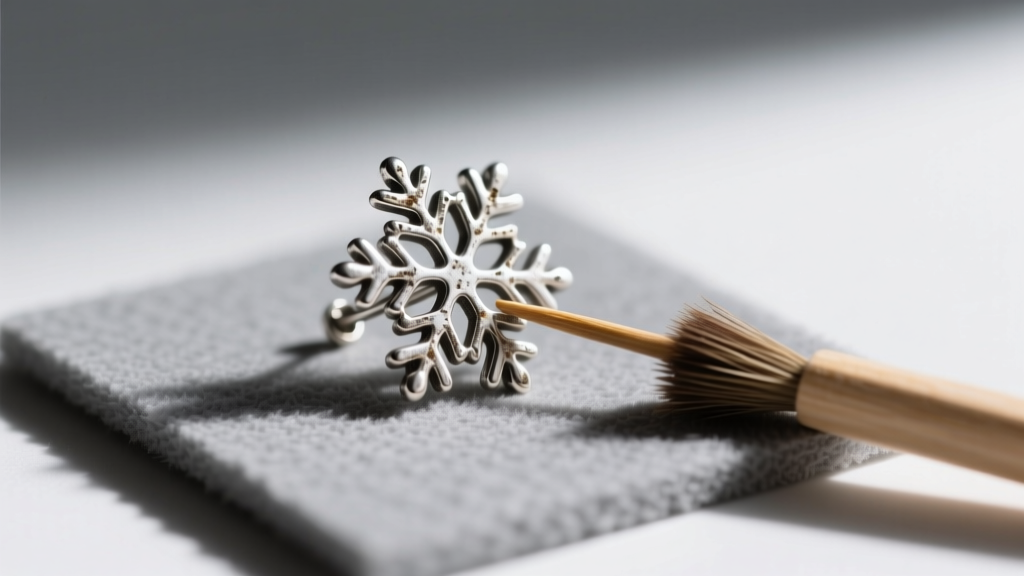
- Use Wooden Tools: Never use metal pins, needles, or safety pins to dig out dirt. Metal-on-metal contact will scratch the 925 silver. Instead, use a blunt wooden toothpick or a bamboo skewer with the tip slightly sanded down.
- The Swab Technique: Dip a tightly wound cotton swab in the soapy solution and gently roll it along the deep channels of the snowflake. Replace the swab the moment it turns gray to avoid redepositing tarnish.
Step 4: Rinsing and Deionized Water Flush
Rinse the piece under a gentle stream of lukewarm distilled water. Tap water contains chlorine and dissolved minerals that can cause localized pitting or leave hard water spots in the deep crevices. A final rinse with deionized water ensures no mineral deposits are left behind as the piece dries.
Step 5: Drying and Micro-Polishing
Use a hair dryer on the "cool" setting to blow water out of the microscopic crevices; air-drying often leaves water spots. Once completely dry, use a Sunshine polishing cloth (impregnated with micro-abrasives) only on the raised, high-relief points of the snowflake. Fold the cloth to a fine edge to avoid catching and bending the delicate dendritic tips.
Chemical Baths vs. Mechanical Polishing: A Risk Comparison
When dealing with heavy sulfide tarnish (the black layer of silver sulfide, Ag2S), many collectors turn to quick-fix chemical baths. However, these methods carry severe risks for intricate sterling silver snowflake jewelry. Below is a data-driven comparison of common tarnish removal methods.
| Cleaning Method | Mechanism of Action | Risk to Intentional Patina | Risk to Delicate Points | Verdict for Snowflakes |
|---|---|---|---|---|
| Commercial Silver Dips (Thiourea-based) | Chemical dissolution of silver sulfide | Extreme (Strips all oxidation instantly) | Low (No physical pressure) | Avoid (Ruins contrast) |
| Aluminum Foil & Baking Soda Bath | Electrochemical ion exchange | High (Removes deep crevice patina) | Low (No physical pressure) | Use with Caution (Only for solid, non-oxidized pieces) |
| Ultrasonic Cleaners (40kHz) | High-frequency cavitation bubbles | None (Does not remove tarnish) | Extreme (Vibrations snap cast arms) | Strictly Avoid |
| Impregnated Polishing Cloths | Mechanical micro-abrasion | Low (If applied only to high points) | Moderate (Snag risk on thin tips) | Recommended (With careful folding) |
How to Preserve and Restore Intentional Patina
If your sterling silver snowflake jewelry has already lost its dark crevice contrast due to a previous owner's use of a chemical dip, the piece will look flat and overly bright. Restoring this depth requires a controlled re-oxidation process.
Professional jewelers use a diluted liver of sulfur solution to re-blacken the recesses. For at-home maintenance, you can use a specialized oxidizing marker or a silver blackening pen, carefully applying the pigment only to the deepest grooves of the snowflake. Once dry, a very light pass with a polishing cloth on the raised arms will restore the striking high-contrast, three-dimensional effect that makes snowflake motifs so visually captivating.
Preventative Storage for Dendritic Points
The high surface-area-to-volume ratio of snowflake designs means they have more exposed silver to react with ambient hydrogen sulfide in the air, causing them to tarnish faster than solid, chunky jewelry. Furthermore, the interlocking arms are prone to snagging on fabrics and other jewelry.
According to metallurgical guidelines from Rio Grande, controlling the micro-environment is the best defense against rapid tarnishing. Follow these storage rules:
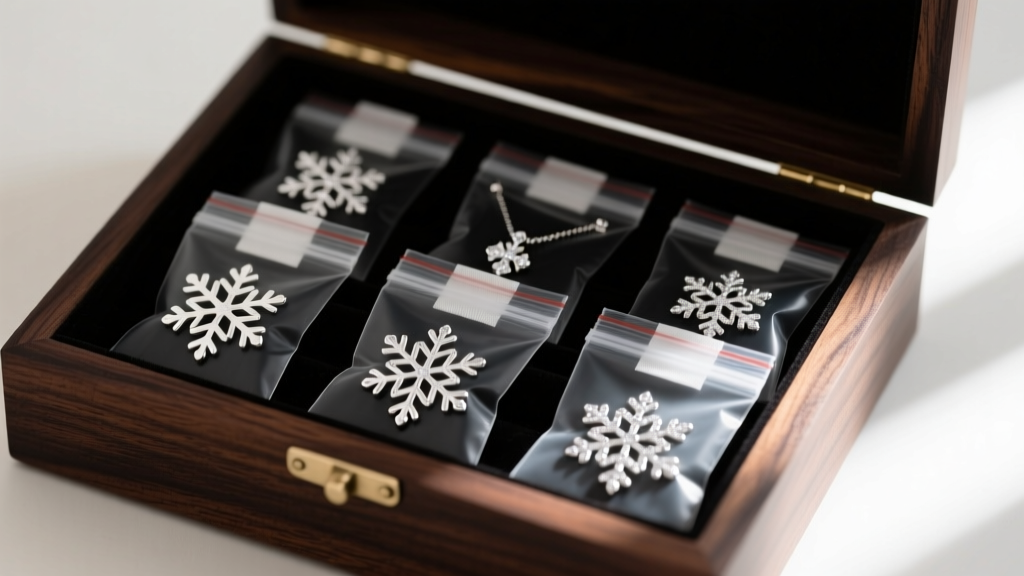
- Individual Polybags: Store each snowflake piece in its own airtight, anti-tarnish polyethylene bag. This prevents the sharp points from scratching softer gemstones on neighboring pieces and stops the arms from interlocking with chain links.
- 3M Anti-Tarnish Strips: Place a copper-based anti-tarnish strip inside each bag. These strips absorb airborne sulfides and moisture, sacrificing themselves to protect the silver. Replace them every 6 months.
- Avoid Cardboard and Rubber: Never store sterling silver in standard cardboard boxes or near rubber bands. The acids and sulfur compounds off-gassed by these materials will cause rapid, severe blackening of the silver sulfide layer.
Final Thoughts on Snowflake Jewelry Care
Caring for sterling silver snowflake jewelry is an exercise in patience and precision. By abandoning harsh chemical dips and ultrasonic machines in favor of gentle surfactants, wooden tools, and targeted micro-polishing, you ensure that the delicate geometry and striking contrast of your winter-inspired pieces remain pristine for generations. Treat the intricate dendritic arms with the respect they demand, and your silver snowflakes will continue to catch the light beautifully year after year.
For more advanced silversmithing techniques and material science insights, consult the Fire Mountain Gems Jewelry-Making Encyclopedia.


