How to Clean Tarnished Jewelry Sterling Silver: Step-by-Step
Learn how to clean tarnished jewelry sterling silver safely. Expert steps for light, medium, and heavy oxidation without damaging gems or 925 alloys.

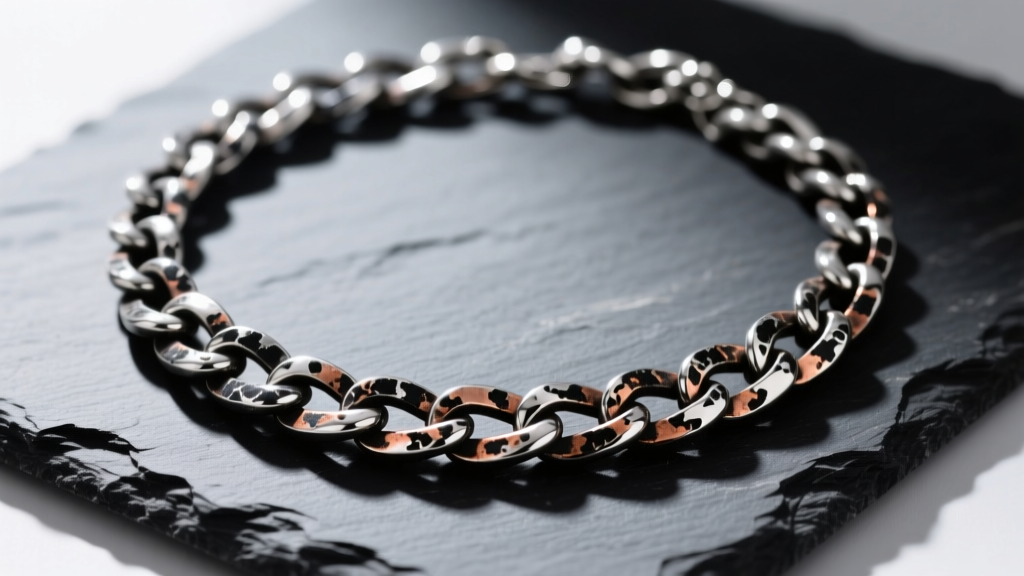
The Chemistry of Sterling Silver Tarnish
Before diving into the mechanics of restoration, it is crucial to understand what tarnish actually is. Sterling silver is an alloy composed of 92.5% pure silver and 7.5% secondary metals, usually copper. While pure silver is relatively inert, the copper component is highly reactive. When exposed to hydrogen sulfide (H2S) in the atmosphere, moisture, and everyday pollutants like sulfur dioxide, a chemical reaction occurs on the surface of the metal. This forms silver sulfide (Ag2S), the dark, matte-black or yellowish film we recognize as tarnish.
Understanding that tarnish is a chemical bond—not surface dirt—dictates how we must approach cleaning. Abrasive methods will physically strip away microscopic layers of your 925 alloy, eventually wearing down intricate filigree, hallmarks, and gemstone settings. According to the Gemological Institute of America (GIA), preserving the structural integrity of the silver while reversing the sulfide bond is the gold standard of jewelry maintenance.
Assessing Your Tarnish: A Diagnostic Framework
Not all tarnish requires the same intervention. Applying heavy-duty electrochemical methods to lightly oxidized silver is overkill and unnecessary. Use the diagnostic table below to determine the exact protocol your jewelry requires based on its current visual state and gemstone composition.
| Tarnish Severity | Visual Indicator | Recommended Method | Gemstone Safety |
|---|---|---|---|
| Light | Faint yellowish or golden hue | Mild Surfactant & Microfiber | Safe for all stones |
| Medium | Brownish patches, localized dark spots | Baking Soda Paste (Gentle Abrasion) | Avoid porous stones |
| Heavy | Solid black, matte gray, chalky texture | Electrochemical Reduction Bath | REMOVE porous stones first |
Step-by-Step: The Electrochemical Reduction Method
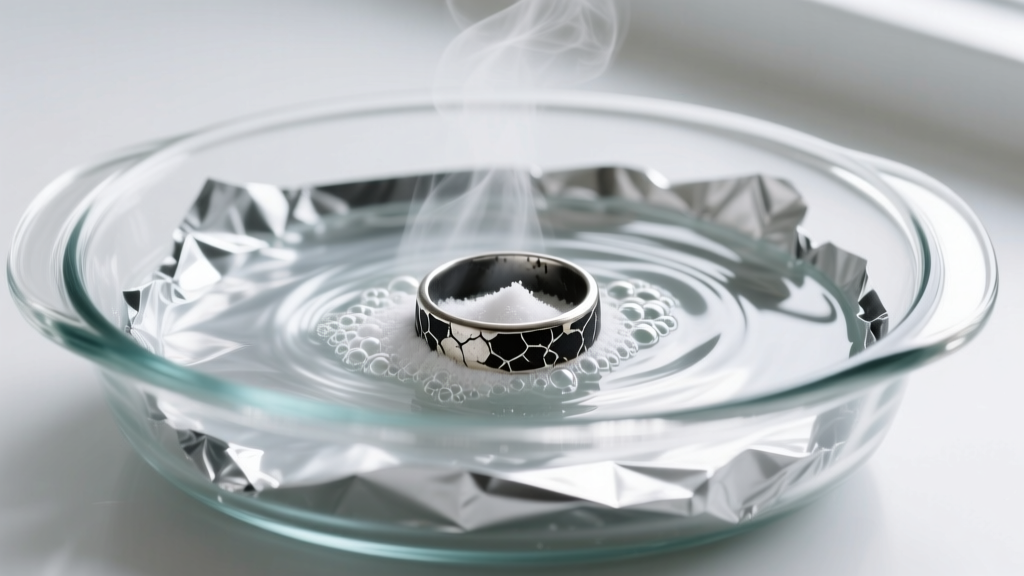
For heavy, stubborn black tarnish, the most effective and least destructive technique is electrochemical reduction. This process utilizes a galvanic cell to reverse the chemical reaction, transferring the sulfur atoms from the silver back to a more reactive sacrificial anode (aluminum). The Smithsonian Museum Conservation Institute frequently endorses variations of this method for historical silver artifacts because it removes tarnish without removing the base metal.
Materials Required
- A glass or ceramic baking dish (never use metal bowls, which will short-circuit the reaction)
- Heavy-duty aluminum foil
- Boiling water
- Baking soda (sodium bicarbonate)
- Non-iodized salt (sodium chloride)
- Soft microfiber polishing cloths
The 5-Step Execution
- Prepare the Anode: Line the bottom and sides of your glass dish with aluminum foil, shiny side facing up. This maximizes the surface area for the ion transfer.
- Create the Electrolyte Solution: For every cup of boiling water, add 1 tablespoon of baking soda and 1 tablespoon of non-iodized salt. Stir until completely dissolved. The salt increases the electrical conductivity of the water, accelerating the galvanic reaction.
- Submerge and Connect: Place your heavily tarnished sterling silver jewelry into the dish. Critical step: The silver must make direct physical contact with the aluminum foil. If you are cleaning a long chain, ensure multiple points of the chain touch the foil.
- Monitor the Transfer: Pour the boiling electrolyte solution over the jewelry. You will immediately notice bubbling and a distinct sulfur (rotten egg) odor. This is the hydrogen sulfide gas being released as the sulfur leaves the silver and bonds to the aluminum. Leave it for 1 to 5 minutes, depending on the severity.
- Rinse and Dry: Using wooden or plastic tongs (never bare hands or metal tweezers, which can disrupt the cell or burn you), remove the jewelry. Rinse thoroughly under warm running water to halt the reaction, then pat completely dry with a lint-free microfiber cloth.
Gentle Alternatives for Light to Medium Tarnish
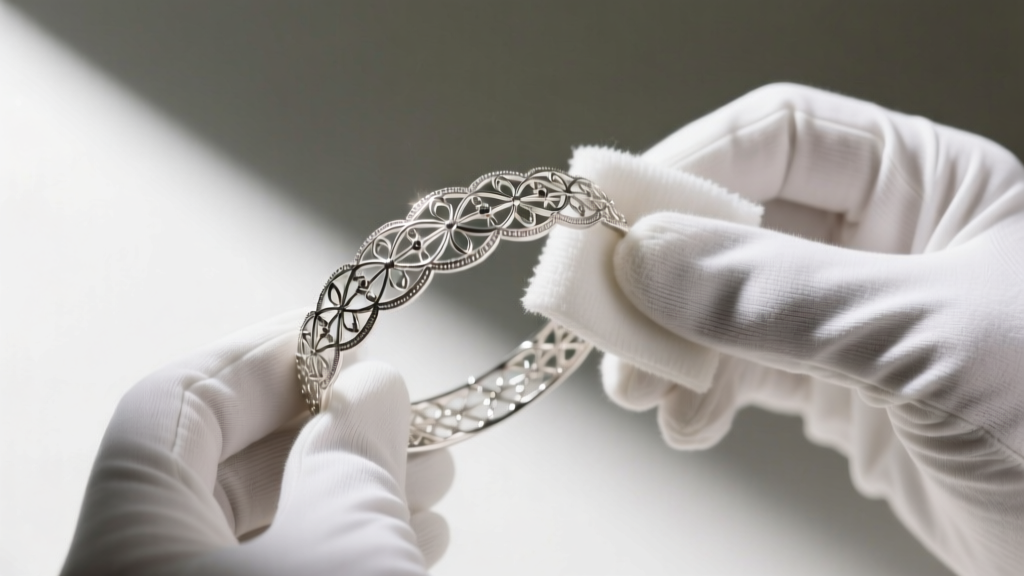
If your jewelry only exhibits light yellowing or medium brown spotting, skip the boiling bath. Instead, use a mild, phosphate-free dish soap mixed with warm water. Soak the piece for five minutes, then gently agitate it with an ultra-soft baby toothbrush to reach into crevices and prong settings. For medium brown spots, create a thick paste using two parts baking soda to one part distilled water. Apply it with a cotton swab, rubbing in the direction of the metal's grain to avoid micro-scratches, then rinse and dry.
Critical Warnings: What NEVER to Use on 925 Silver
The internet is rife with destructive DIY cleaning hacks that will permanently ruin your sterling silver. Avoid these common pitfalls at all costs:
- Toothpaste: Toothpaste contains hydrated silica, an abrasive with a Mohs hardness of around 7. Sterling silver sits at a mere 2.5 to 3 on the Mohs scale. Scrubbing with toothpaste will leave thousands of microscopic scratches, creating a dull, matte finish that traps future tarnish.
- Commercial Silver Dips: Liquid dips rely on thiourea, a highly toxic chemical that strips tarnish instantly but leaves behind microscopic pits in the metal. These pits exponentially increase the surface area, causing the silver to tarnish much faster in the future.
- Bleach and Chlorine: Chlorine reacts with silver to form silver chloride, a permanent, crusty white compound that eats into the metal and cannot be reversed with standard polishing.
Gemstone Triage Warning: The boiling electrochemical bath will destroy porous and water-bearing gemstones. Opals contain up to 20% water and will crack from thermal shock. Turquoise, lapis lazuli, and pearls are highly porous and will absorb the alkaline electrolyte, permanently altering their color and structural integrity. Always remove these stones before chemical cleaning, or stick strictly to dry microfiber polishing.
Post-Cleaning Protection and Storage
Once you have successfully restored your sterling silver, the goal shifts to prevention. Silver sulfide requires hydrogen sulfide and moisture to form. By controlling the micro-environment of your jewelry storage, you can delay the next cleaning cycle by months or even years.
Archival Storage Solutions
Store your cleaned pieces in airtight zip-lock bags made of polyethylene (avoid PVC, which emits sulfur). Inside each bag, include a 3M anti-tarnish strip. These strips contain chemically treated particles that act as a sacrificial sponge, absorbing atmospheric sulfur before it can reach your silver. For high-value pieces, invest in Pacific Silvercloth, a specialized flannel embedded with microscopic silver particles that tarnish in place of your jewelry. Finally, keep your jewelry box away from high-humidity environments like bathrooms, and consider adding silica gel packets to your storage drawers to control ambient moisture.


