Mastering the Silver Chain for Jewelry Making: Step-by-Step
Learn how to select, solder, and finish the perfect silver chain for jewelry making. Expert tips on gauges, chain styles, and clasps.

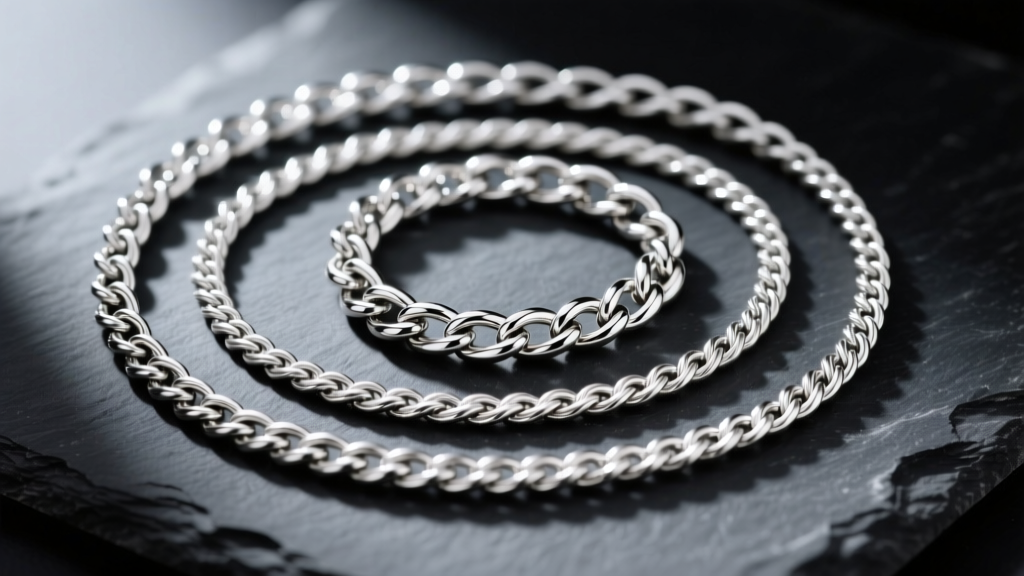
The Art of Sourcing and Manipulating Silver Chain
When sourcing a silver chain for jewelry making, artisans must navigate a complex matrix of wire gauges, link geometries, and alloy compositions. In 2026, the demand for bespoke, hand-finished silver jewelry continues to surge, making the ability to manipulate bulk chain a highly profitable bench skill. Unlike purchasing pre-finished necklaces, buying bulk sterling silver chain by the foot or ounce allows jewelers to customize lengths, integrate custom soldered end-tabs, and attach heavy cast pendants without compromising the structural integrity of the links.
The industry standard for chain fabrication is 925 sterling silver, an alloy comprising 92.5% pure silver and 7.5% copper. This copper addition is non-negotiable for chains; while 999 fine silver is brilliant and highly tarnish-resistant, it lacks the tensile strength required to support pendants or withstand the repetitive stress of being worn, clasped, and unclasped. Understanding how to properly cut, solder, and work-harden 925 sterling chain is what separates amateur crafters from professional metalsmiths. According to metallurgical guidelines from Ganoksin, the copper in sterling silver also dictates how the metal responds to heat, requiring precise temperature control during soldering to avoid reticulation or melting delicate links.
Decoding Chain Styles and Wire Gauges
Not all chains are created equal. The structural capacity of a silver chain for jewelry making is determined by its link style and the American Wire Gauge (AWG) of the metal used to form those links. A delicate 1.5mm cable chain might look beautiful, but if it is made from 22-gauge wire, it will easily stretch or snap under the weight of a solid silver pendant. Conversely, a heavy Cuban link chain can support substantial weight but may overwhelm a delicate gemstone drop.
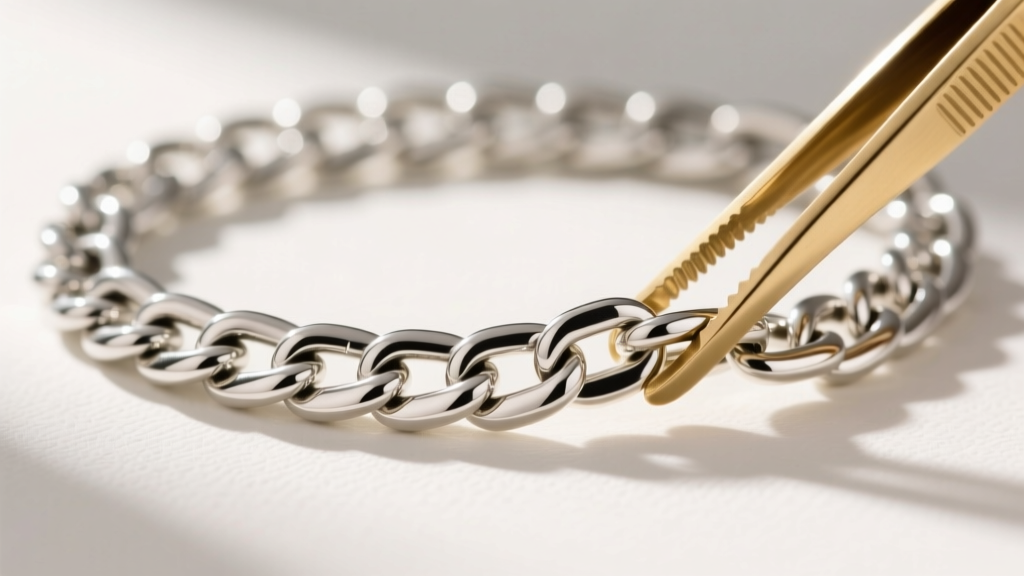
Below is a structural breakdown of common chain styles used in professional jewelry fabrication, including their ideal applications and current bulk pricing estimates:
| Chain Style | Wire Gauge (AWG) | Link Width (mm) | Ideal Pendant Weight | Avg. Cost per Foot (USD) |
|---|---|---|---|---|
| Rolo (Belcher) | 18g - 16g | 2.5mm - 4.0mm | Medium (10g - 25g) | $8.50 - $14.00 |
| Cable | 20g - 18g | 1.5mm - 3.0mm | Light (5g - 15g) | $4.00 - $9.00 |
| Box | 18g - 14g | 1.2mm - 3.5mm | Heavy (20g - 40g) | $12.00 - $22.00 |
| Figaro | 16g - 12g | 3.0mm - 6.0mm | Very Heavy (30g+) | $18.00 - $35.00 |
| Wheat (Spiga) | 20g - 16g | 1.5mm - 3.0mm | Medium (10g - 20g) | $15.00 - $28.00 |
When selecting your chain, always verify the wire gauge with digital calipers. Many overseas suppliers list the overall link width but obscure the actual wire thickness, which is the true indicator of durability. For most pendant necklaces, an 18-gauge rolo or 16-gauge box chain provides the perfect balance of drape, durability, and visual presence.
Step-by-Step: Soldering Jump Rings to Your Silver Chain
The most critical failure point in any custom necklace is the jump ring connecting the chain to the clasp or pendant. Simply twisting a jump ring open and closed leaves a microscopic gap that will eventually catch on clothing, pull apart, and result in a lost piece of jewelry. Professional jewelers solder every structural jump ring. Here is how to execute a flawless solder joint on a sterling silver chain without melting the surrounding links.
Step 1: Preparation and Flux Application
Begin by cutting a perfectly flush jump ring using a jeweler's saw with a 2/0 blade. Do not use wire cutters, as they pinch the wire and create a beveled edge that prevents a tight seam. Apply a high-quality fluoride flux, such as Stay-Silv or Handy Flux, to the seam using a fine sable brush. The flux must cover the seam and extend slightly onto the jump ring to prevent firescale and allow the solder to flow.
Step 2: Solder Selection and Heat Control
For jump rings attached to chain, always use Medium silver solder (flow temperature approximately 1325°F / 718°C). Hard solder requires too much heat and risks melting the chain links, while Easy solder may not provide a strong enough joint for high-stress areas. Place a tiny pallion of Medium solder directly over the fluxed seam. Using a micro-butane torch with a pinpoint flame, heat the jump ring, not the solder itself. As the silver reaches the flow point, you will see a brief, bright flash as the solder is drawn into the seam via capillary action. Immediately remove the heat. Quench the piece in water, then drop it into a warm, diluted sulfuric acid or sodium bisulfate pickle solution to dissolve the flux and copper oxides. As noted by the fabrication experts at Rio Grande, proper pickle maintenance is essential to prevent copper plating on your sterling silver pieces.
Attaching Clasps and End Finishes
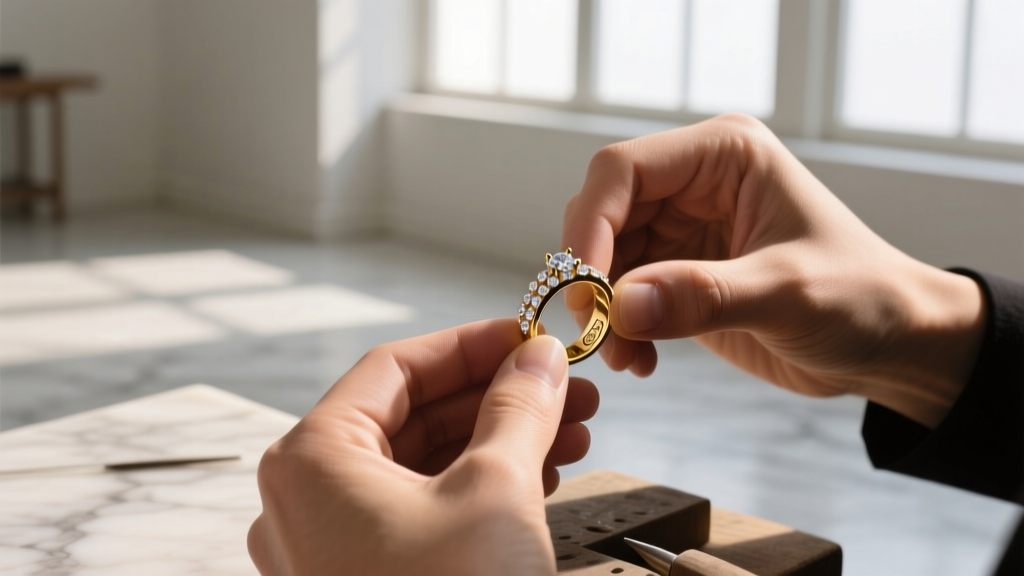
The clasp is the mechanical anchor of your necklace. While spring ring clasps are inexpensive and widely used in commercial jewelry, they contain an internal steel spring that can rust when exposed to moisture, sweat, or acidic pickle solutions. For high-end, bench-made jewelry, always opt for solid sterling silver lobster clasps or custom-fabricated toggle clasps.
When attaching a lobster clasp, solder the jump ring on the clasp side completely shut. On the opposite end of the chain, however, you must leave a mechanism for the customer to open the necklace. Instead of a standard jump ring, consider soldering a custom "end tab"—a small, teardrop-shaped piece of 18-gauge sheet silver with a punched hole. This provides a larger, easier-to-grip target for the lobster clasp hook and elevates the perceived value of the piece. If you prefer a traditional look, use a slightly larger, 16-gauge open jump ring on the catch side, ensuring the seam is filed perfectly flush so it glides smoothly into the clasp without catching.
Work Hardening and Final Polish
Sterling silver is relatively soft in its annealed state. The heat from soldering anneals the local area of the chain, making the links near the clasp vulnerable to stretching. To restore the metal's hardness and achieve a professional luster, the final step in preparing your silver chain for jewelry making is mechanical work hardening.
Place the finished, pickled necklace into a rotary tumbler filled with mixed stainless steel shot, distilled water, and a few drops of a specialized burnishing compound or mild dish soap. Tumble for 45 to 60 minutes. The steel shot will gently peen the surface of the silver links, compressing the molecular structure and significantly increasing the tensile strength of the chain. This process also burnishes the metal to a high shine, eliminating the need for aggressive hand-polishing that can round off the crisp edges of box or Cuban links.
"A properly tumbled sterling silver chain will not only resist stretching under the weight of a heavy pendant, but it will also exhibit a work-hardened luster that mimics the finish of a rhodium-plated commercial chain, without the use of toxic chemicals or plating baths."
For an antiqued finish, which is highly popular for emphasizing the texture of rolo and wheat chains, submerge the tumbled piece in a warm liver of sulfur solution until the links turn a deep charcoal black. Then, place the chain back into the tumbler for 15 minutes with the steel shot. The shot will knock off the black patina from the high points of the links while leaving the recesses dark, creating a stunning, high-contrast finish that highlights the geometry of your chosen silver chain.


