How to Test Real Silver Jewelry: A Step-by-Step Guide
Learn how to test real silver jewelry at home. Follow our step-by-step guide using magnet, ice, and acid tests to verify 925 sterling authenticity.

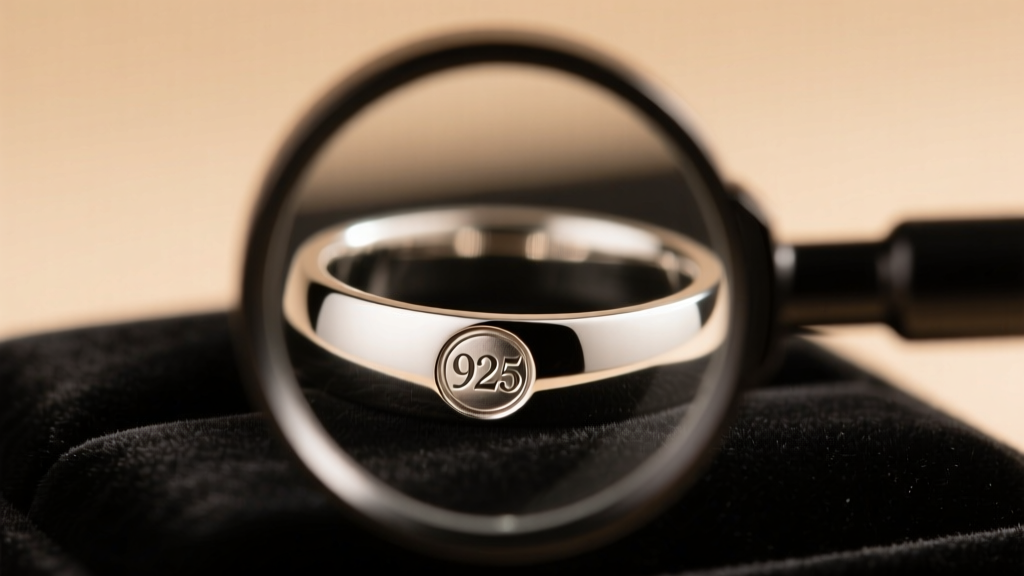
The secondary market and online boutiques are currently flooded with counterfeit metals disguised as precious alloys. From 'Tibetan silver' (which is typically a zinc and copper alloy) to heavily silver-plated brass, identifying real silver jewelry requires more than just a quick visual glance. As counterfeit manufacturing techniques become more sophisticated in 2026, buyers and collectors must rely on metallurgical science rather than guesswork.
Whether you are verifying a vintage estate piece or checking a recent online purchase, this comprehensive guide will walk you through the exact methodologies used by jewelers and pawnbrokers. By combining non-destructive physical tests with advanced chemical verification, you can confidently authenticate your pieces.
Step 1: The Visual Hallmark and Stamp Inspection
The first step in authenticating any piece is examining the maker's marks and purity stamps. According to the UK Assay Office, a legally compliant hallmark consists of several distinct punches, including the sponsor's mark, the standard of fineness, and the assay office mark.
- 999 (Fine Silver): 99.9% pure. Extremely soft, rarely used for structural jewelry, mostly reserved for bezels or investment pieces.
- 925 (Sterling Silver): 92.5% silver and 7.5% alloy (usually copper). The global standard for durable, real silver jewelry.
- 900 (Coin Silver): 90% silver. Common in vintage American pieces and antique flatware.
- 800 (Continental Silver): 80% silver. Frequently found in European antique jewelry and hollowware.
Expert Warning: A stamp alone is not proof of authenticity. Counterfeiters routinely stamp '925' onto base metals. Furthermore, look for signs of wear around the clasp or inner band. If you see a reddish or yellowish undertone bleeding through a worn area, the piece is likely silver-plated over copper or brass.
Step 2: The Neodymium Magnet and Eddy Current Tests
Silver is paramagnetic, meaning it exhibits a very weak attraction to magnetic fields that is imperceptible to human senses. If your jewelry snaps to a magnet, it contains ferromagnetic metals like iron, steel, or nickel, and is definitively not real silver.
However, a basic fridge magnet is insufficient. You need an N52-grade neodymium magnet for accurate results. Beyond simple attraction, you can perform the 'slide test' to check for eddy currents, a phenomenon unique to highly conductive metals.
How to Perform the Slide Test:
- Tilt the silver item (like a thick chain or solid bangle) to a 45-degree angle.
- Place the neodymium magnet at the top and let it slide down.
- On real silver, the magnet will slide down slowly, as if moving through a viscous fluid. This magnetic braking occurs because the moving magnetic field induces eddy currents in the highly conductive silver, creating an opposing magnetic field.
- On base metals or silver-plated aluminum, the magnet will drop instantly at normal gravitational speed.
Step 3: The Ice Cube Thermal Conductivity Test
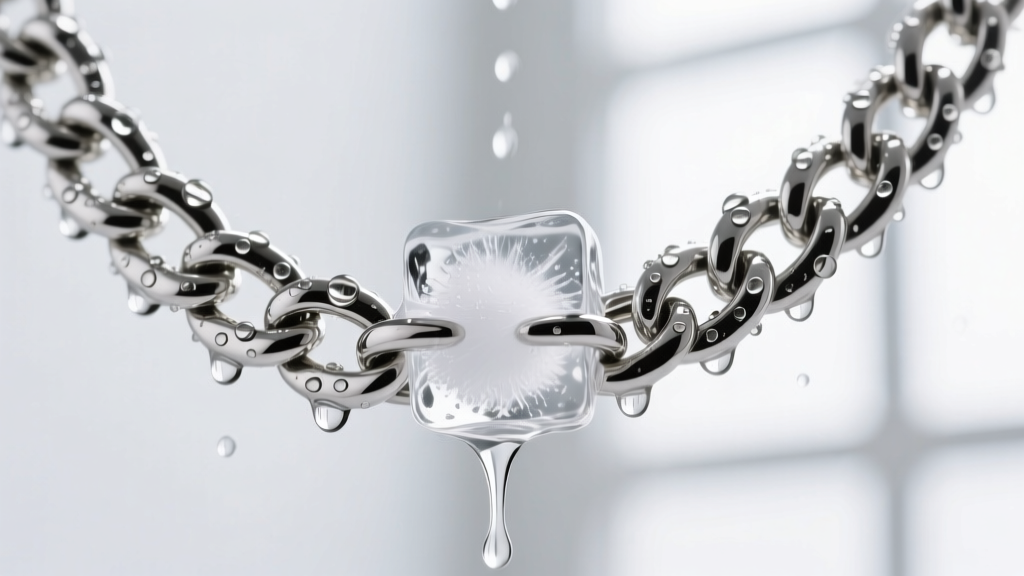
Silver possesses the highest thermal conductivity of any known metal, measuring at 429 W/m·K (Watts per meter-Kelvin), according to data published by the Silver Institute. This physical property allows us to perform a rapid, non-destructive test using a simple ice cube.
The Procedure:
- Ensure the jewelry is at room temperature (around 68°F to 72°F).
- Place a fresh ice cube directly onto a thick, solid section of the silver piece (avoid delicate filigree or gemstone settings).
- Observe the melting rate. On real silver jewelry, the ice will begin melting almost instantaneously, and the metal itself will become freezing cold to the touch within seconds.
- Compare this to a piece of stainless steel or brass, where the ice will sit for several minutes before showing significant melt.
Note: This test is highly effective for heavy chains, solid bangles, and cast rings. It is less reliable for extremely thin, hollow, or delicate wire jewelry, which lacks the thermal mass required to rapidly draw heat from the ice.
Step 4: Chemical Acid Testing (The Definitive Verification)
When non-destructive tests yield ambiguous results, jewelers turn to silver testing acid. This solution typically contains a mixture of nitric acid and muriatic acid. Because this test requires filing a small notch into the metal, it should only be performed on an inconspicuous area, such as the inside of a ring shank or the back of a pendant bail.
Executing the Scratch Test:
- Use a jeweler's file to create a small, shallow scratch through the surface layer. This is crucial to bypass any potential silver plating.
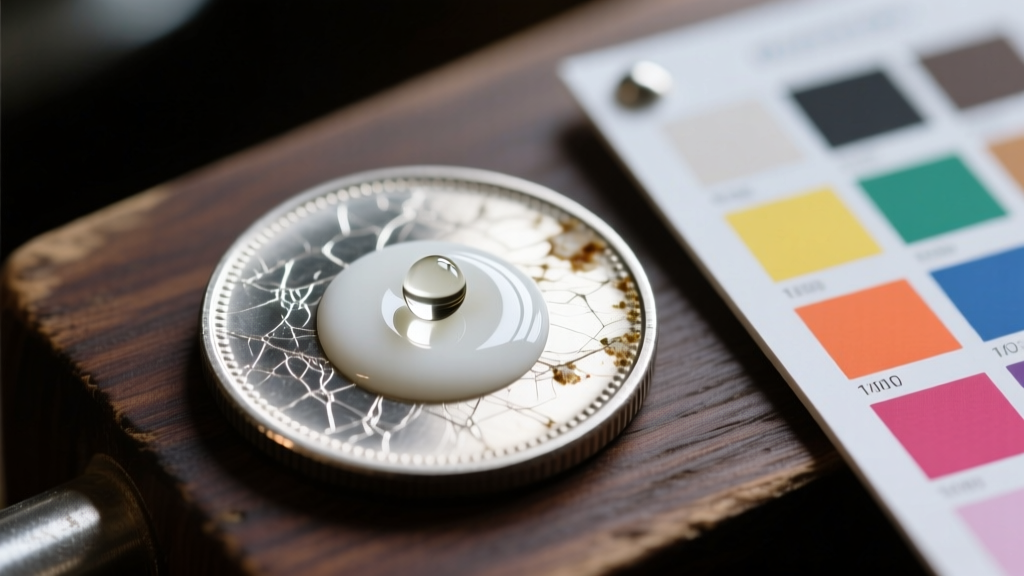
- Apply a single drop of silver testing acid directly to the filed notch (or transfer the metal dust to a testing stone and apply the acid there).
- Observe the color change within 2 to 5 seconds.
Acid Reaction Color Chart
| Resulting Color | Metal Indication | Next Steps |
|---|---|---|
| Creamy White | 999 Fine Silver | Authentic pure silver. |
| Dark Brown / Reddish Brown | 925 Sterling Silver | Authentic sterling standard. |
| Dark Red | 800 Continental Silver | Authentic lower-grade silver. |
| Bright Green | Base Metal / Copper | Fake or heavily silver-plated. |
| No Color Change | Stainless Steel / Platinum | Not silver. |
Safety Warning: Silver testing acid is highly corrosive. Always wear nitrile gloves and safety goggles, and neutralize the acid with a baking soda and water solution immediately after the test.
Step 5: The Sodium Hypochlorite (Bleach) Test
If you do not have access to specialized testing acids, household bleach (sodium hypochlorite) can serve as a rudimentary oxidizer. Silver reacts rapidly to bleach, turning black as silver chloride forms on the surface.
Apply a single drop of bleach to an unpolished, hidden area of the jewelry. If the metal turns black within a minute, it is likely real silver. However, this is a last-resort test. Bleach will permanently damage the patina and require aggressive professional polishing to restore the piece's original luster. Never use this method on jewelry with porous gemstones like pearls, turquoise, or opals, as the bleach will destroy them.
When to Seek Professional XRF Analysis
For high-value estate collections, antique hollowware, or pieces with intricate enamel work where scratch testing is impossible, home methods fall short. In these scenarios, seek out a certified gemologist or a precious metals dealer equipped with an X-Ray Fluorescence (XRF) analyzer.
XRF scanners fire X-rays into the metal and measure the fluorescent response, providing an exact elemental breakdown down to the decimal percentage without damaging the piece. While an XRF scan may cost between $25 and $50 at a local appraiser, it is the only 100% foolproof method for verifying complex, multi-metal vintage jewelry.
Summary Checklist for Authentication
Before making a final determination on your real silver jewelry, run through this quick diagnostic checklist:
- Does the piece bear a recognized fineness stamp (925, 999, 900)?
- Is the item completely non-magnetic to an N52 neodymium magnet?
- Does the magnet slide slowly down a 45-degree angle?
- Does an ice cube melt rapidly upon contact with the metal?
- Does a filed scratch test yield a dark brown or creamy white reaction with silver acid?
By systematically applying these metallurgical principles, you can confidently separate genuine 925 sterling silver from the sea of modern counterfeits, ensuring your collection retains both its material value and its historical integrity.


