Identifying and Removing Stubborn Marks on Silver Jewelry
Discover how to identify, treat, and prevent various marks on silver jewelry, from deep scratches and chlorine burns to heavy tarnish and fire scale.

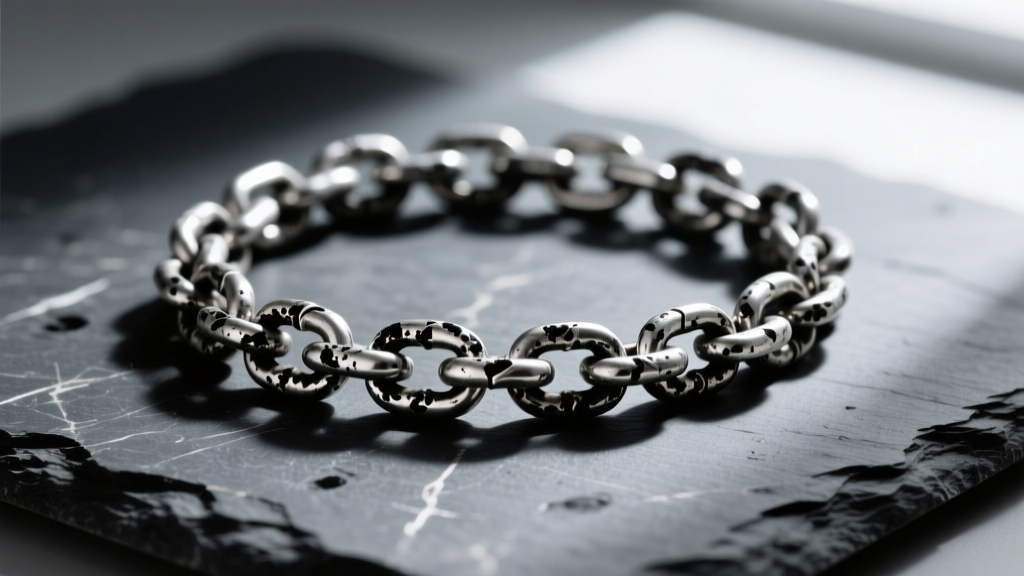
Silver is a noble metal, yet it remains highly susceptible to both environmental reactivity and mechanical alteration. When you notice marks on silver jewelry, you are rarely looking at a single, uniform type of damage. Fine silver (999 purity) sits at a mere 2.5 on the Mohs hardness scale, making it incredibly soft. Sterling silver (925 purity), which is alloyed with 7.5% copper for structural durability, reaches a slightly harder 2.5 to 3. This relative softness, combined with the reactive nature of copper and silver's natural affinity for sulfur, means that identifying the exact origin of the mark is the critical first step in effective restoration. Misdiagnosing a chemical burn as simple tarnish can lead to irreversible damage during the cleaning process.
Decoding the Damage: Types of Marks on Silver Jewelry
Before reaching for a polishing cloth or a chemical dip, you must accurately categorize the blemish. The treatment for surface oxidation is vastly different from the protocol required for mechanical abrasion or chemical etching. According to the Gemological Institute of America (GIA), understanding the metallurgical composition of your piece dictates how it will react to various cleaning agents.
| Mark Type | Visual Characteristics | Primary Cause | Depth of Damage |
|---|---|---|---|
| Tarnish | Yellow, brown, or black film | Hydrogen sulfide exposure | Surface level (Silver sulfide) |
| Scratches | Bright or dull linear grooves | Friction, improper storage | Mechanical removal of metal |
| Fire Scale | Greyish-blue or dark purple patches | Oxygen reacting with copper alloy | Deep subsurface oxidation |
| Chemical Burns | Chalky white or grey crusty spots | Chlorine, bleach, or pool water | Pitting and structural etching |
Mechanical Marks: Polishing Out Scratches and Scuffs
Because sterling silver is relatively soft, everyday wear against harder materials (like steel, glass, or even other jewelry) will inevitably result in micro-scratches and scuffs. Unlike tarnish, scratches represent a physical loss of metal. Therefore, removing them requires abrasive polishing, which must be done with extreme precision to avoid eroding the piece's structural integrity or softening engraved details.
The Micro-Mesh Progression Method
For deeper scuffs that catch your fingernail, liquid polishes will not suffice. You must use a progressive wet-sanding technique. Industry-standard Rio Grande bench guides recommend using Micro-Mesh soft-touch pads. Begin with 1500 grit to level the scratch, keeping the pad wet with distilled water. Progress sequentially through 4000, 8000, and finally 12000 grit. Skipping grits will leave behind microscopic valleys that cause the silver to look cloudy rather than reflective.
Impregnated Polishing Cloths
For light surface scuffs and routine maintenance, jeweler's rouge-impregnated cloths (such as the ubiquitous yellow Sunshine Cloth) are highly effective. These cloths contain microscopic abrasive particles and chemical polishing agents.
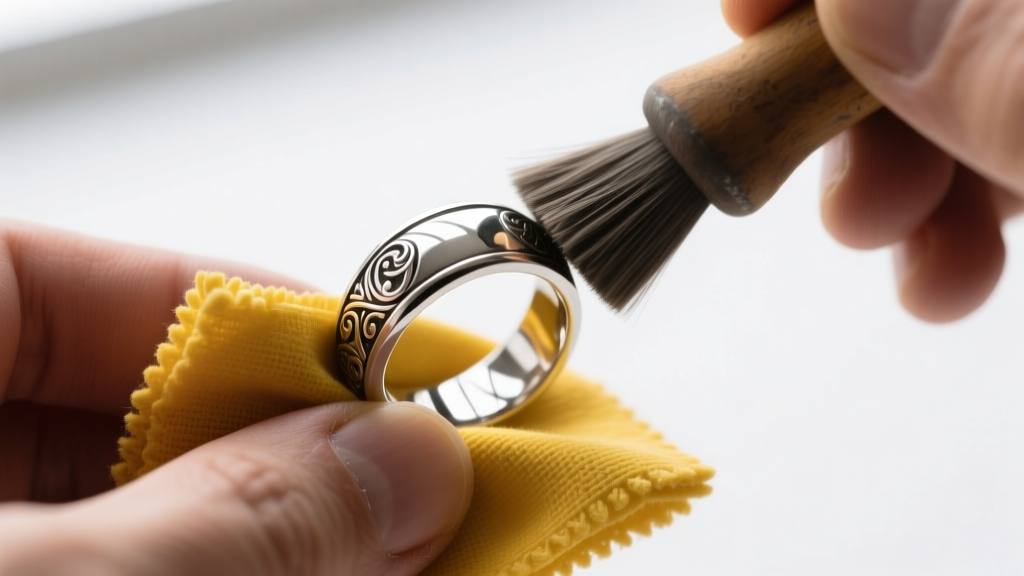
- Pro Tip: Never use a Sunshine cloth on matte, brushed, or intentionally oxidized finishes. The embedded abrasives will instantly polish away the textured contrast, leaving a flat, unintended mirror finish.
- Warning: Avoid using motorized rotary tools (like a Dremel) with cotton buffing wheels unless you are trained in bench jewelry. Silver's low melting point and softness mean a high-speed wheel can easily warp thin bands or melt delicate filigree.
Chemical Marks: Reversing Tarnish and Chlorine Damage
Chemical marks occur when the silver or its copper alloy reacts with airborne or liquid compounds. The two most common culprits are sulfur (tarnish) and chlorine (chemical burns).
Silver Sulfide (Tarnish) and the Electrochemical Bath
Tarnish is not dirt; it is a chemical compound called silver sulfide (Ag2S) that forms when silver is exposed to trace amounts of hydrogen sulfide in the atmosphere. While commercial silver dips (like Tarn-X) use harsh thiourea-based acids to strip this layer, these chemicals often leave the silver microscopically pitted and prone to rapid re-tarnishing. The superior, non-destructive method is an electrochemical reversal bath.
- Line a glass or ceramic bowl with heavy-duty aluminum foil, ensuring the shiny side faces up.
- Place your silver jewelry directly on the foil (physical contact is mandatory for the electron transfer).
- Sprinkle 1 tablespoon of baking soda (sodium bicarbonate) and 1 tablespoon of sea salt over the pieces.
- Pour boiling water into the bowl until the jewelry is fully submerged. You will immediately smell a rotten egg odor—this is the sulfur releasing from the silver and bonding with the aluminum.
- Remove after 2 to 5 minutes, rinse thoroughly in distilled water, and dry immediately with a microfiber cloth.
Silver Chloride (Chlorine Burns)
If you wear sterling silver in a chlorinated swimming pool or clean with bleach, you risk creating silver chloride. This manifests as a stubborn, chalky white or grey crust that penetrates deep into the metal's grain structure. The electrochemical aluminum bath will not remove silver chloride. This type of mark requires mechanical abrasion (the Micro-Mesh method detailed above) or professional treatment in a heated jeweler's pickling solution (such as Sparex #2) to dissolve the oxidized copper and silver layers.
"Never attempt to use a brass or steel wire brush to remove heavy chemical burns from silver. The harder bristles will embed themselves into the softer silver matrix, creating galvanic corrosion sites that will rust and ruin the piece from the inside out."
Fire Scale and Intentional Oxidation: When Marks Are Deep
Not all dark marks on silver are accidental. When a jeweler solders a sterling silver piece, the high heat causes the copper within the 925 alloy to react with oxygen, forming cuprous oxide (Cu2O). This creates a dark, greyish-blue shadow known as fire scale, which sits just beneath the surface of the metal. While modern bench jewelers use boric acid and alcohol fluxes to prevent fire scale, it occasionally appears on vintage or mass-produced cast pieces.
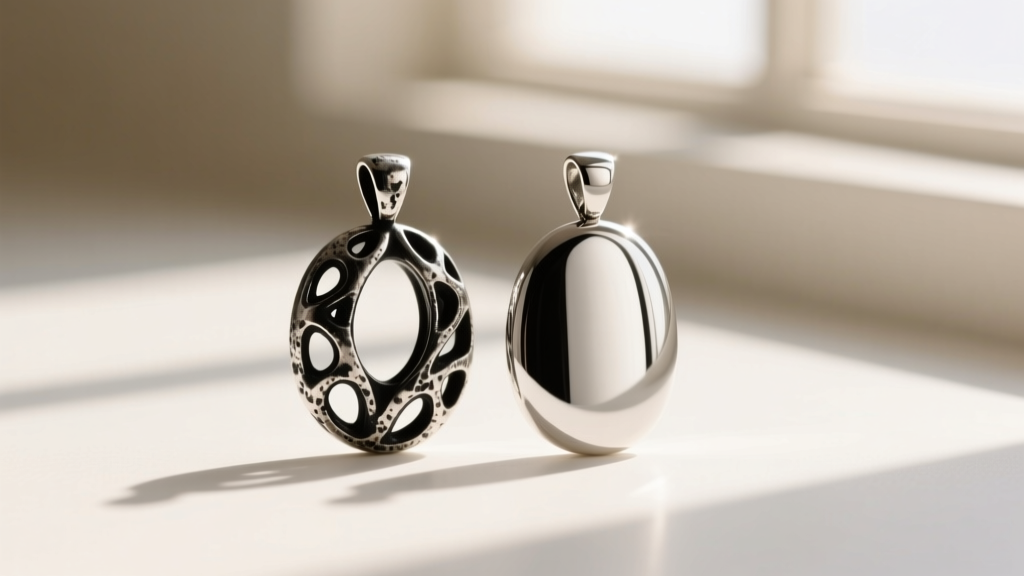
Conversely, many artisan jewelers use Liver of Sulfur (potassium sulfide) to intentionally oxidize silver. This creates deep black marks in the recesses of a design, providing dramatic contrast and highlighting intricate textures. If you acquire a piece with intentional oxidation, you must clean it using only a mild dish soap and a soft baby toothbrush. Submerging intentionally oxidized silver in an aluminum reversal bath or applying liquid silver polish will strip the dark patina, drastically reducing the piece's aesthetic value and artistic intent.
The Preventative Care Protocol
Once you have successfully identified and removed the marks on your silver jewelry, implementing a rigorous preventative storage protocol is essential to maintain the finish. According to Encyclopedia Britannica, silver's reactivity means its environment must be strictly controlled when not being worn.
- Anti-Tarnish Strips: Invest in 3M anti-tarnish strips. These contain copper-based particles that act as a sacrificial metal, absorbing airborne sulfur compounds before they can reach your jewelry. Replace them every 6 months.
- Pacific Silvercloth: Store high-value pieces in bags made of Pacific Silvercloth. This specialized flannel is embedded with microscopic silver particles that capture and neutralize corrosive gases.
- Avoid Vulcanized Rubber: Never secure silver tags or jewelry with rubber bands. Vulcanized rubber off-gasses high levels of sulfur, which will cause severe, localized black tarnish marks within hours.
- Silica Gel Packets: Moisture accelerates the chemical reactions that cause both tarnish and copper oxidation. Always include a fresh silica gel desiccant packet in your airtight silver storage containers.
By understanding the precise metallurgical and chemical nature of the marks on silver jewelry, you can transition from reactive, potentially damaging cleaning habits to a proactive, museum-grade preservation strategy. When in doubt regarding deep pitting or structural chemical burns, always consult a certified bench jeweler rather than risking the integrity of the metal with aggressive DIY abrasives.


