Troubleshooting Victorian Age Jewelry: Identifying & Fixing Flaws
Learn how to diagnose, clean, and repair structural flaws in Victorian age jewelry. Expert tips on gutta-percha, pinchbeck, and antique settings.

The Unique Material Vulnerabilities of the 19th Century
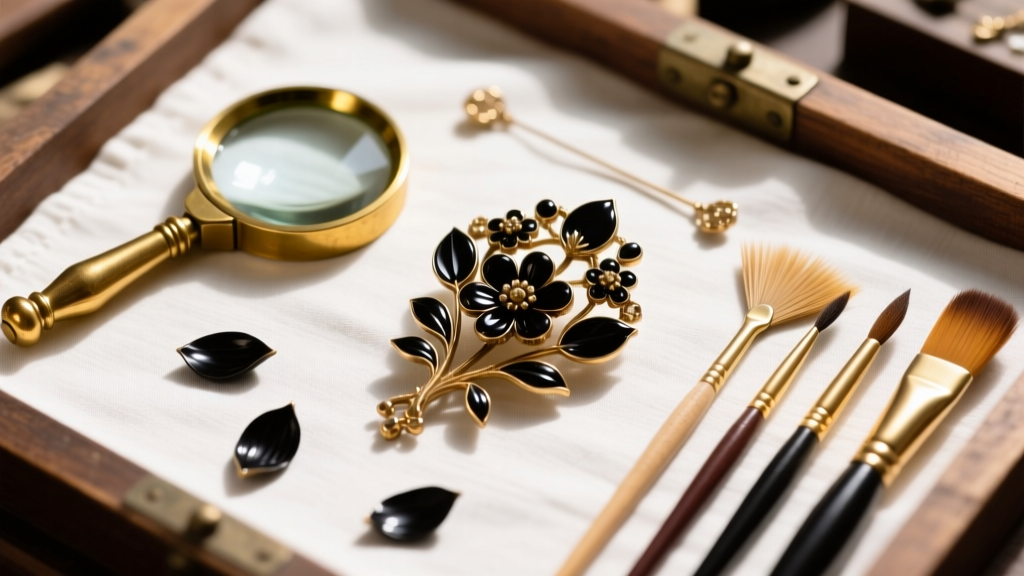
Collecting and wearing Victorian age jewelry offers a tangible connection to the 19th century, but these pieces present unique conservation challenges that modern jewelers often misunderstand. The era was defined by rapid industrialization and global exploration, introducing a bizarre and fascinating array of materials into the jeweler's repertoire. Troubleshooting these pieces requires a deep understanding of their specific chemical and physical failure modes.
Take gutta-percha and vulcanite, for example. Both are early vulcanized rubbers heavily used in mourning jewelry. Over decades, vulcanite undergoes a process called "ebonite degradation," where exposure to UV light and oxygen causes the sulfur cross-links to break down. The material turns a sickly brown and becomes highly brittle. If you are troubleshooting a cracked vulcanite brooch, never attempt to use cyanoacrylate (super glue) or heat. The only stable conservation method is consolidation with a reversible, museum-grade acrylic resin like Paraloid B-72. You can identify vulcanite by gently rubbing it with a soft cloth; the friction will release a faint, distinct sulfur or burnt rubber odor.
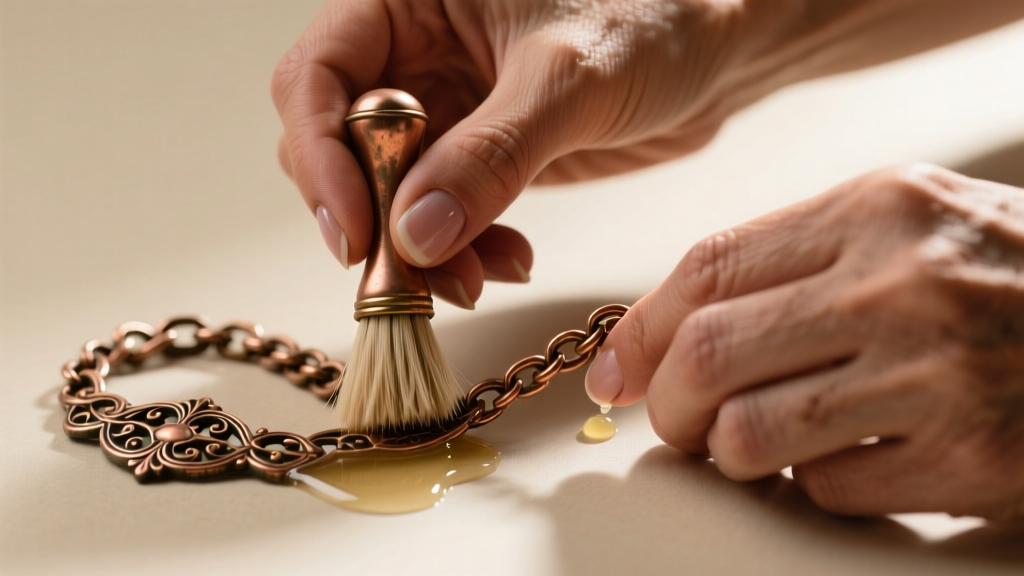
Similarly, pinchbeck—a copper-zinc alloy designed to mimic gold—requires specialized care. Unlike karat gold, pinchbeck is highly susceptible to dezincification when exposed to harsh chemicals or even the acidic pH of human sweat over time. If a pinchbeck chain arrives at your bench with severe, flaky tarnish, avoid commercial silver dips or ultrasonic cleaners. Instead, use a mild solution of distilled water and a few drops of ammonia-free dish soap, agitating gently with a soft horsehair brush.
Diagnosing Structural Failures in Antique Settings
The way gemstones were secured during the Victorian era differs vastly from modern CAD/CAM casting and laser welding. Troubleshooting stone loss requires identifying the specific setting style and its inherent weaknesses.
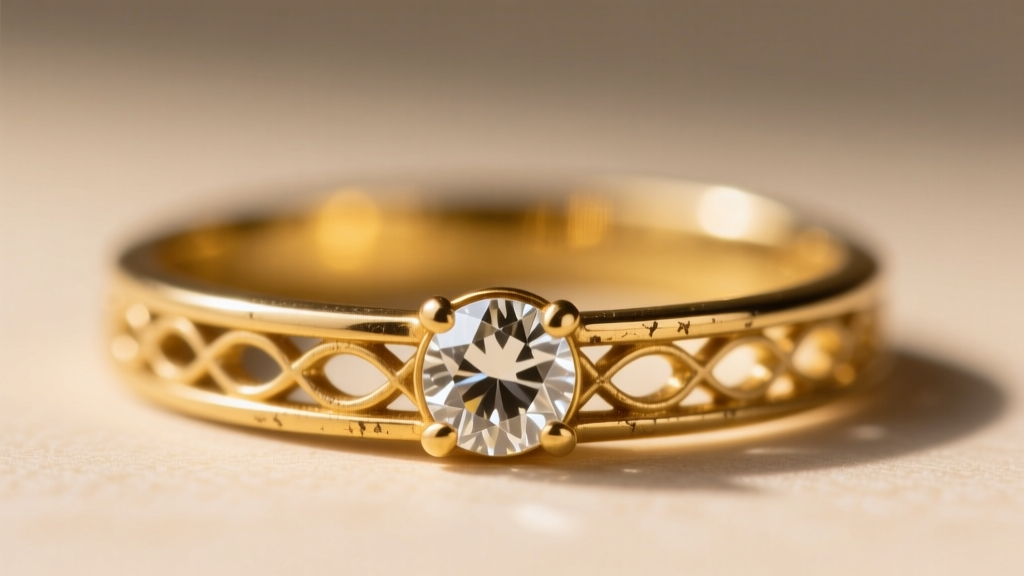
Gypsy (Flush) Settings: Popular in the late Victorian period, gypsy settings involve carving the stone directly into the metal band. The most common failure mode here is the thinning of the metal "lip" over the diamond's girdle due to decades of friction and polishing. If the lip is less than 0.3mm thick, the stone will inevitably pop out under minor pressure. The fix requires carefully burnishing additional metal from the surrounding band over the girdle using a hardened steel pusher, rather than adding modern solder which would disrupt the antique patina.
Foil-Backed Rose Cuts: Early Victorian pieces frequently featured rose-cut diamonds or paste stones backed with silver or gold foil to enhance brilliance. The catastrophic failure mode occurs when moisture breaches the bezel, oxidizing the foil and turning the stone black. Never submerge foil-backed jewelry in water or ultrasonic solutions. If moisture has already breached the setting, a master jeweler must carefully lift the bezel, remove the stone, clean the oxidized foil with a specialized micro-abrasive, and reseal it using a microscopic bead of natural shellac or beeswax to prevent future moisture ingress.
Findings, Hinges, and Clasps: A Troubleshooting Matrix
Identifying and repairing the mechanical findings on Victorian age jewelry is crucial for both authentication and daily wearability. The transition from early to late Victorian manufacturing is clearly mapped by the evolution of clasps and hinges. Below is a diagnostic matrix for common mechanical failures.
| Finding Type | Era Indicator | Common Failure Mode | Troubleshooting & Repair Solution |
|---|---|---|---|
| C-Clasp (No Safety) | 1837 – 1890s | Pin slips out during wear; clasp gap widens over time. | Gently squeeze the C-curve with nylon-jawed pliers to tighten the tension. Do not add a modern safety catch, as this destroys historical integrity. |
| T-Bar Hinge | 1837 – 1900 | Vertical pin wears through the horizontal hinge barrels. | Replace the T-bar pin with a matching karat gold wire. Peen the ends carefully; avoid modern solder which melts at lower temperatures. |
| Trombone Clasp | 1850 – 1910 | Internal spring mechanism loses tension; barrel dents. | Disassemble the tube, clean out century-old skin oils and debris with a wooden peg, and gently stretch the internal steel spring. |
| Early Safety Catch | 1890s – 1901 | Figure-8 wire loop snaps at the solder joint. | Re-solder using a high-karat, cadmium-free hard solder to match the original melting point and color. |
For a deeper dive into authenticating these specific mechanical findings, the educational resources provided by Lang Antiques University remain an indispensable benchmark for estate jewelry professionals.
Solder Joints and Gold Alloy Stress Cracking
One of the most frustrating issues when resizing or repairing Victorian age jewelry is dealing with historical solders and specific gold alloys. In the UK, 15k gold was a legal standard from 1854 until 1932. This specific alloy (62.5% gold, typically mixed with copper and silver) is notoriously prone to "gold sickness" or stress cracking if subjected to improper heating or quenching.
Furthermore, early Victorian jewelers frequently used lead-based or high-cadmium solders. These historical solders have drastically lower melting points than modern jewelers' solders. If a bench jeweler applies a standard torch technique to resize a 15k Victorian ring, the original solder joints in the shank or setting will melt and collapse long before the new sizing solder flows. To troubleshoot this, you must first map the existing solder joints using a high-magnification loupe. Coat the original joints with a high-temperature laser-blocking paste or specialized solder-stop, and use a low-temperature, lead-free easy solder for the new joint to prevent thermal shock to the antique metal.
Conserving Hairwork and Mourning Enamel
Mourning jewelry is a cornerstone of the Victorian age jewelry market, but it requires a conservator's touch rather than a traditional jeweler's approach. Woven hairwork, often encased in glass-fronted compartments or woven into intricate chains, suffers from two main enemies: fluctuating humidity and UV exposure.
If hairwork begins to fray or unspool, do not attempt to re-weave it yourself unless you are trained in 19th-century micro-macramé techniques. Instead, stabilize the piece by placing it in a climate-controlled display case maintained at exactly 45-50% relative humidity. For glass-fronted hair lockets, the failure mode is usually the degradation of the natural resin or putty sealing the glass. If the seal fails, moisture enters and molds the hair. Carefully lift the glass bezel with a micro-spatula, remove the hair pallet, clean the glass with isopropyl alcohol, and reseal using a micro-bead of conservation-grade silicone.
Black enamel, heavily used on the borders of mourning rings, frequently chips or flakes due to the differential expansion rates between the gold band and the glass-like enamel. According to conservation guidelines outlined by the Victoria and Albert Museum, missing enamel should only be infilled with reversible, cold-applied pigmented resins rather than attempting to re-fire the piece, which would destroy the original antique enamel and any heat-sensitive gemstones (like pearls or opals) set nearby.
The 2026 Restorer’s Decision Framework
As we navigate the vintage market in 2026, the ethical line between "repair" and "restoration" has become a major talking point among collectors. When troubleshooting a damaged piece of Victorian age jewelry, apply this decision framework before picking up a torch:
"The goal of antique jewelry conservation is to stabilize the piece for future generations while preserving the physical evidence of its history. Over-polishing a Victorian brooch to make it look 'new' erases a century of its life story."
- Conserve (Do Not Alter): If the piece has historical provenance, rare materials (like carved bog oak or original hairwork), or fragile foil-backed stones. Limit your intervention to surface cleaning and mechanical stabilization.
- Restore (Make Functional): If the piece is a standard sentimental item meant for daily wear (like a plain 15k gold wedding band or a sturdy pinchbeck chain). Rebuild worn prongs, replace snapped pins, and polish lightly to restore luster without erasing the soft patina in the recesses.
- Replace (Last Resort): Only replace missing stones or findings if they are entirely lost and the piece is unwearable. Always use period-correct, old-stock findings (like a proper C-clasp instead of a modern locking safety catch) to maintain the visual and historical integrity of the era.
Troubleshooting Victorian age jewelry is as much about historical empathy as it is about metallurgical skill. By understanding the specific material quirks, mechanical evolutions, and conservation ethics of the 19th century, you can ensure these wearable artifacts survive for another hundred years.


